Tank Fit

A forum in which to discuss topics that are not specific to a particular series of aircraft (ie. how to cut alclad)
Post Reply
User avatar
RV7Factory
Beanpolt
Posts: 522
Joined: Fri May 20, 2005 2:28 pm
Location: Livermore, CA

Tank Fit

Post by RV7Factory »

A few of you over at VAF said I need to spend more time over here at RB'ers so I thought I treat this as an opportunity to post a real question here.

I have assembled my first tank and have it setting on the spar, but I curious to know if I have an alignment issue here. The picture below is the top of wing where the tank skin meets the top wing skin.

Image

I have snugged the tank to the wing using ratcheting cargo straps, and while the fit is improved, there is still a very slight gap. My question is... is this normal and will it go away once the tank is screwed to the wing? Or are there things I should do now to improve the fit?

BTW... Baffles fit fine, Z-Brackets are deburred and bolted tight.

Thanks!

Brad Oliver
RV-7 | Livermore, CA
www.RV7Factory.com
User avatar
4kilo
RB's First
Posts: 227
Joined: Mon Nov 08, 2004 10:32 am
Location: GPM (Grand Prairie, Texas)
Contact:

Post by 4kilo »

Brad,

I can't tell without seeing the whole wing, but the tank and outer skin fit will not work properly if there is any bend (fore and aft) in the wing spar.

I had fitted my tank skin to the outer wing skin with a nice tight, nearly perfect fit. Later, when I put the tank back on the wing after assembly, nothing fit properly. Nearly by accident, I pushed the wing spar forward a little, and then everything popped back into place for a near perfect fit.

Pat
RV-8
N804PT - IO-360, Hartzell blended airfoil, GRT dual Horizon I & EIS, TruTrak ADI Pilot II
Flying - 950 hours!

User avatar
RV7Factory
Beanpolt
Posts: 522
Joined: Fri May 20, 2005 2:28 pm
Location: Livermore, CA

Post by RV7Factory »

Thanks, but no bend. The spar is firmly clamped in the fixture an leveled to 0.0-degrees at both ends using a digital protractor. The gap you see is uniform along the length of the tank, but only on the top.

Spike
Chief Rivet Banger
Posts: 4013
Joined: Thu Oct 14, 2004 8:40 pm
Location: Baltimore, MD
Contact:

Post by Spike »

What is the relation of the tank structure to the spar? Skins have a tendancy to move around a bit (grow, shrink, etc) when you rivet them down. If its uniform it might come out in the wash. Its hard to tell in the picture, what is the measurment of the gap?

-- John
http://www.rivetbangers.com - Now integrating web and mail!
Current Build: 2 years into a beautiful little girl

User avatar
RV7Factory
Beanpolt
Posts: 522
Joined: Fri May 20, 2005 2:28 pm
Location: Livermore, CA

Post by RV7Factory »

I am not quite sure I know what you mean by relationship, but the wings are in the jig with the tank installed (resting on the spar). The picture is taken looking horizontally at the wing, which is vertically oriented. Clear as mud! ;-)

The holes below the gap are the #40 hole where the top inboard skin attaches to the spar, so let's just say the gap is roughly 1/16".

When the cargo straps are applied, the gap narrows 1/64"-1/32", but just enough so that the skins don't touch and the gold of the spar can be seen.

Like you said, I am just trying to gauge if this in normal and if it will "come out in the wash".

User avatar
captain_john
Sparky
Posts: 5880
Joined: Sun Oct 31, 2004 9:17 am
Location: KPYM

Post by captain_john »

Hi Brad!

Good to see your voice! If it makes you feel any more comfortable, it looks like mine!

I am all match drilled, countersunk and ready to rivet. Upon screwing my left tank into place and toying with some alignment, I can pry (with a pin punch) the main skins into alignment. Also, I hear that most guys concerned with appearance hit the seam/gap with a little putty before painting. Ummmm, well they say paint makes the bodyman what he ain't!

Either way, you should be fine. I am planning on working with it the way it is. My strategy is: align it with pin punches, install a mess o' clecoes and when I am happy with the way it looks, begin riveting in the suggested sequence!

I will letcha know how it works out!

:) CJ
RV-7
Garmin G3X with VP-X & a TMX-IO-360 with G3i
It's all over but the flying! 800+ hours in only 3 years!

User avatar
RV7Factory
Beanpolt
Posts: 522
Joined: Fri May 20, 2005 2:28 pm
Location: Livermore, CA

Post by RV7Factory »

CJ, thank you very much. That was the validation I was looking for.

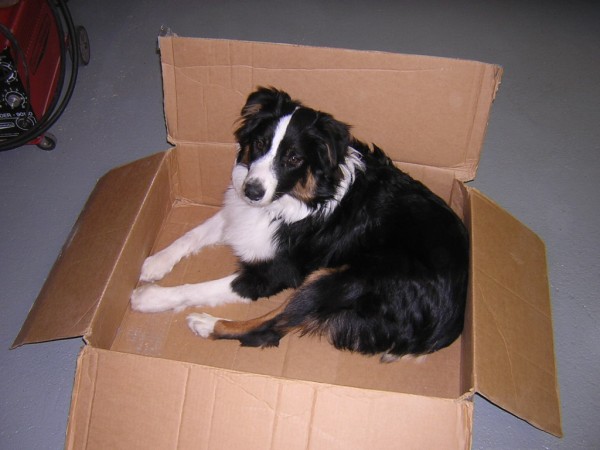
By the way, got a question for you... what part number is this? I would like to order one. ;-)

Image

User avatar
captain_john
Sparky
Posts: 5880
Joined: Sun Oct 31, 2004 9:17 am
Location: KPYM

Post by captain_john »

Hahaha,

That is part no. PITA-001 a.

Pain in the @$$!

:lol:

He was out eating grass this morning and didn't want to come in!

:bang: CJ
RV-7
Garmin G3X with VP-X & a TMX-IO-360 with G3i
It's all over but the flying! 800+ hours in only 3 years!

User avatar
cjensen
Whiskey Victor
Posts: 5275
Joined: Sat Apr 23, 2005 10:36 pm
Location: Green Bay, WI

Post by cjensen »

my little bundle of PITA did the SAME THING this morning. he wasn't eating grass, but it's really raining here, and he would not come in!! he never does this, and he hates water!! what kind of golden retriever hates water??? mine. so he's soaking wet, and i had to come to work for G1000 training today. brit is home dealing with it! ha! :lol:
Chad Jensen
Missing my RV-7...
Vertical Power support
920.216.3699
http://verticalpower.com

Post Reply