OK, I was all hyped up about clecoing my first HS skin onto the skeleton, but I'm having a devil of a time trying to cram the parts together. It seems like the 707 nose rib and the 706 tip rib (on the -7) are way too wide to jam up into the leading edge of the skin.
With the skin lying on the table, I finally got it pried far enough open to cleco the skeleton to the top surface, but when I flipped it over, I'm still at least 1/4" away from hole alignment. I've gouged the hell out of the inside of the skin in the area of the nose rib, trying to force it all together.
Any ideas what I'm doing wrong?
Skins giving me fits

Doesn't sound like you're doing anything wrong. It's a Zen thing. They will go but it's a bit tight. By the time you have the skin drilled and debured and dimpled the next time you put it all together you're going to be an expert. What I decided to do on final assembly was to set the skin on it's leading edge and drop the skeleton into the taco. Then I shoved until the front holes lined up and clecoed both sides back aways. By doing that the top and bottom got done together. Don't be afraid to open the fold up a little way right now, you'll be going there anyway.
-
captain_john

- Sparky
- Posts: 5880
- Joined: Sun Oct 31, 2004 9:17 am
- Location: KPYM
Jim is right. Wait until the leading edges of the wings are on the table and check back then!!!
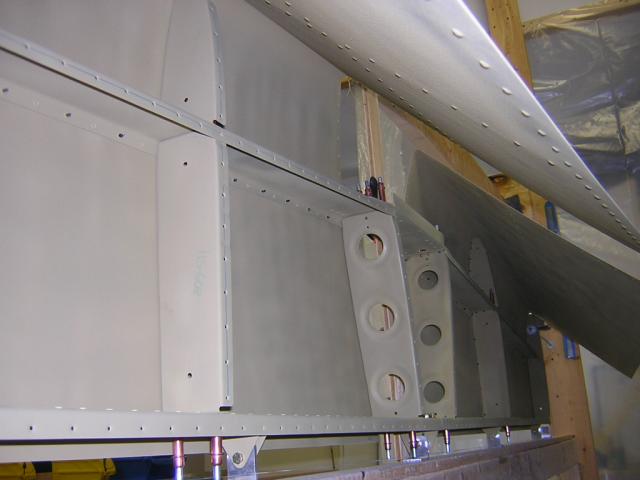
For now, just play with it and it will fit in. I fitted and clecoed the entire top surface first and laid the bottom surface down with clecoes. It took some pressure, but it gets done. The processes I think have changed since I did mine, but here are some pics.
Hope this helps!
 CJ
CJ
For now, just play with it and it will fit in. I fitted and clecoed the entire top surface first and laid the bottom surface down with clecoes. It took some pressure, but it gets done. The processes I think have changed since I did mine, but here are some pics.
Hope this helps!
RV-7
Garmin G3X with VP-X & a TMX-IO-360 with G3i
It's all over but the flying! 800+ hours in only 3 years!
Garmin G3X with VP-X & a TMX-IO-360 with G3i
It's all over but the flying! 800+ hours in only 3 years!

i'll agree with jim and CJ. you're doing just fine. i gouged the hell outta mine too to get 'em fit, but when they get drilled and dimpled, they'll fit better the next time. don't forget to prime the gouged area. oh, make sure your flanges are 90 degrees.
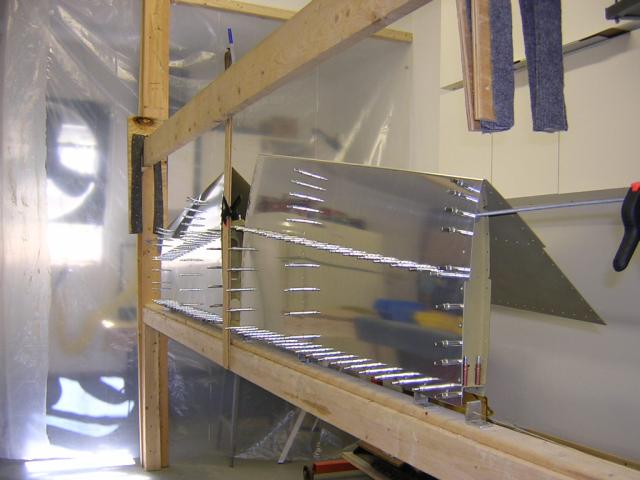
here's mine on the bench with the nose rib cleco'd-

and then in the v-jig to line up and cleco the inner ribs-

here's mine on the bench with the nose rib cleco'd-
and then in the v-jig to line up and cleco the inner ribs-
Unwilling to accept defeat at the hands of a pile of aluminum, he steps up to the cleco gun (well, pliers, actually) with renewed determination, and... and... and... he struggles, he grimaces, he cusses.
He squints to distinguish lined-up holes from reflections of holes in the shiny aluminum. Reaching for a stronger pair of glasses, peering from a new angle, he finds the holes and verily commands them into position.
He devises a custom horizontal stabilizer fixture, from an oversized cat scratching post. He hears the words of his compadres with helpful suggestions and confident encouragement. Can he do it? Will he triumph? YES! He scores!