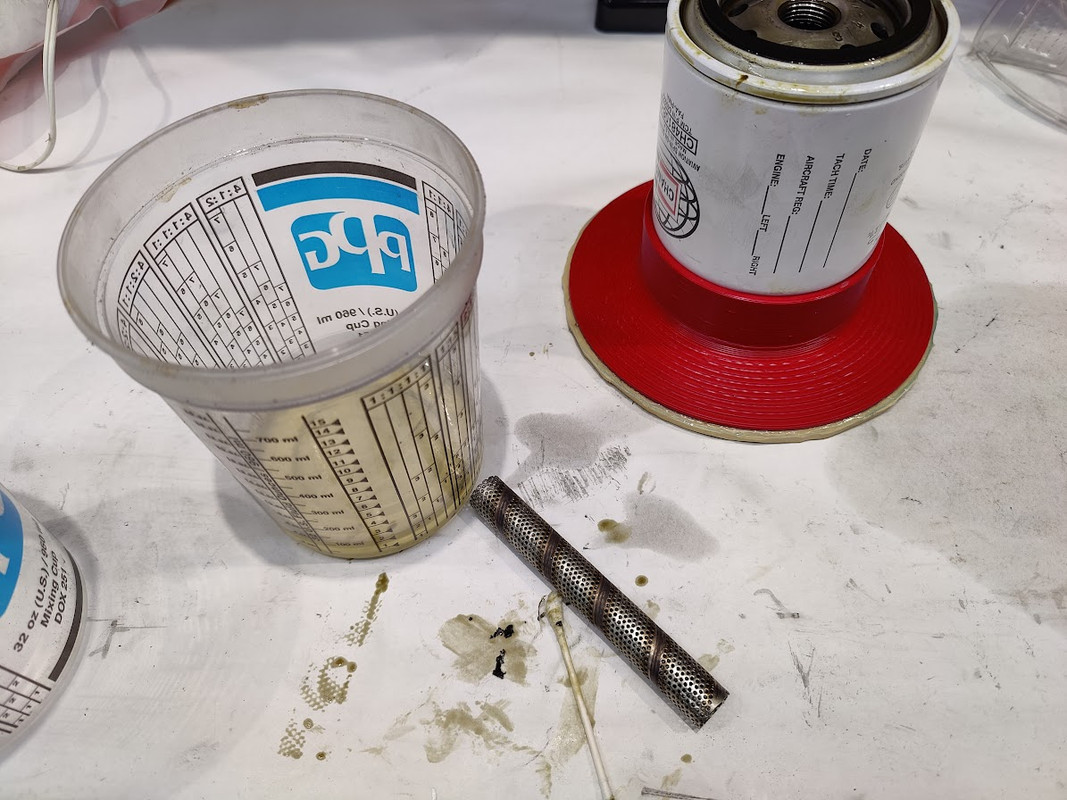
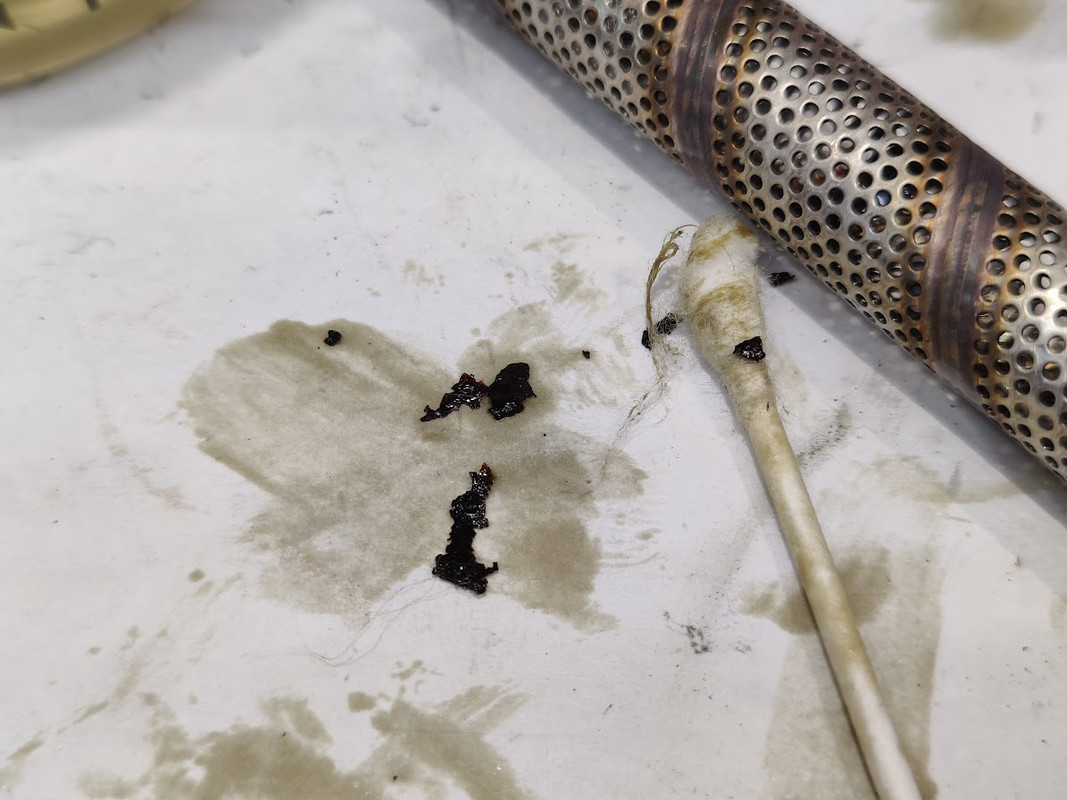
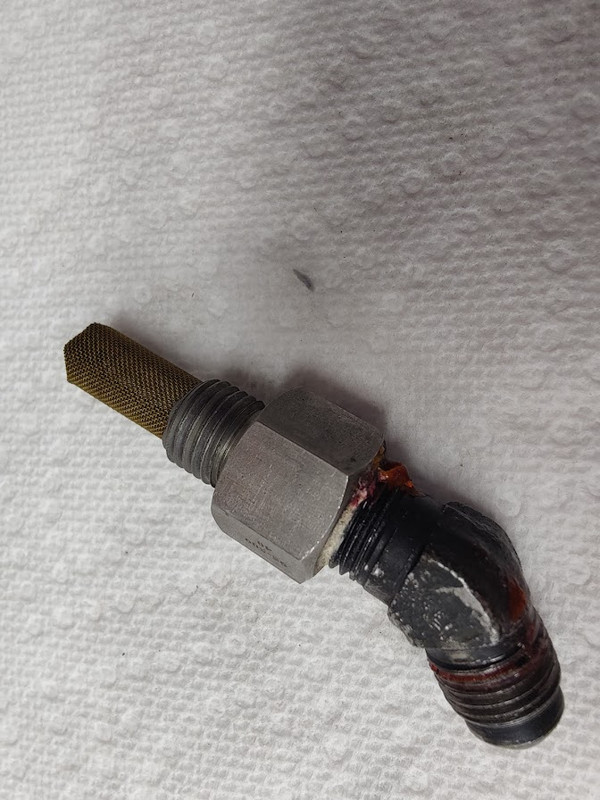
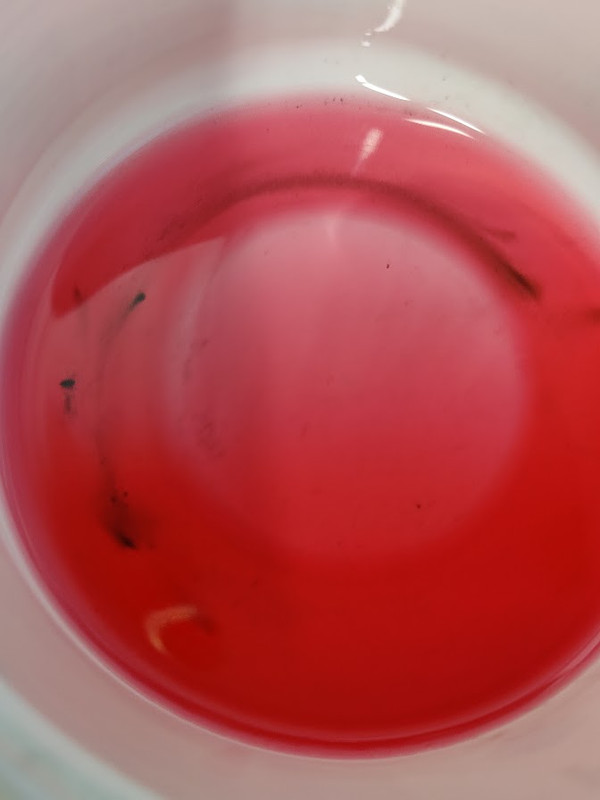
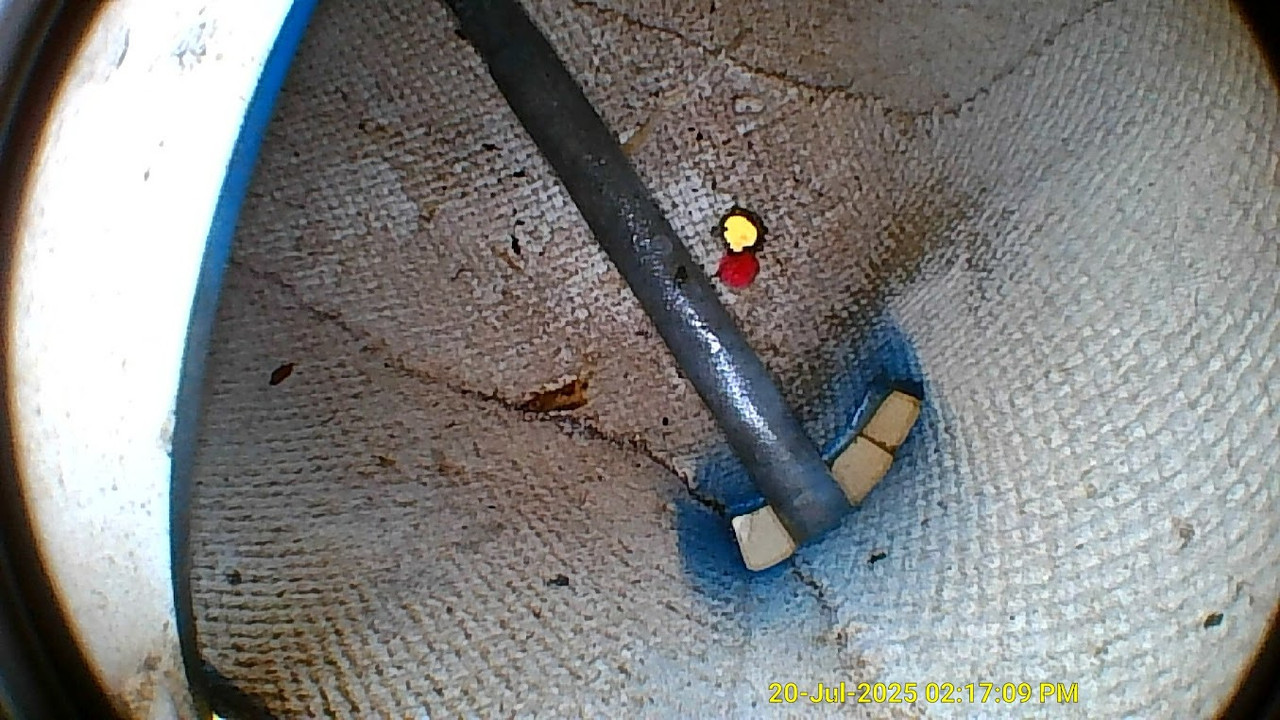
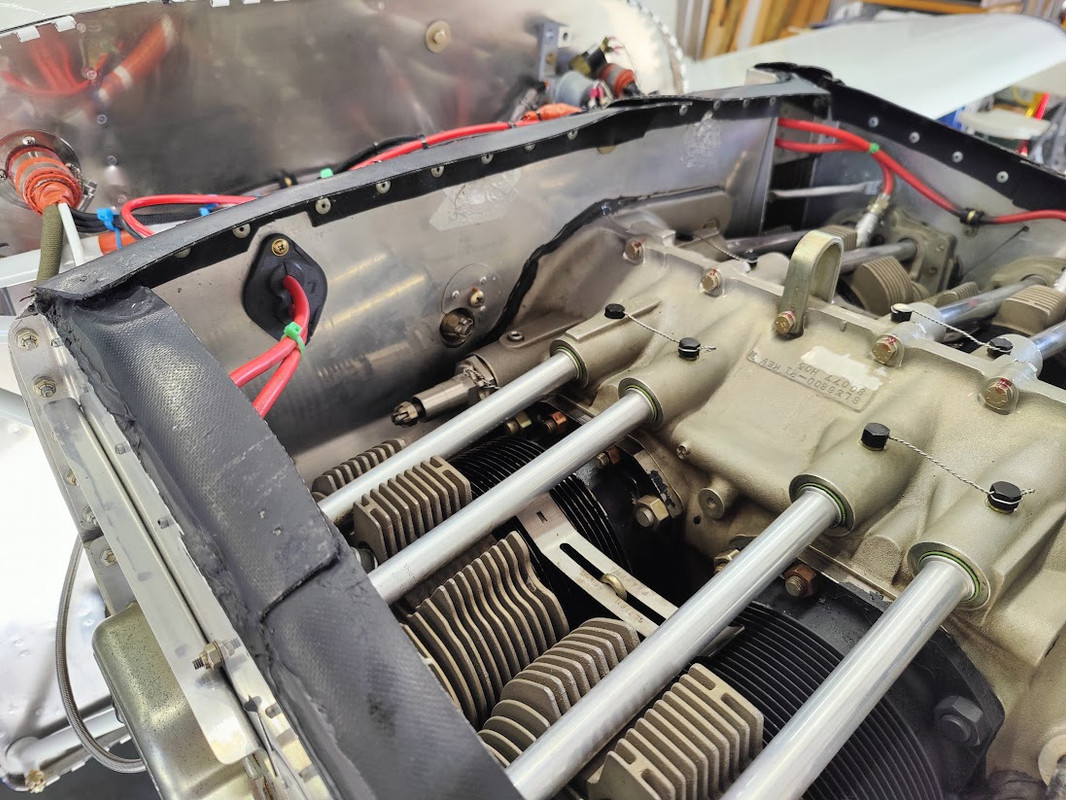
I found some particals in the oil suction screen. It appears to be either adhesive or gasket material. I did replace the front crank seal twice. The first time using pilobond. I made the mistake of applying it to both surfaces (as instructed) instead of only the seal surface. so, when I pushed the seal in, the adhesive on the crank case was just pushed into the engine. that was about 6 years and 600 hours ago. I replaced the seal after 50 hrs of installing it because I left a string of adhesive on the crank by accident and that failed the seal. pilobond becomes hard. the second time I replaced the seal I used 737 silicon adhesive and have not had any further issues.
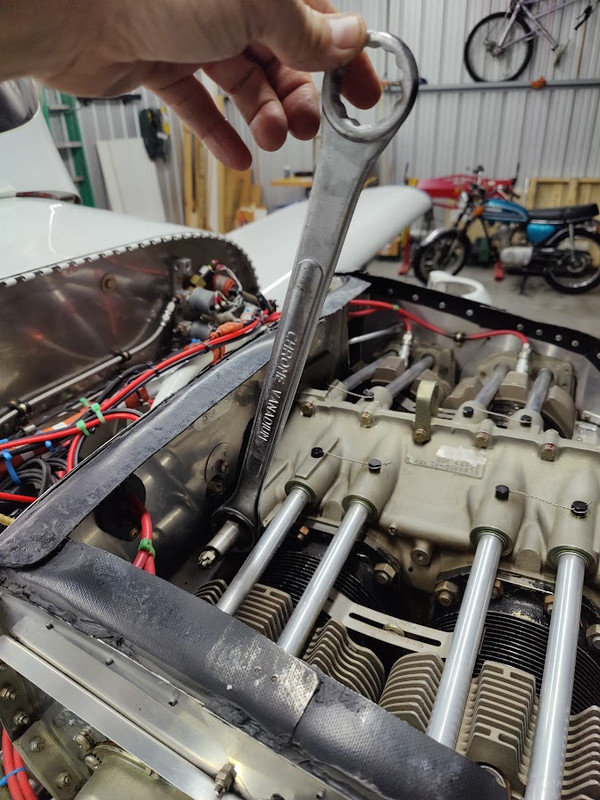
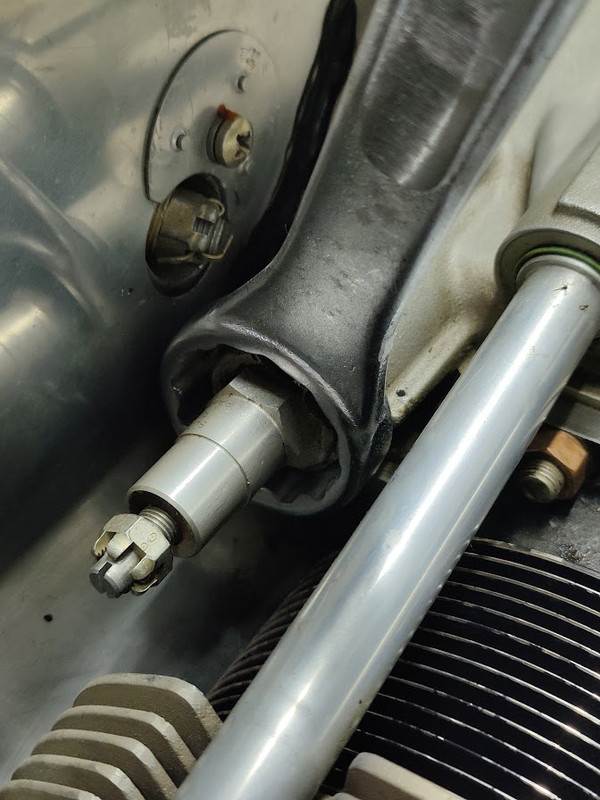
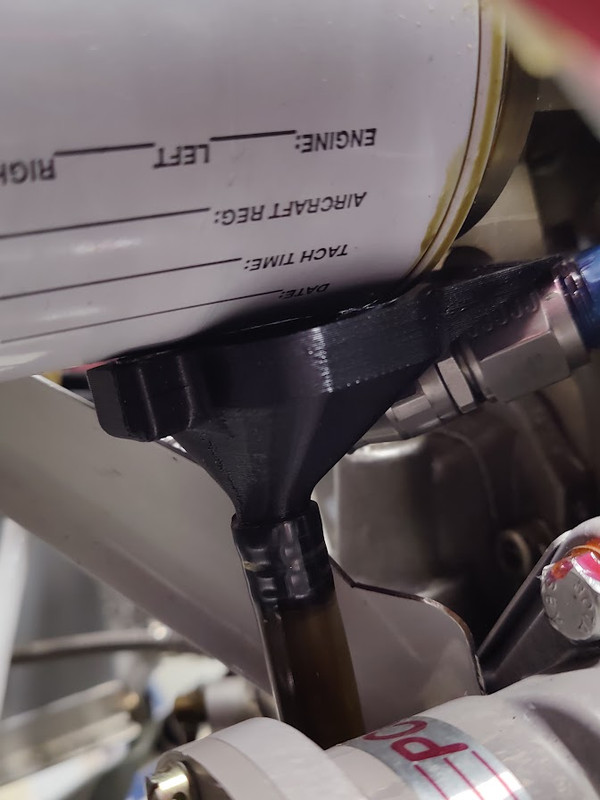
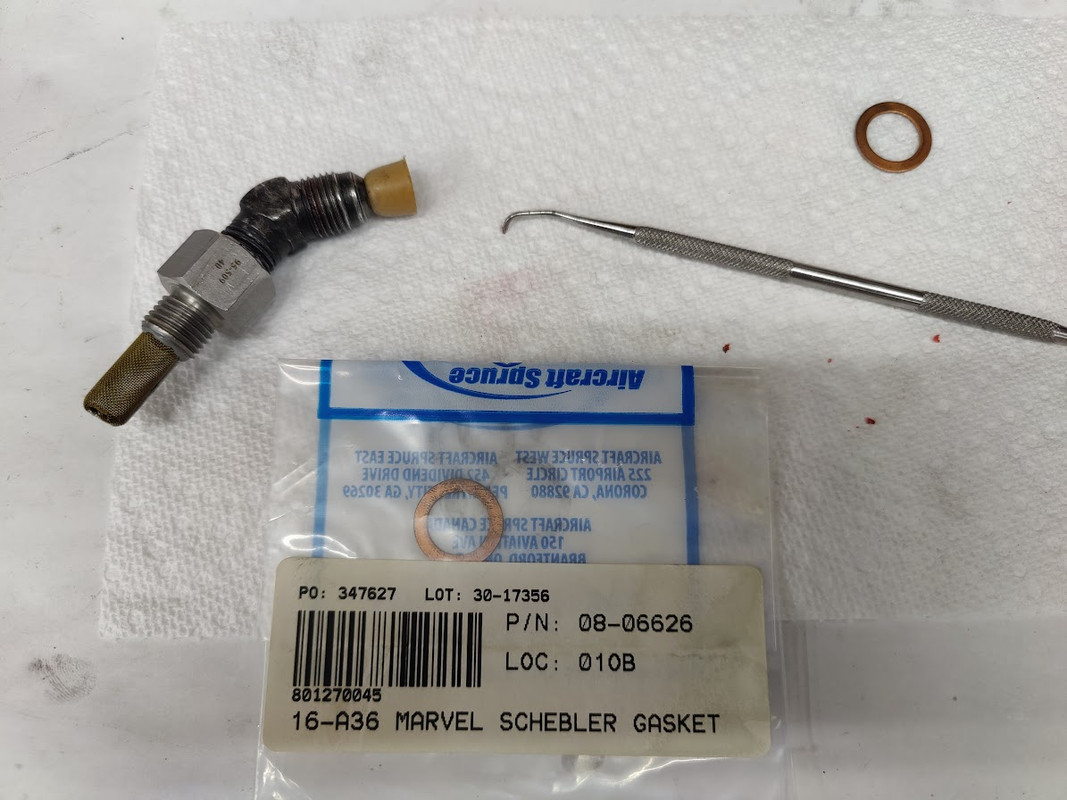
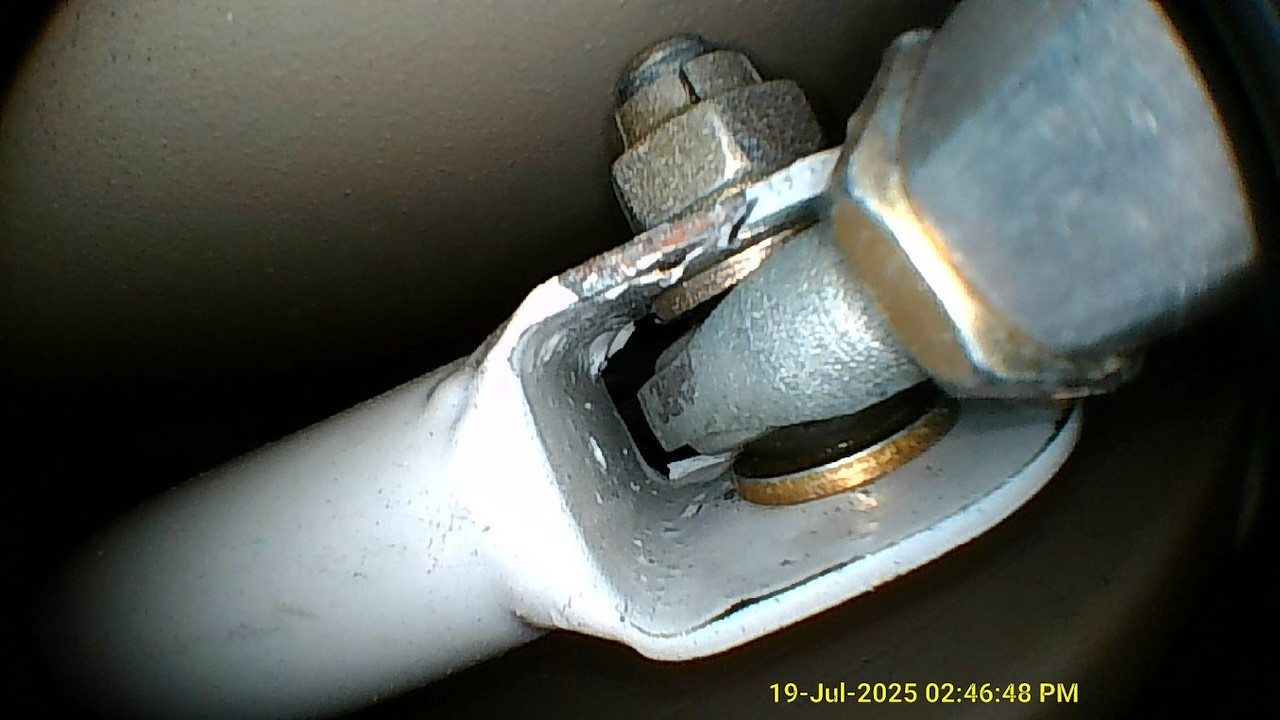
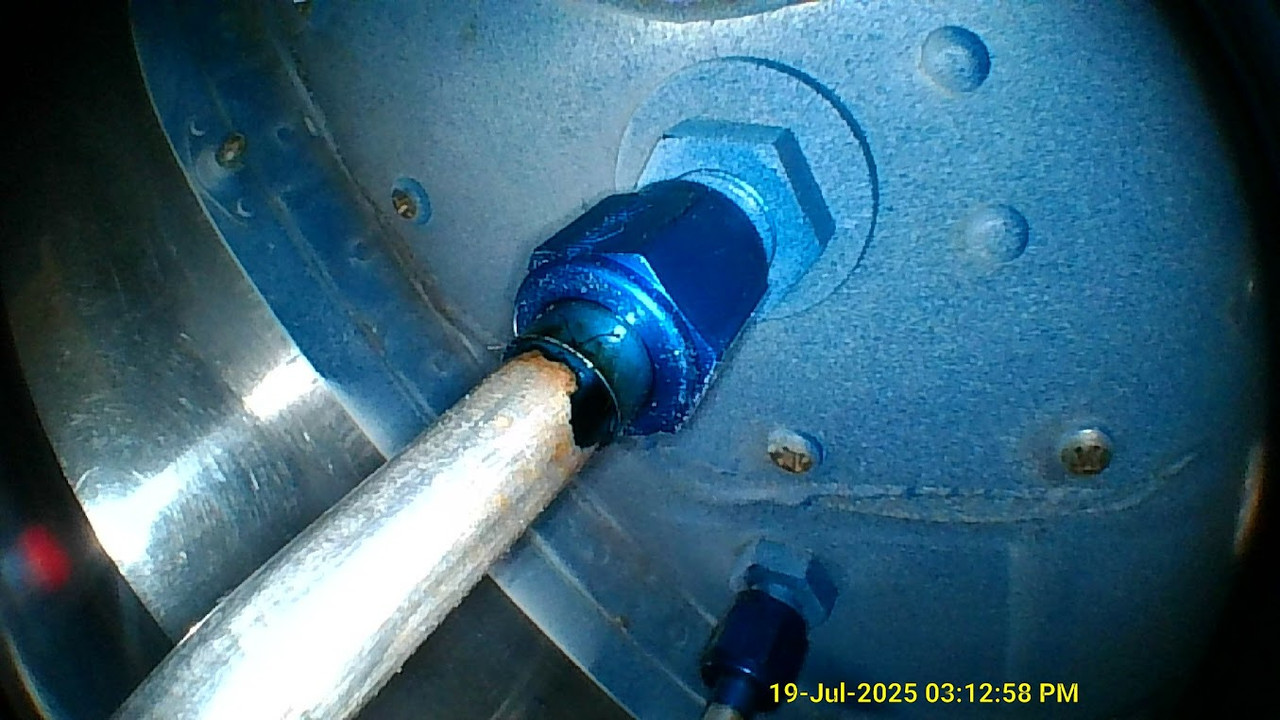
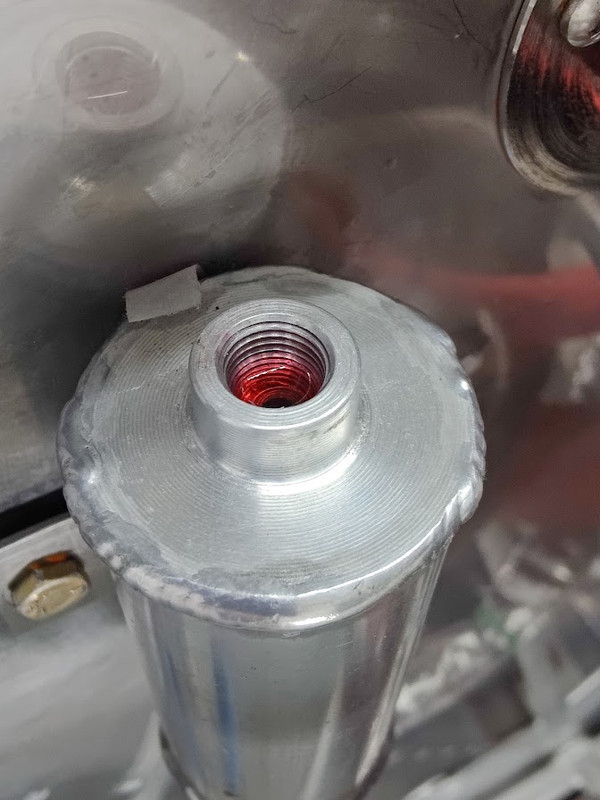
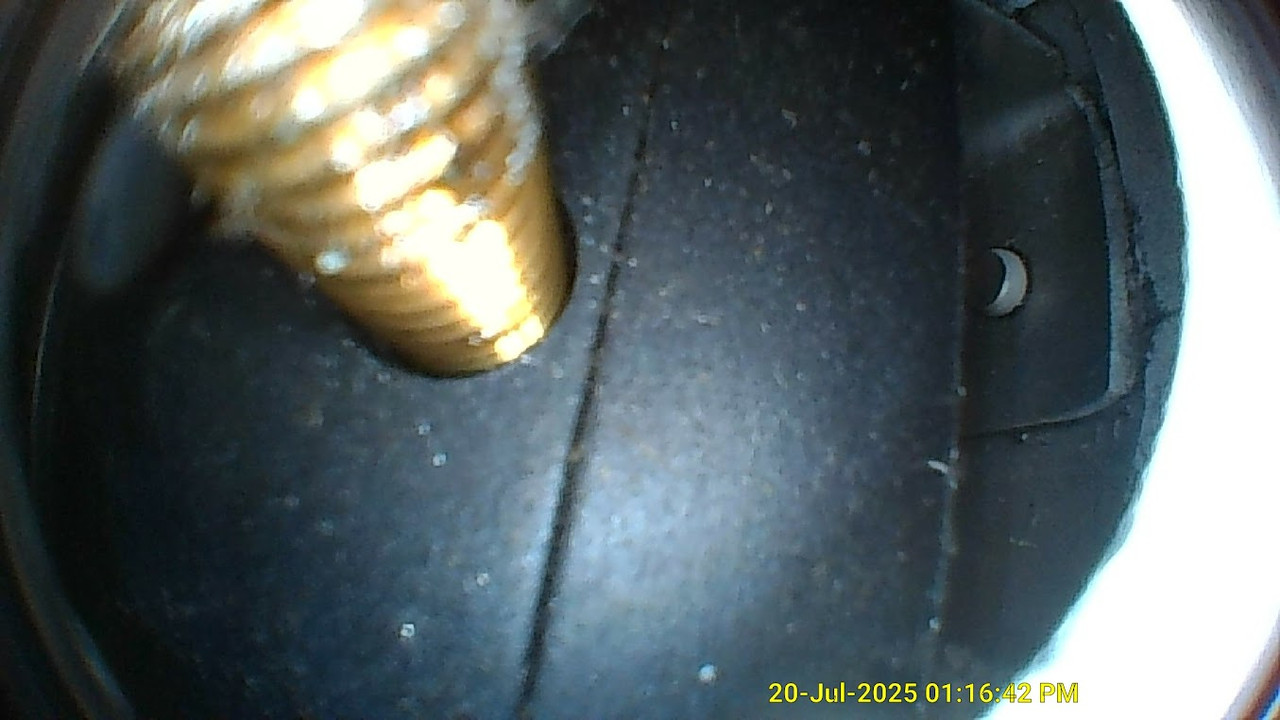
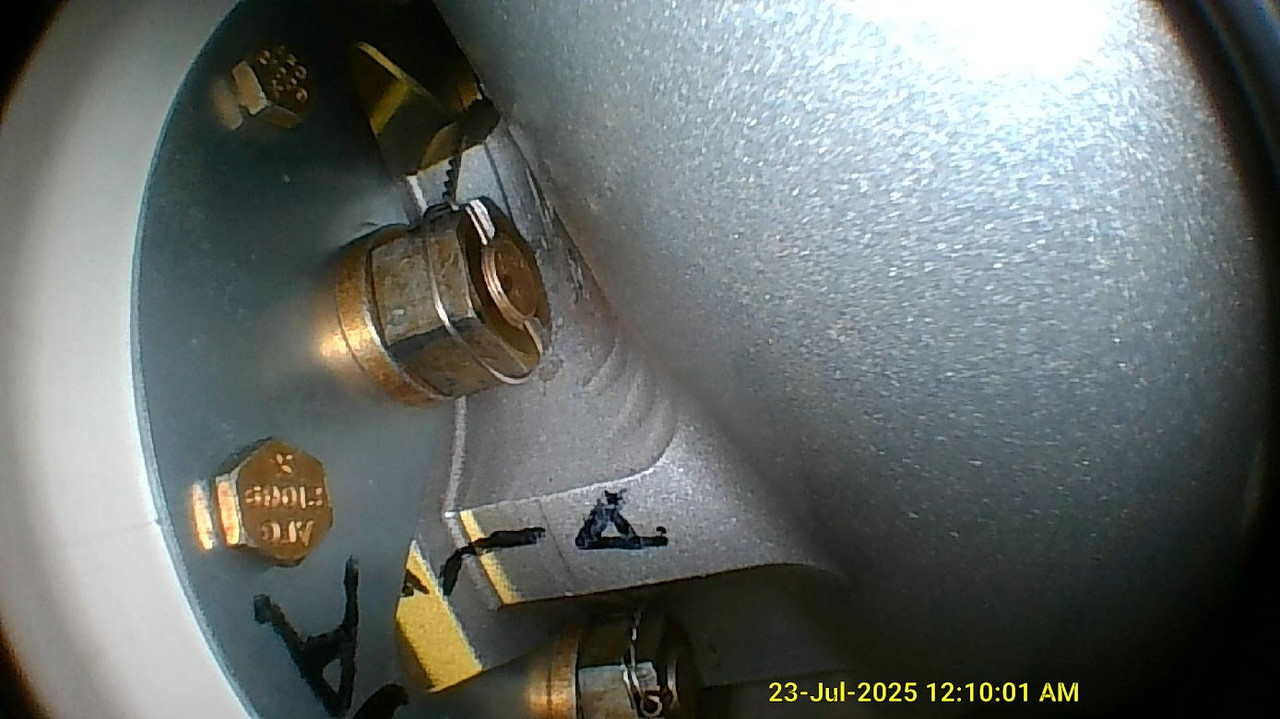
I found a little wrench to tighten the oil pressure regulator. it was finger tight and weeping. those goofy copper split washers are worthless. the torque is so low upon installation that the part is allowed to move very slightly (vibration) and over time the seals fail. use .040 safety wire for the oil pressure regulator.
RV9A, Superior O-320, WW 200RV prop, Slick mags, CHT 330F, EGT 1300F, B&C, 1400+ hours
Freedom and Democracy are all that really matter.
Ride a bike, unlock the world. https://www.rvplasticparts.com/
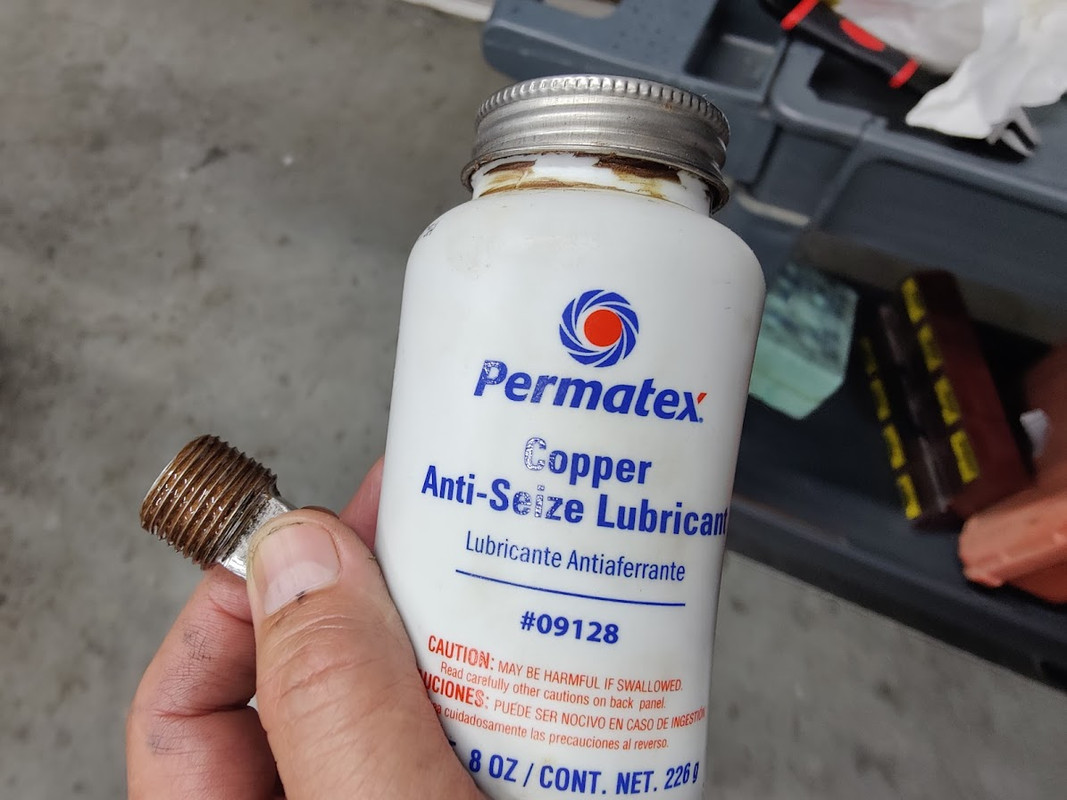
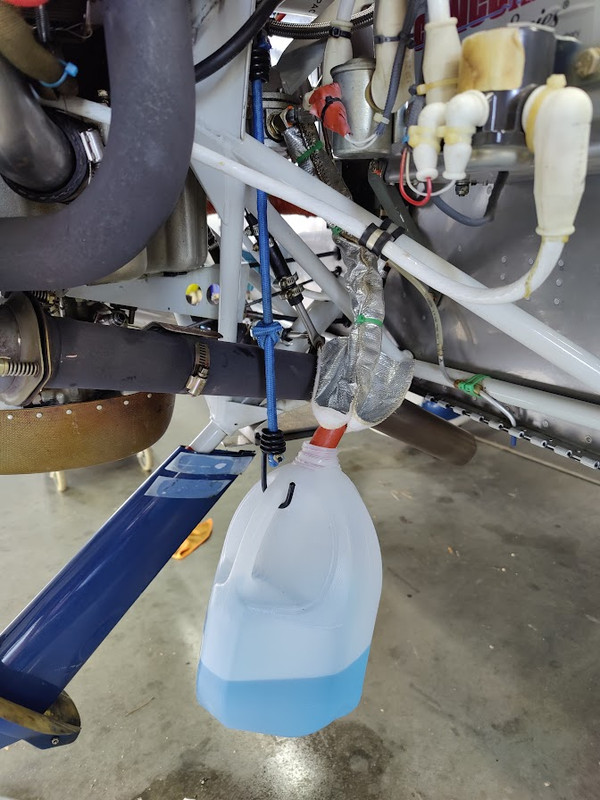
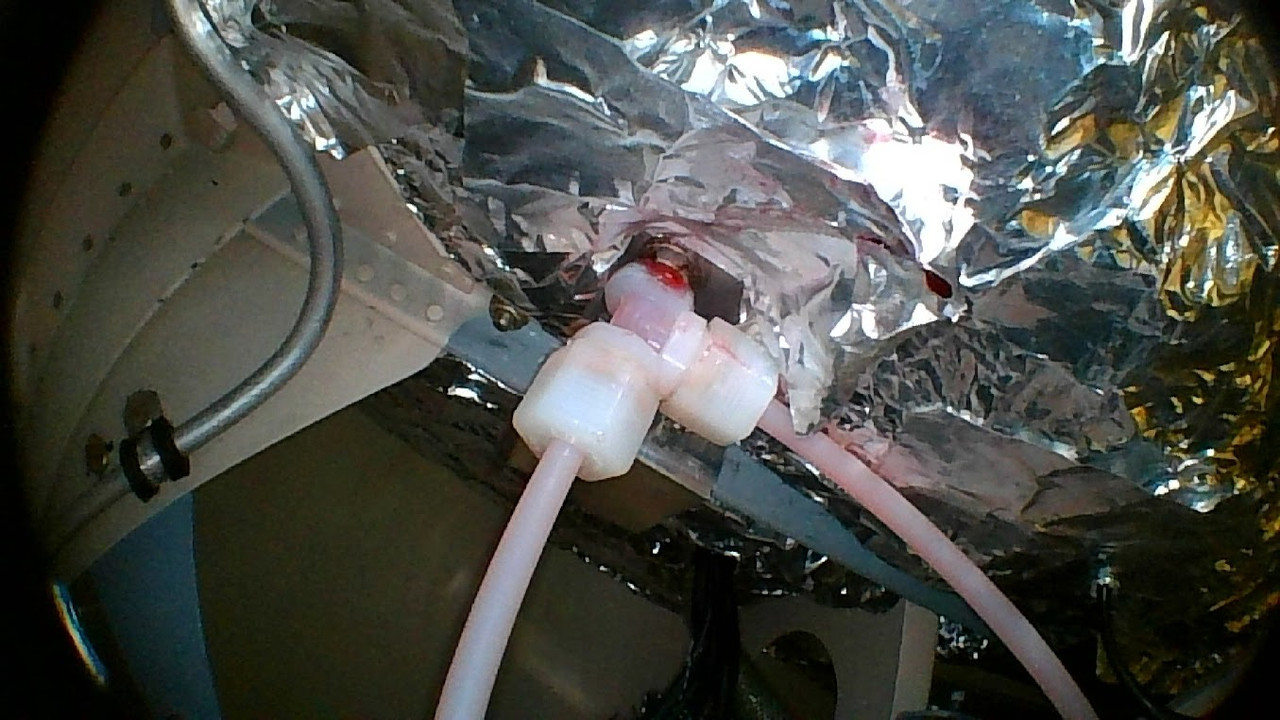
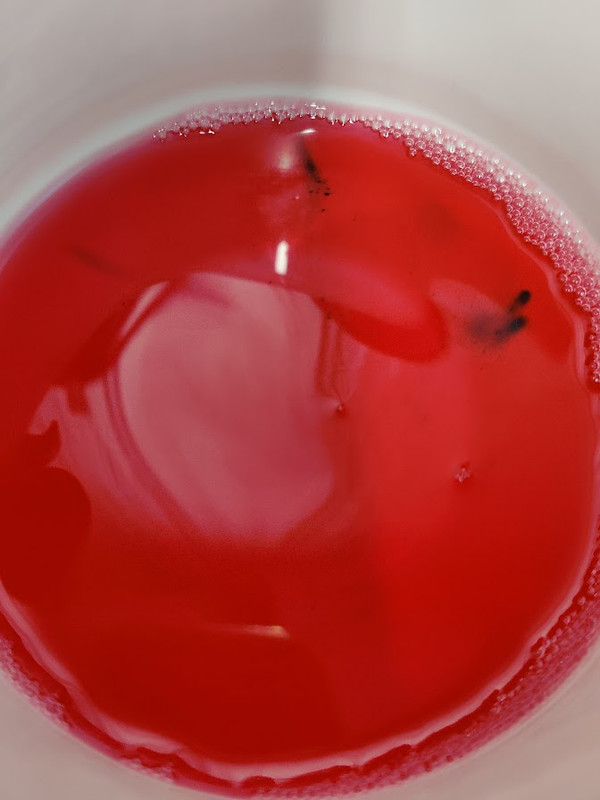
draining the filter oil the EZ way... and lubing the drain plug. this copper anti-seize has worked well for me.
RV9A, Superior O-320, WW 200RV prop, Slick mags, CHT 330F, EGT 1300F, B&C, 1400+ hours
Freedom and Democracy are all that really matter.
Ride a bike, unlock the world. https://www.rvplasticparts.com/
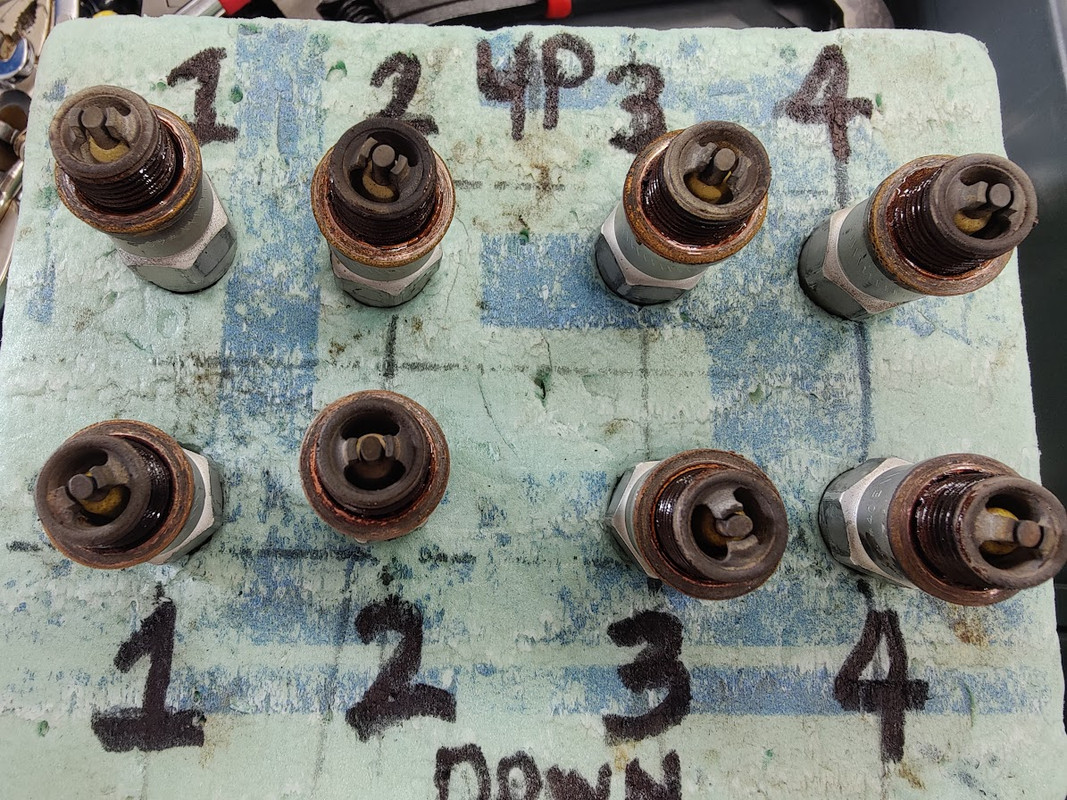
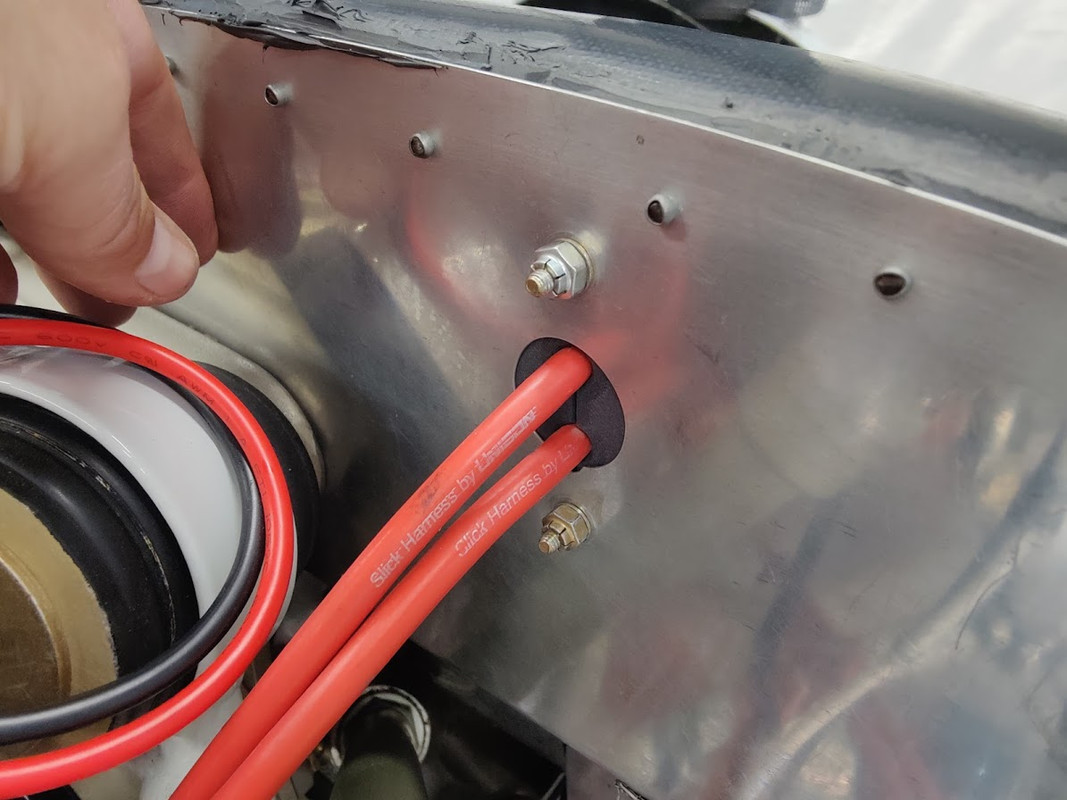
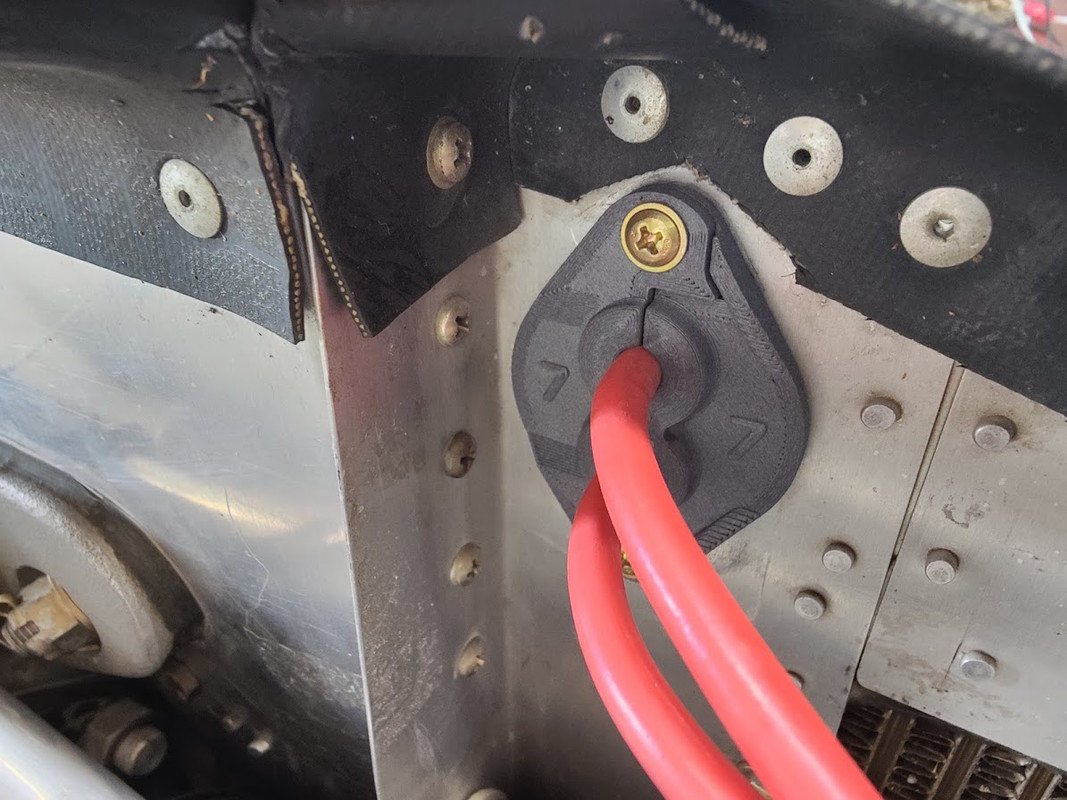
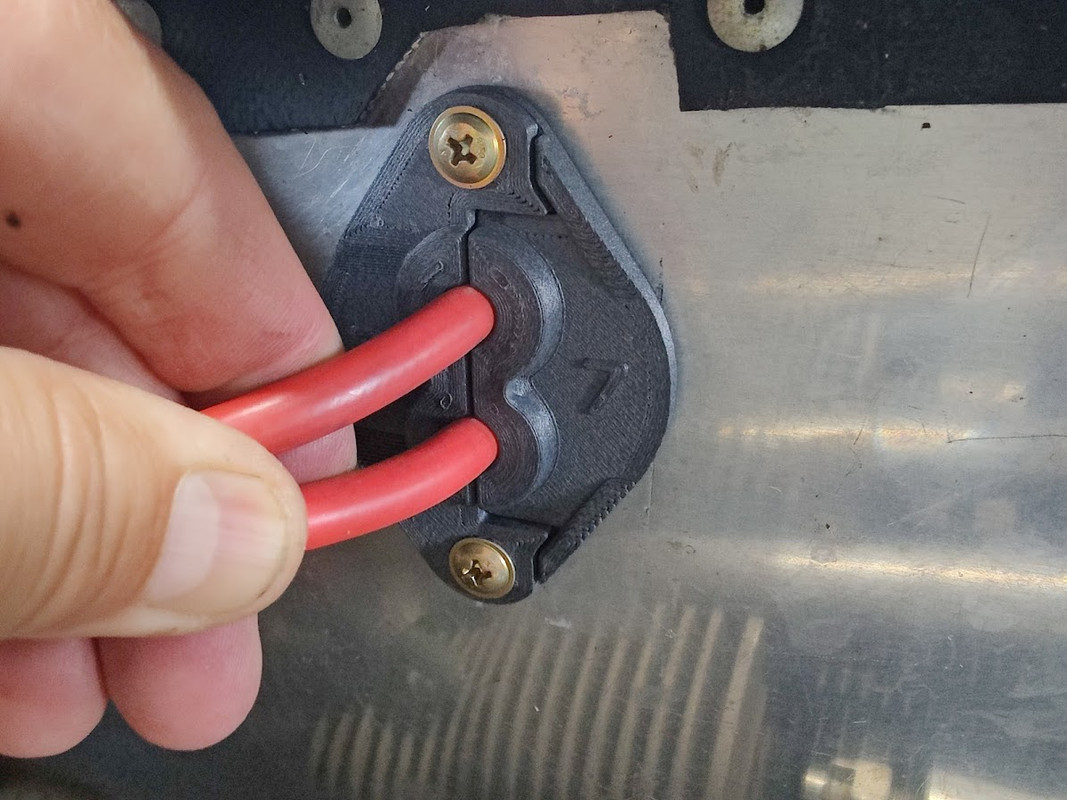
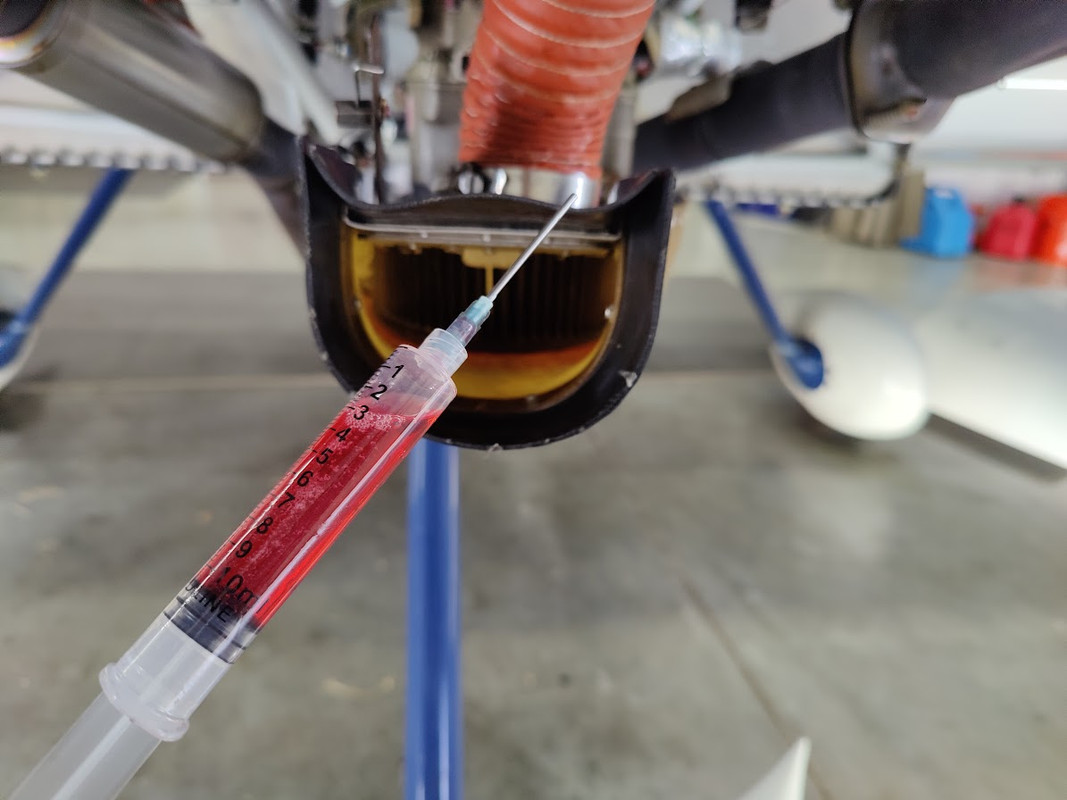
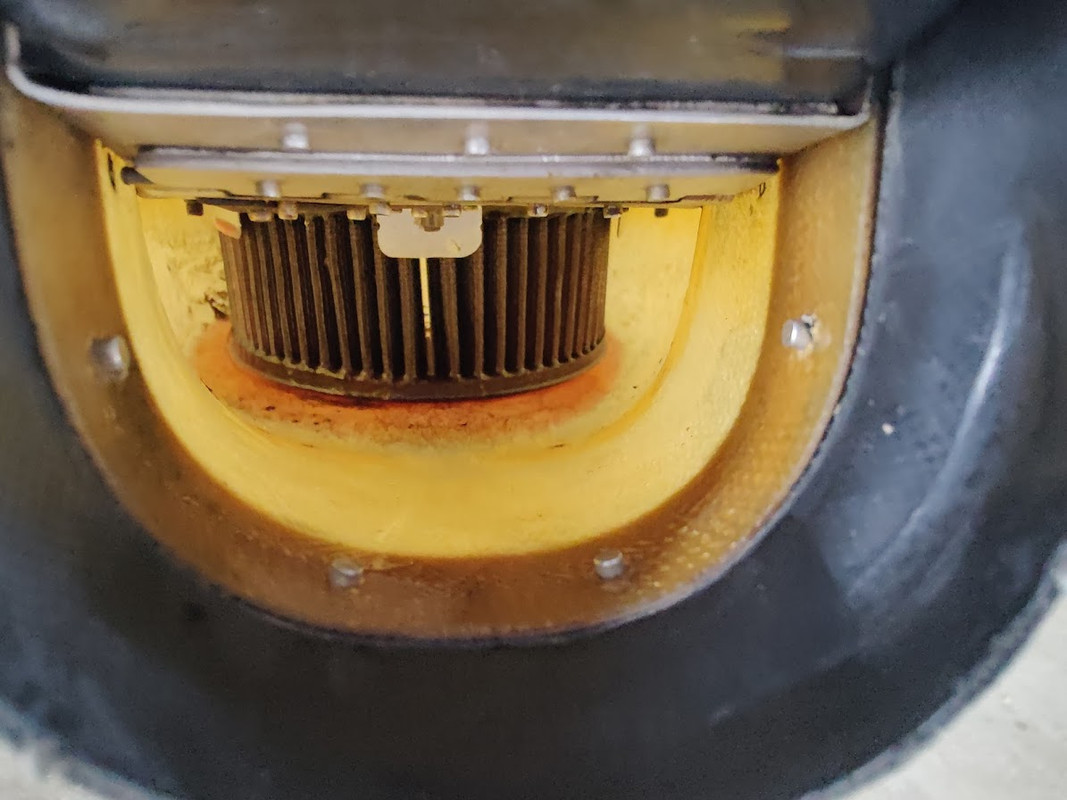
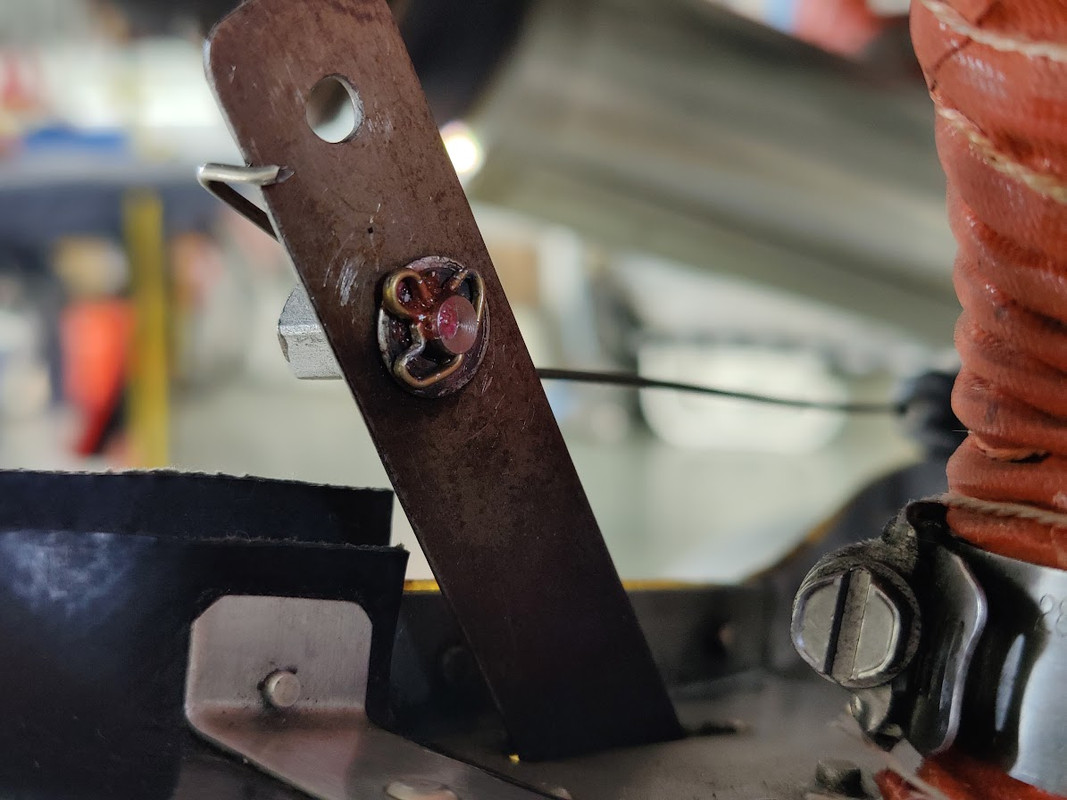
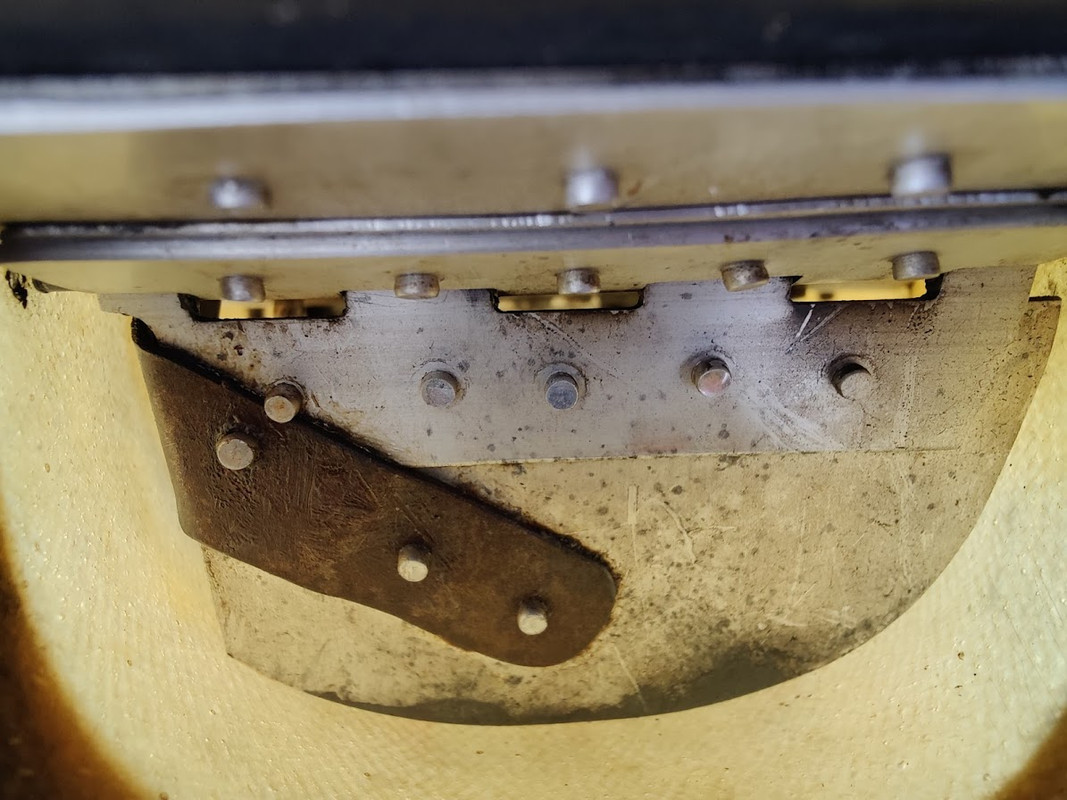
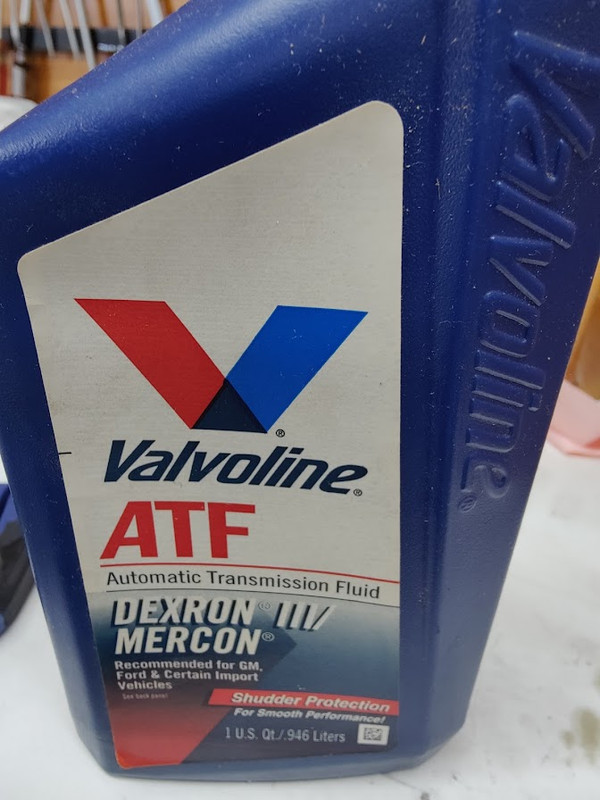
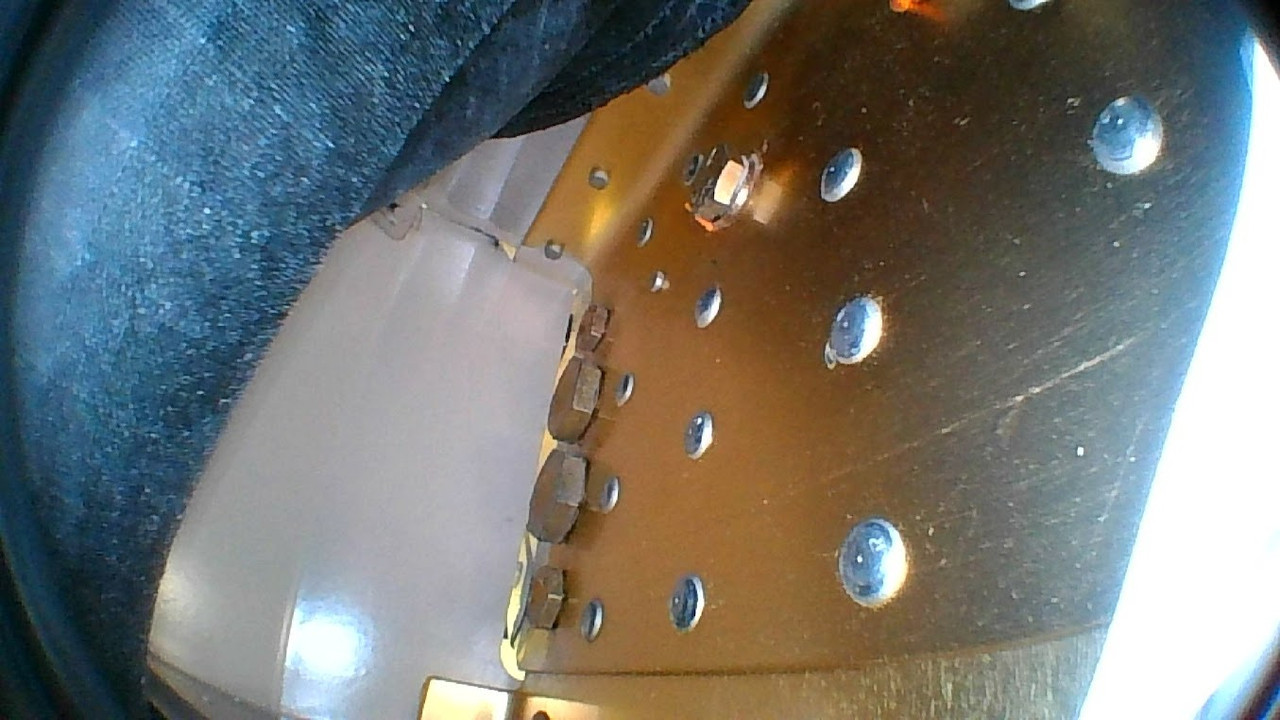
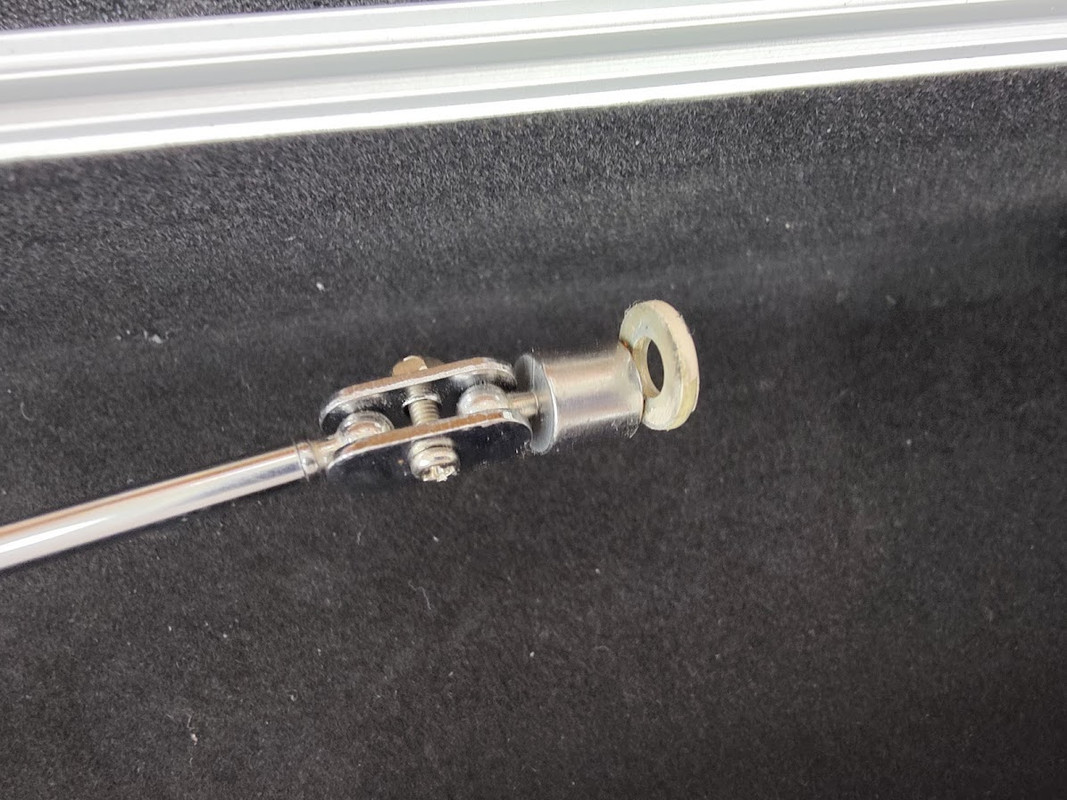
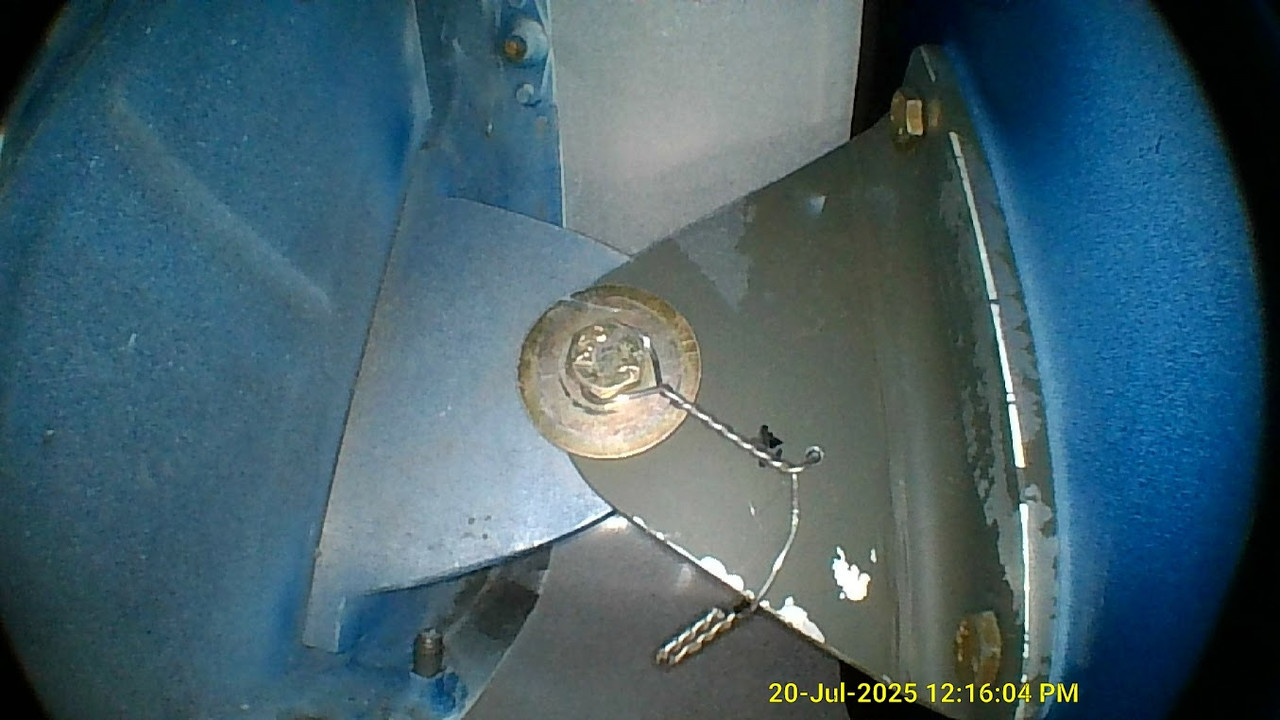
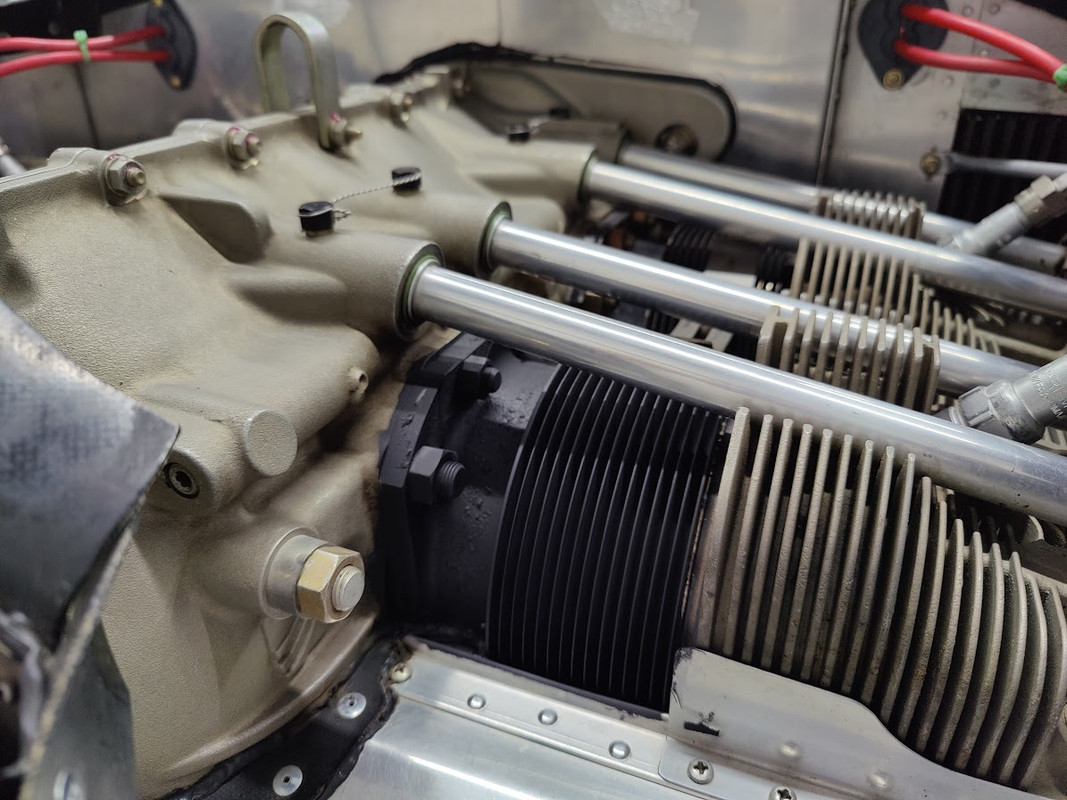
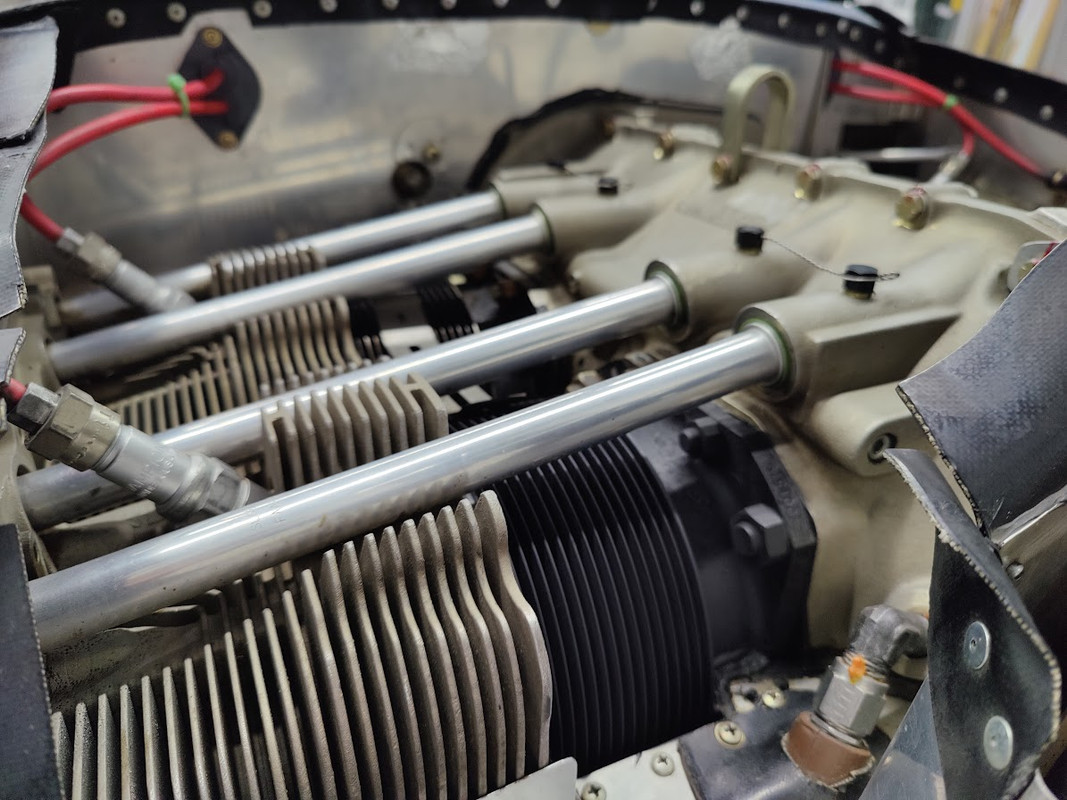
the plugs look reasonable, and the gaps are fine for another 100 hours, so I cleaned them. I didn't check the mags because I know they are spot on based on CHT and EGT readings and runup mag checks. the air filter is shrinking but I still have another 150 hours to go before I change it, so I injected mercon transmission fluid and soaked it. I change the air filter at each 500 hours. the oil will work its way around on its own. checked the fuel filter and found one small piece of debris (new homemade Teflon hoses) and did a pump flow check where you pump for one minute and weigh the fuel to determine the flow rate. it is flowing 24 gal/hr which is consistent with previous readings and is what I really care about. I could not detect any wear on the carb heat bug nut or hinge plate. I was hoping the carb heat mechanism would last 2000 hours but now I think it will last the life of the aircraft. everything there is original including the cable. the printed spark plug wire seals are holding the wires tightly and the screws were tight, and they look good.
when is the last time I used my carb heat?... a week ago in Minnesota around the Mississippi River. make sure it works when it needs to.
2.4 lb/min (10) = 24 gal/hr a simple calculation
RV9A, Superior O-320, WW 200RV prop, Slick mags, CHT 330F, EGT 1300F, B&C, 1400+ hours
Freedom and Democracy are all that really matter.
Ride a bike, unlock the world. https://www.rvplasticparts.com/
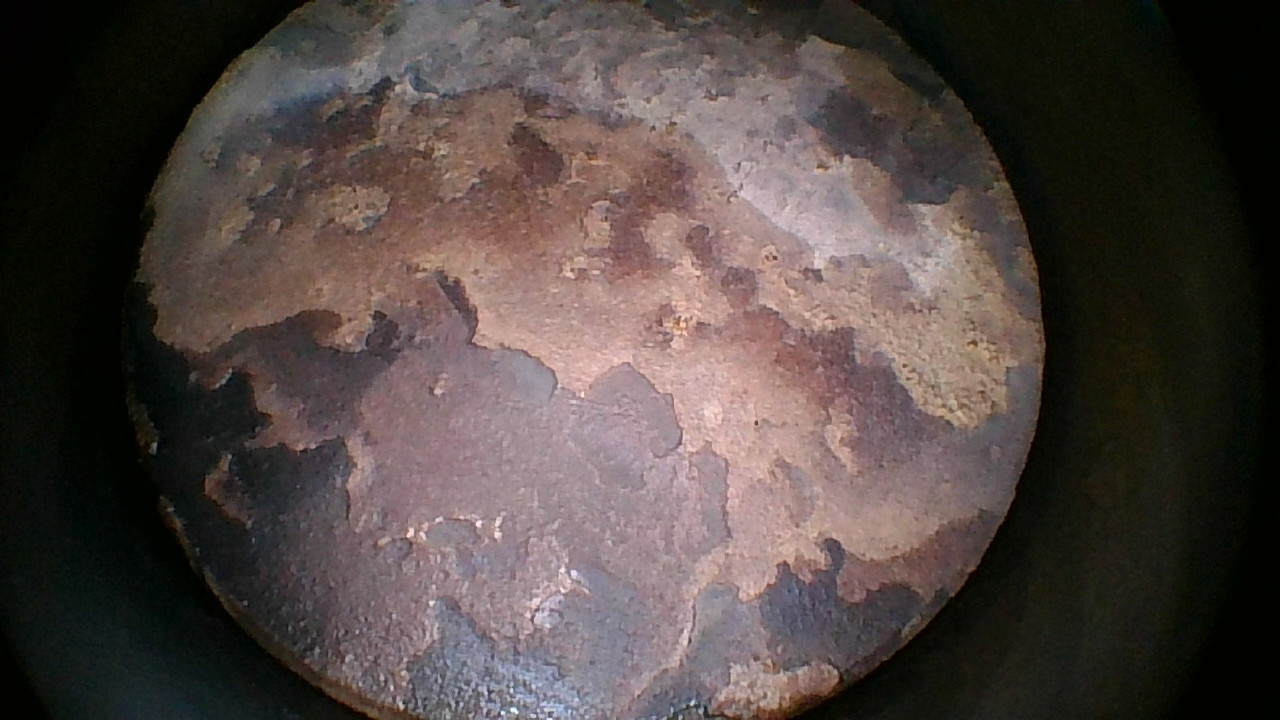
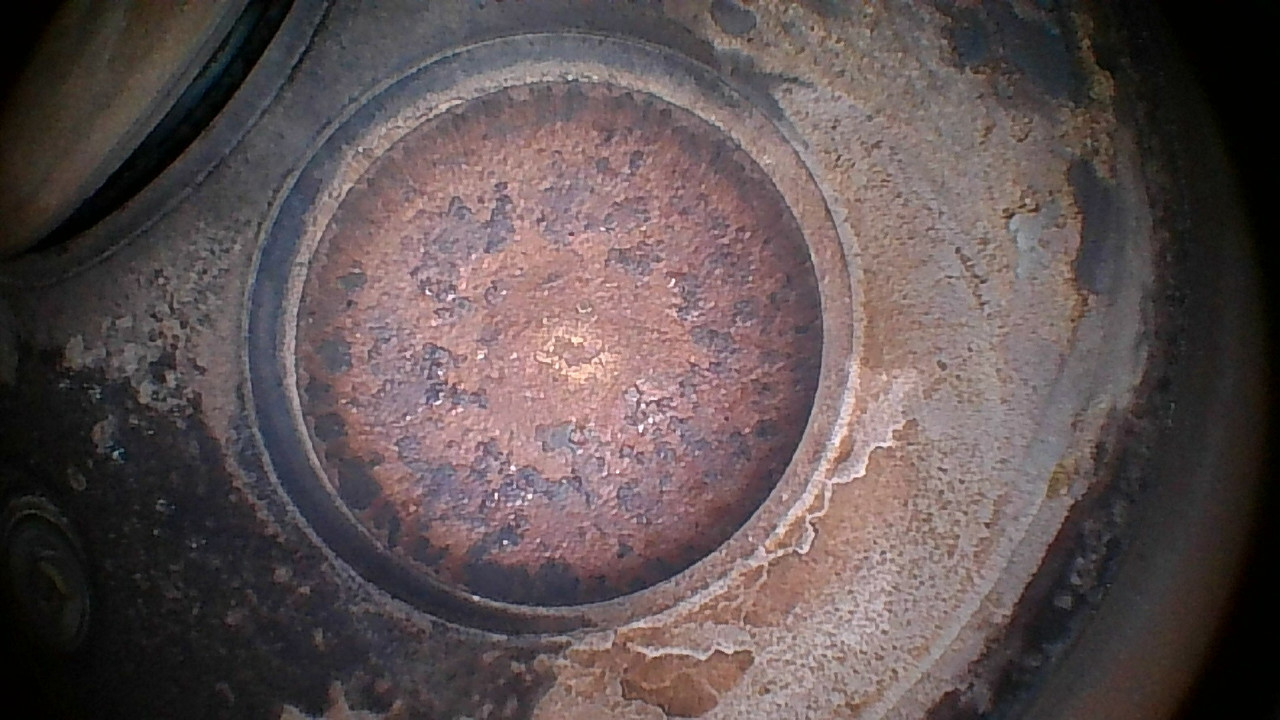
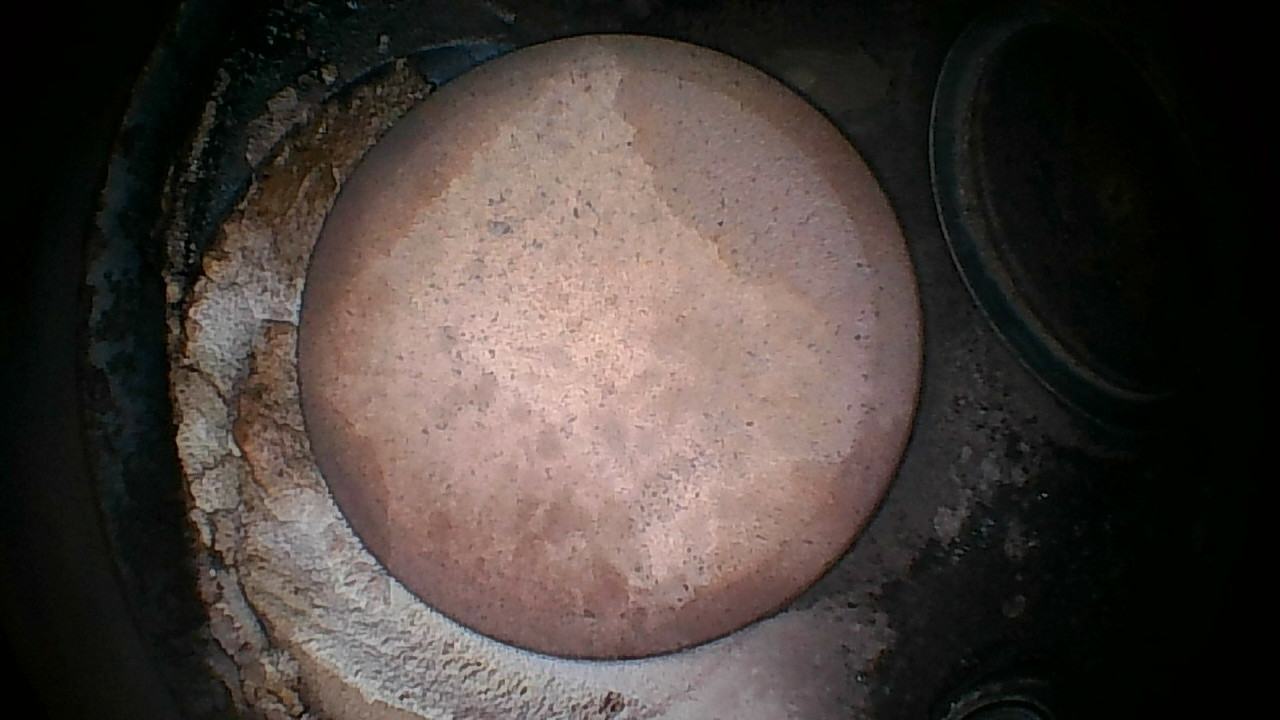
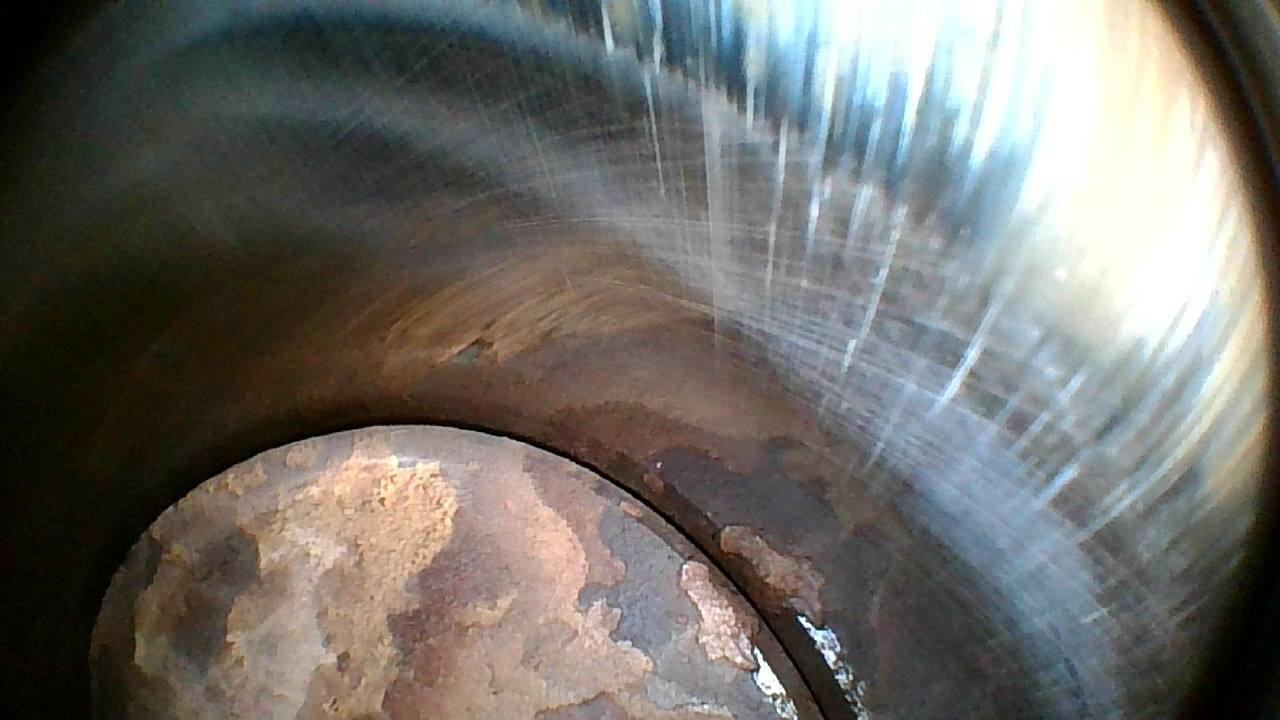
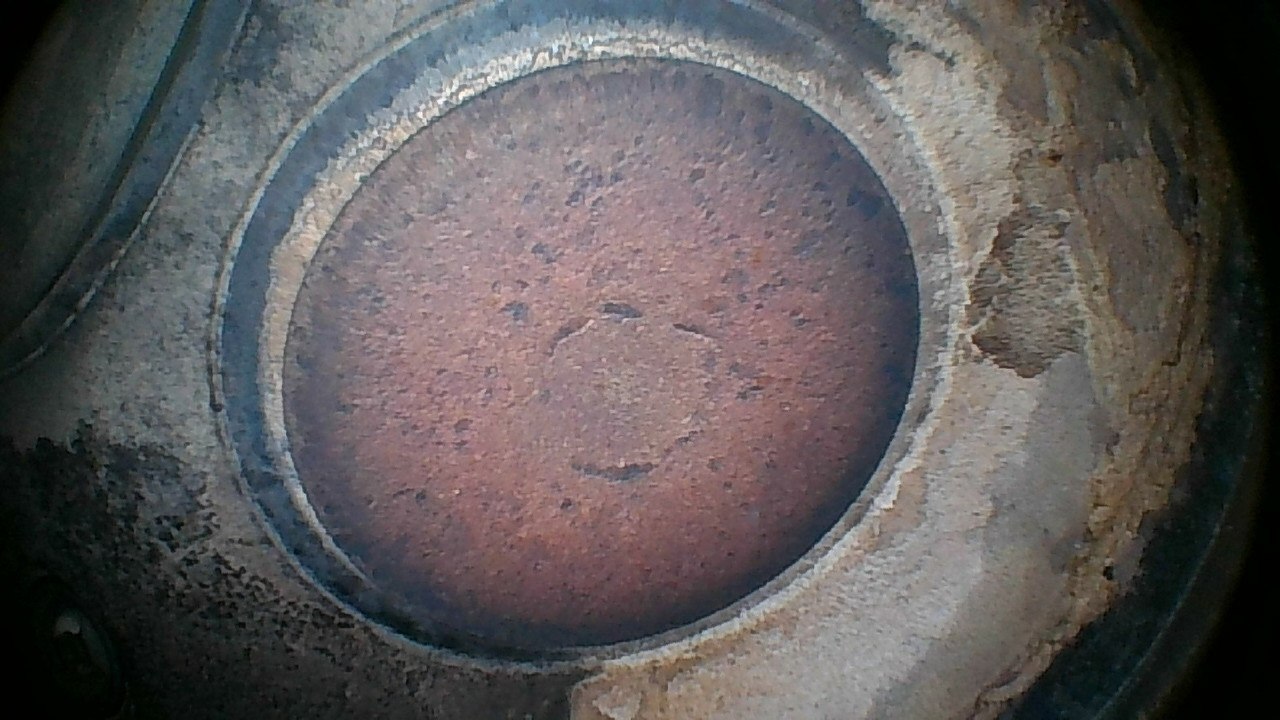
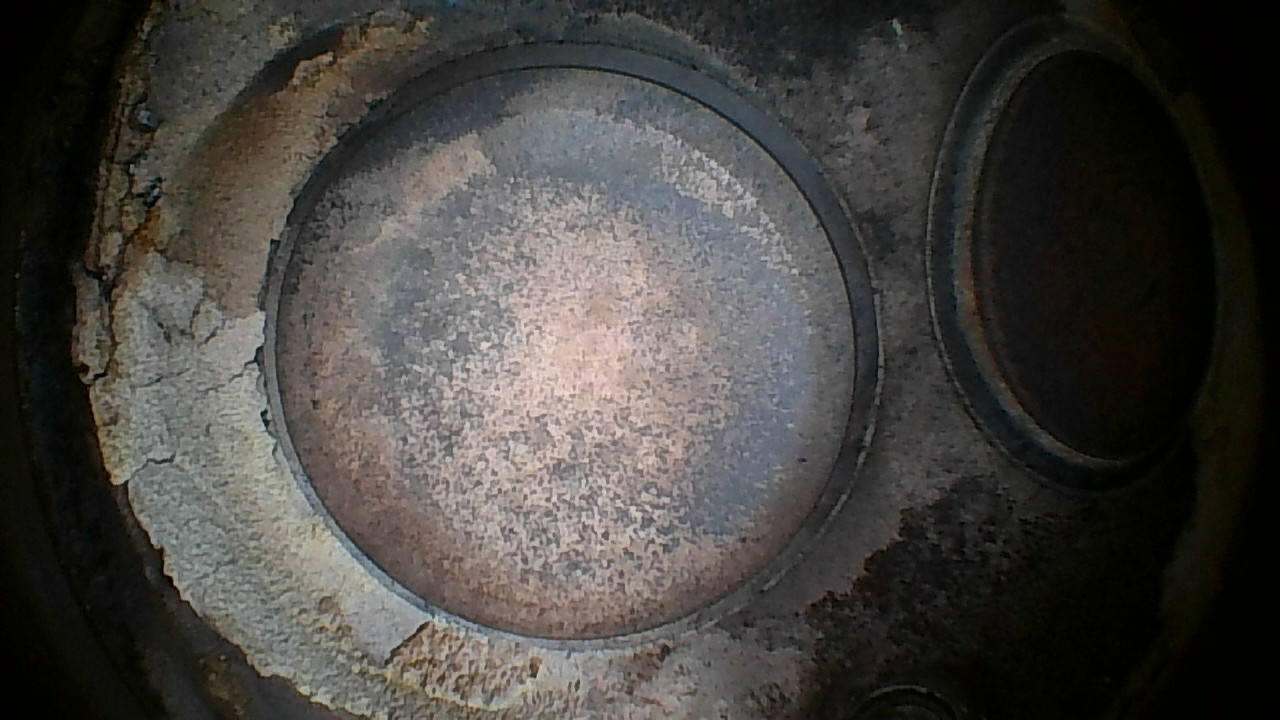
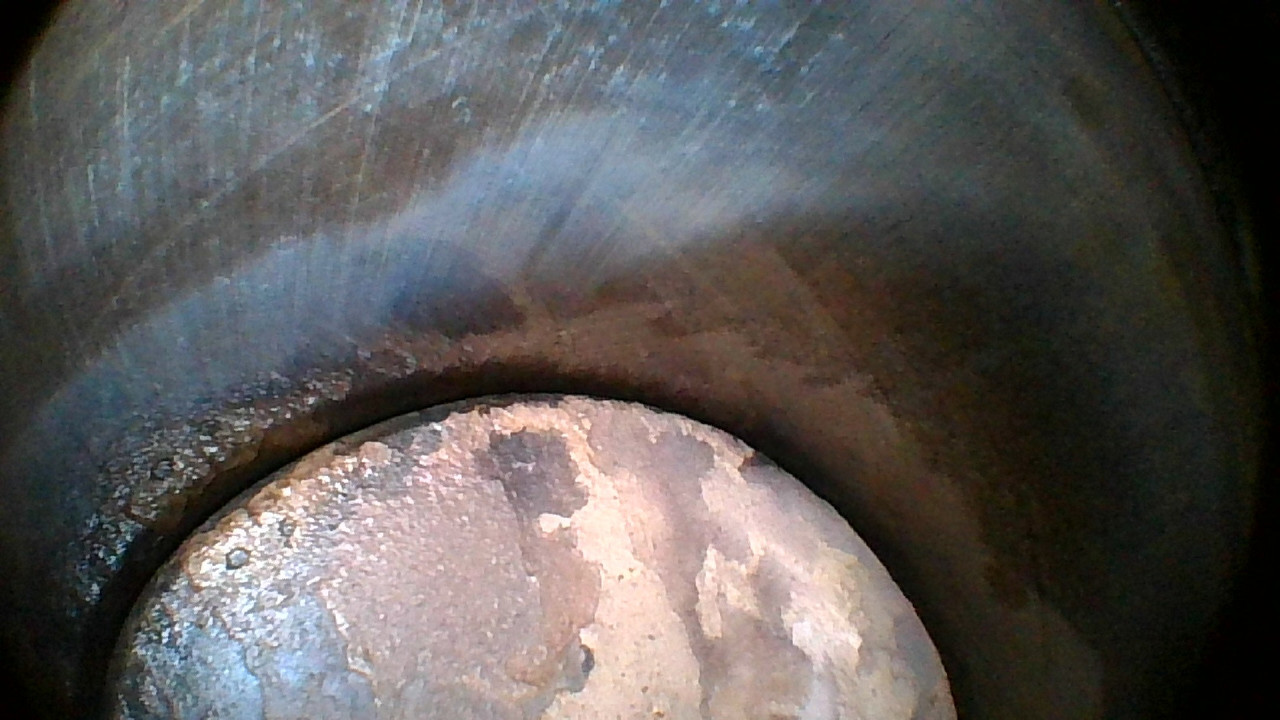
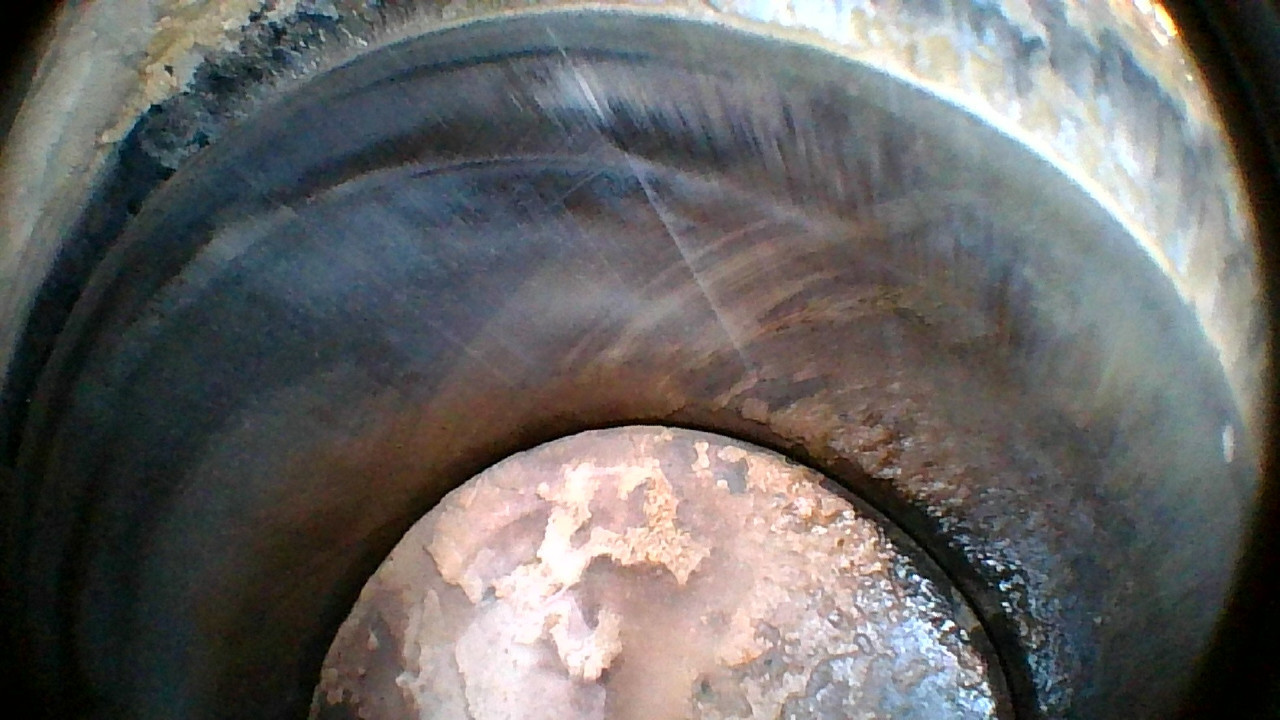
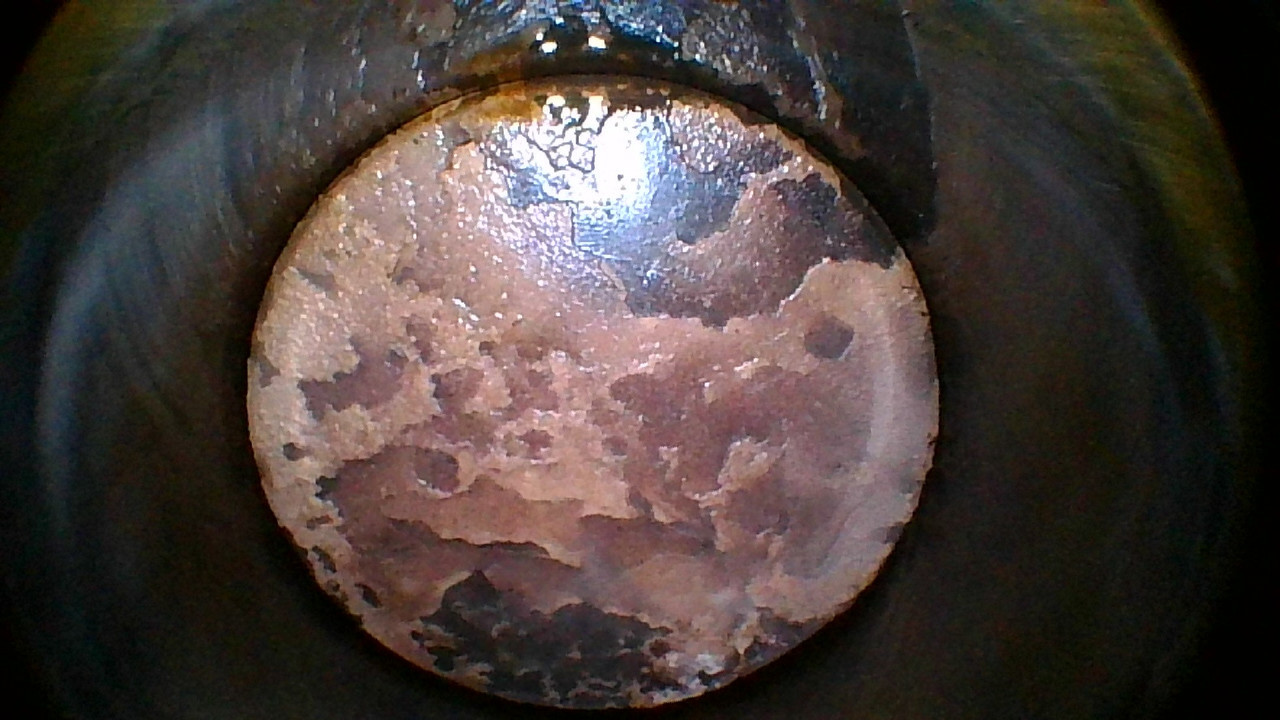
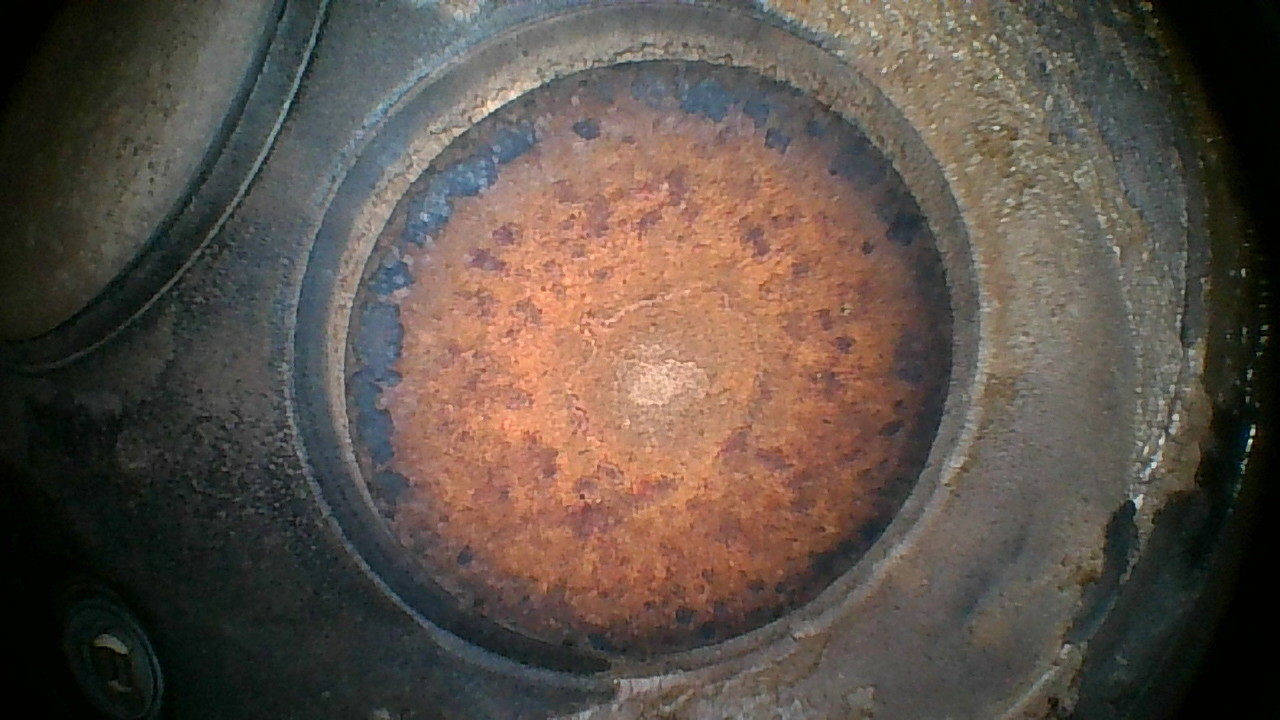
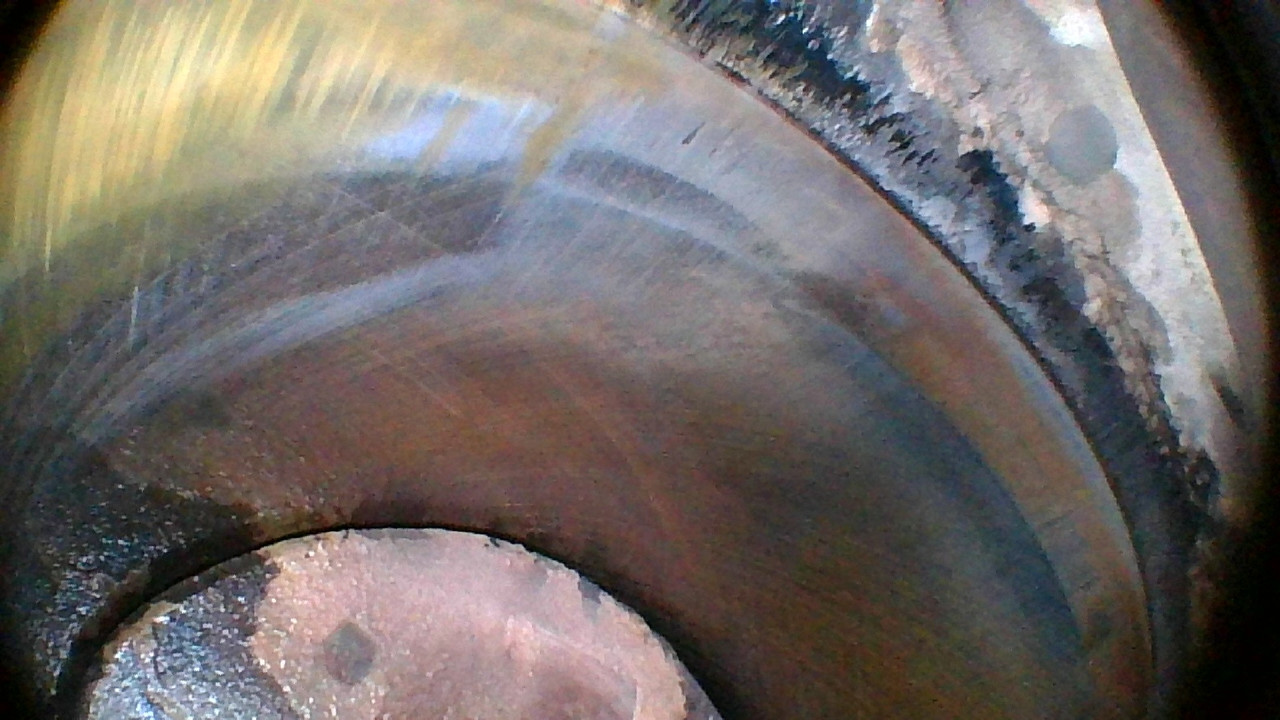
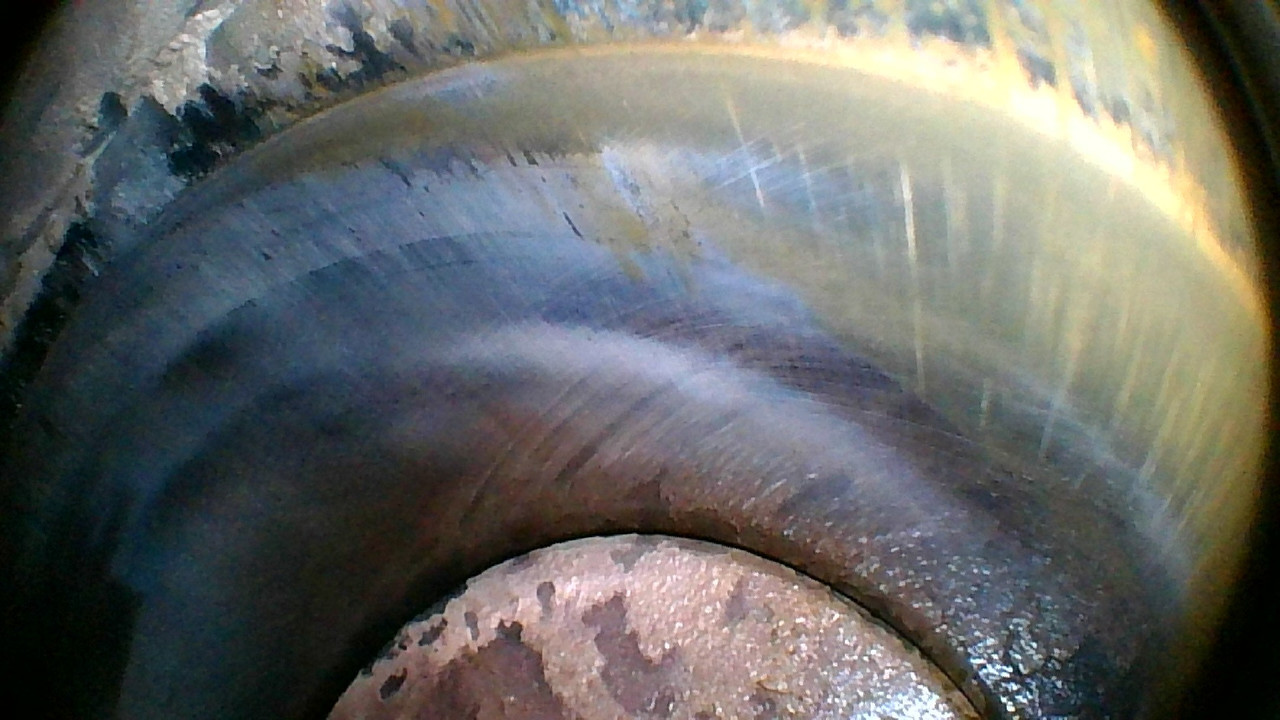
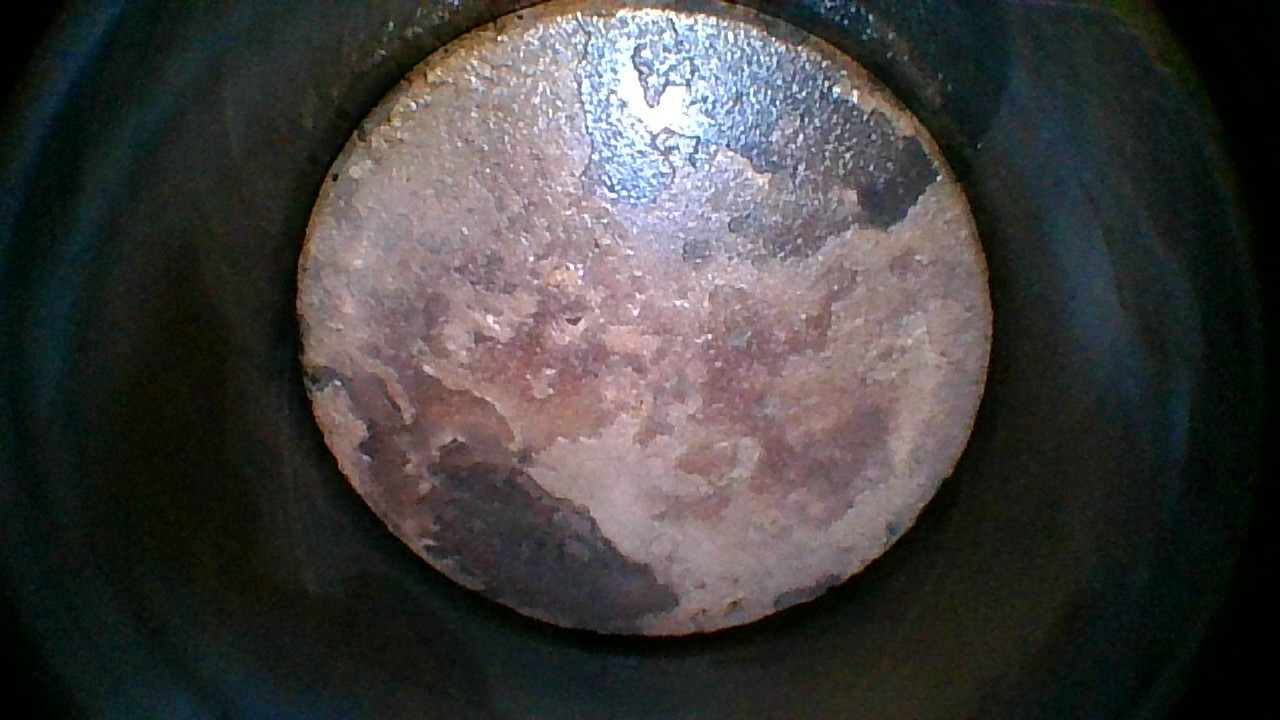
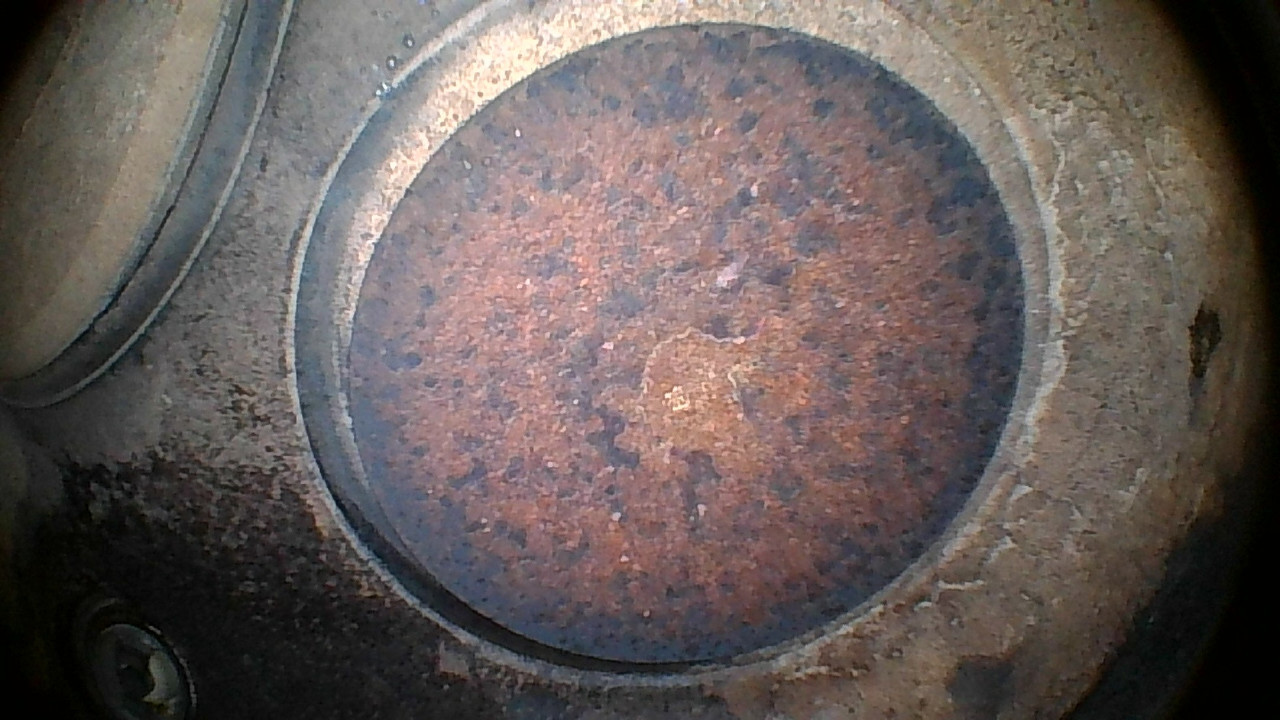
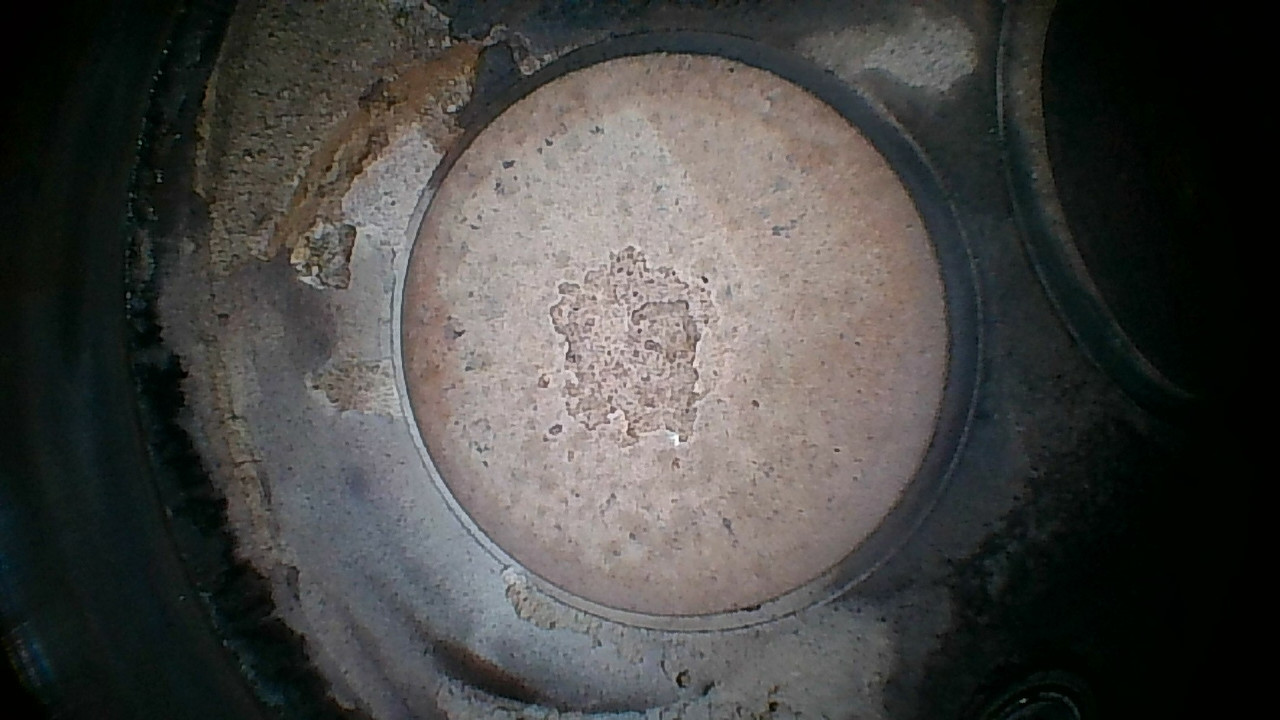
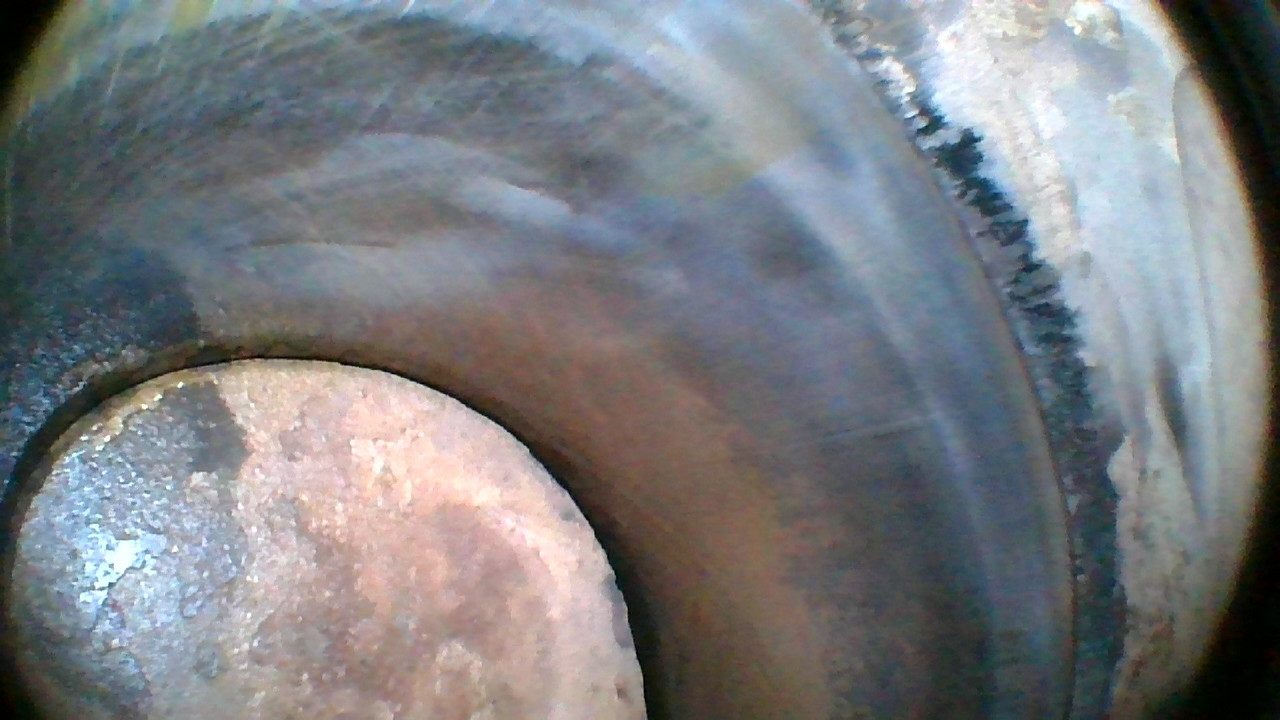
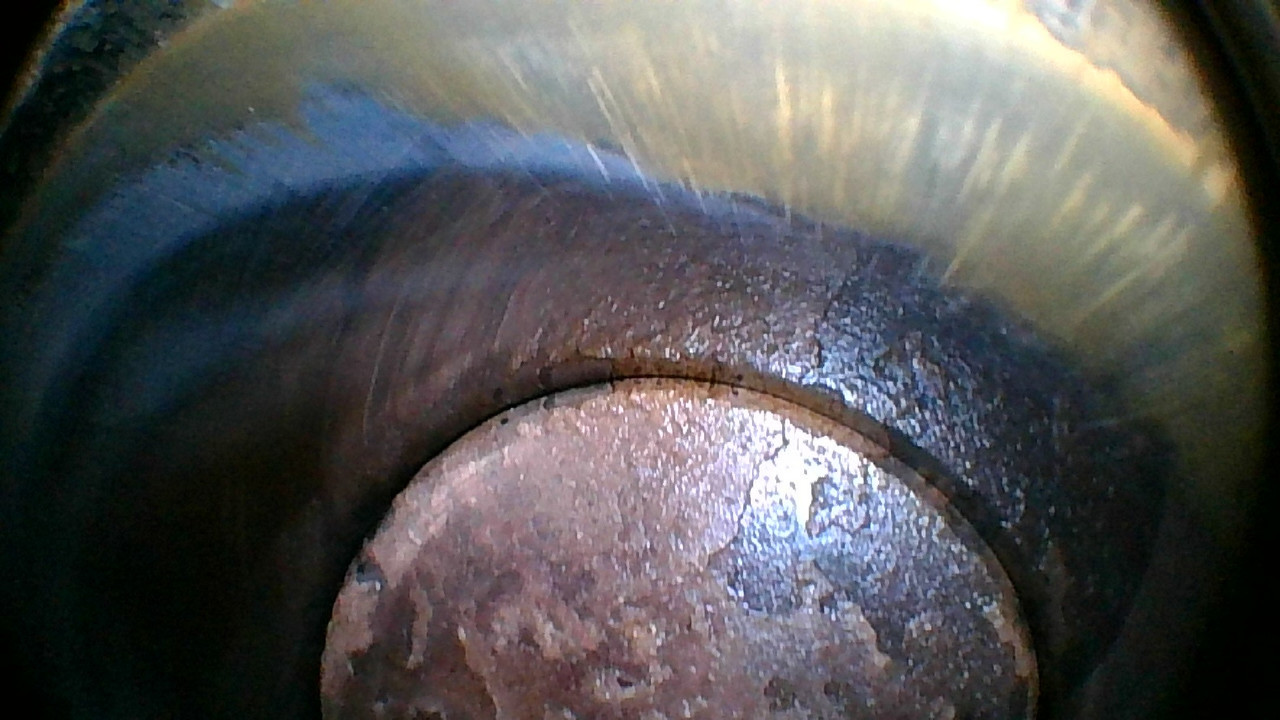
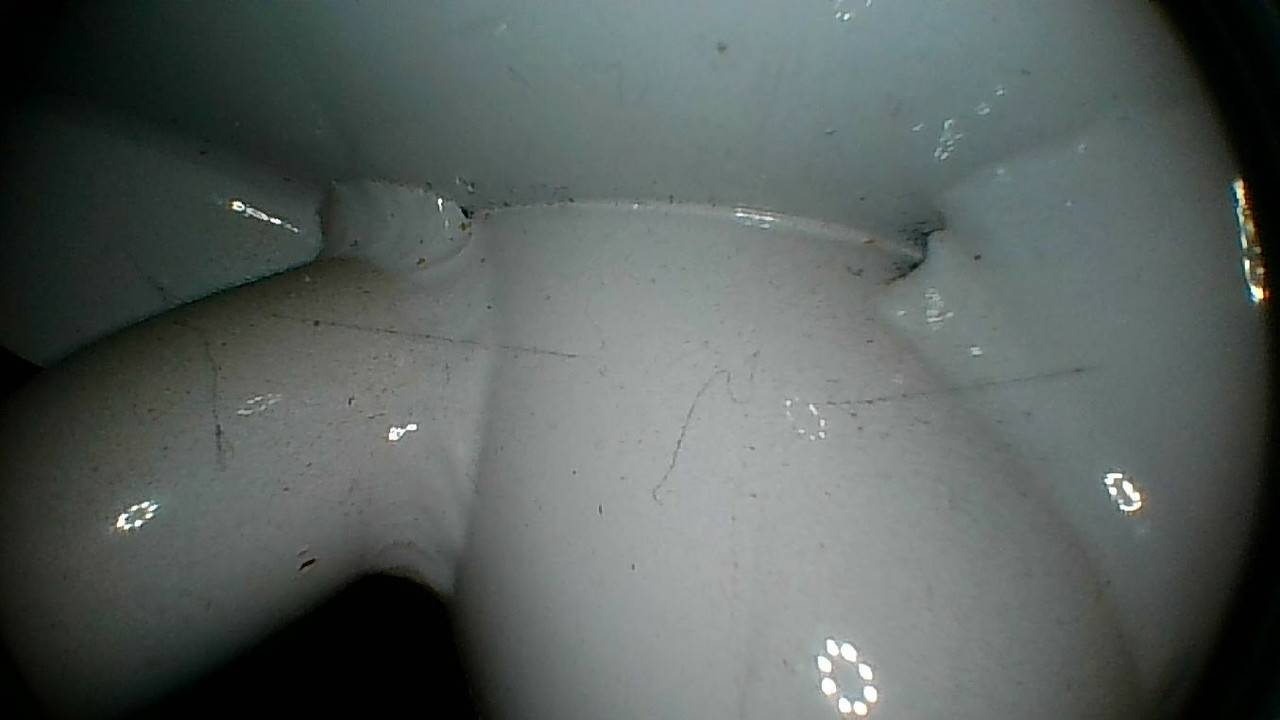
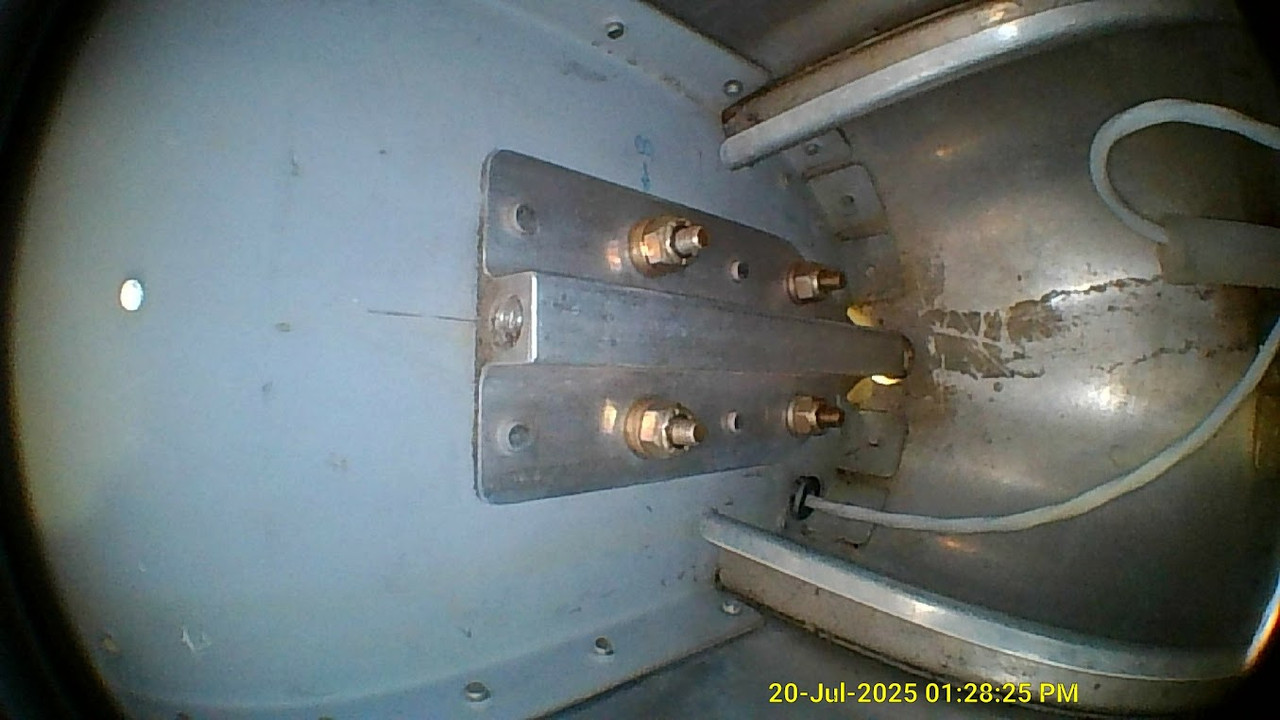
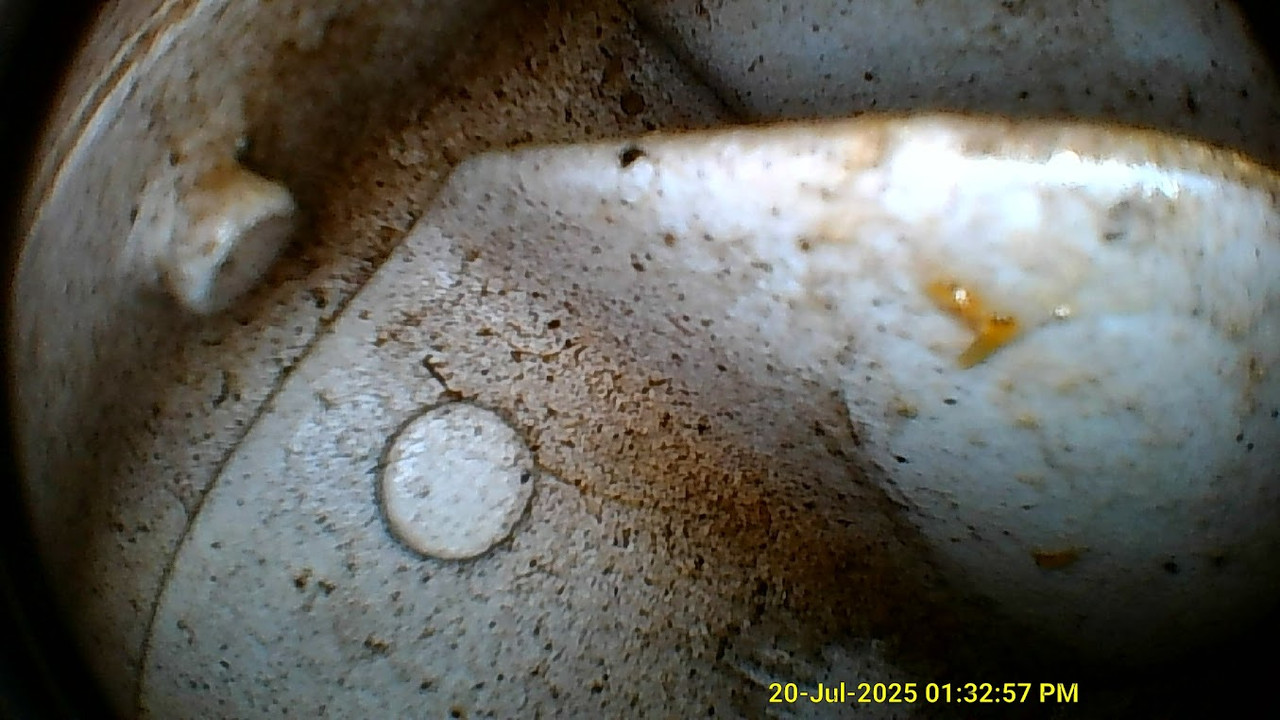
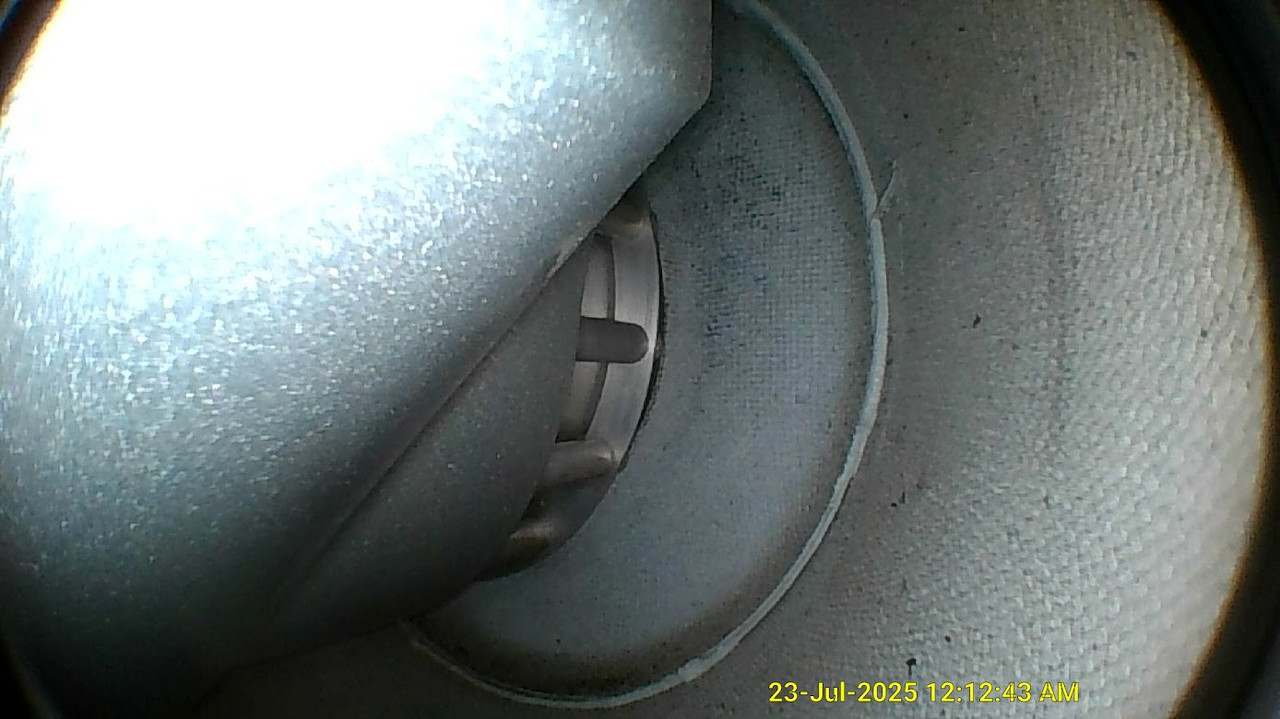
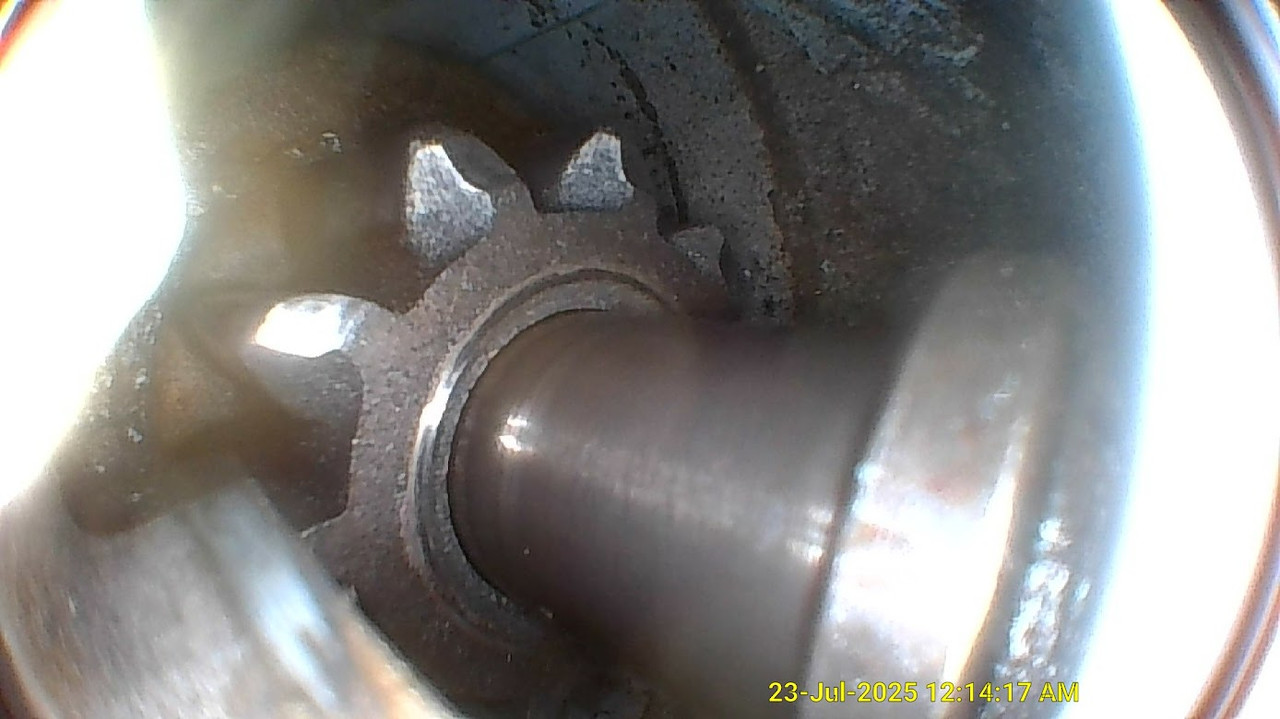
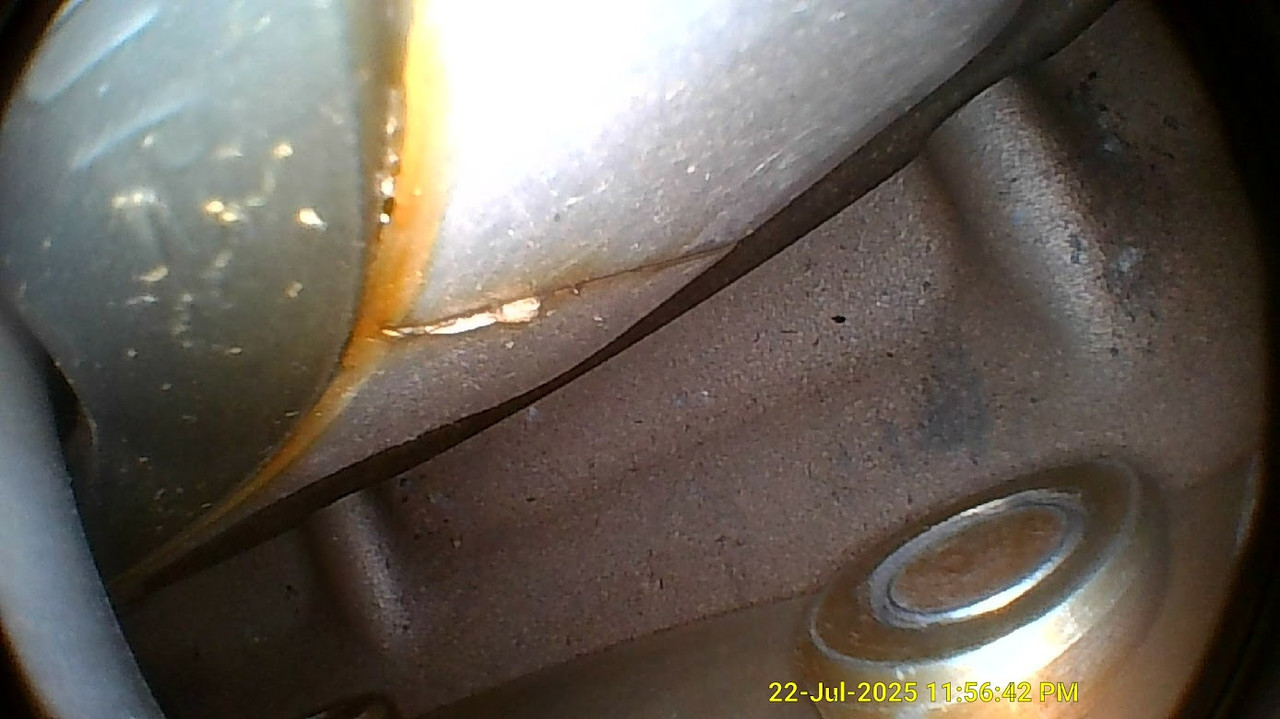
compression check and cylinder borescope. well, it seems that waiting to change the oil at 105 hours is increasing the cylinder compression even though the paper oil filter was speckled of 6 year old and 600 hours pilobond adhesive flakes from a crank seal replacement. hey, don't put any adhesive on the crankcase, only to the seal, and use 737 silicone instead. the cylinder borescope inspection looked good.
I am becoming a non-believer in compression checks as an indicator of cylinder health.
Show me the borescopes....
1, 3, 2, 4
*************
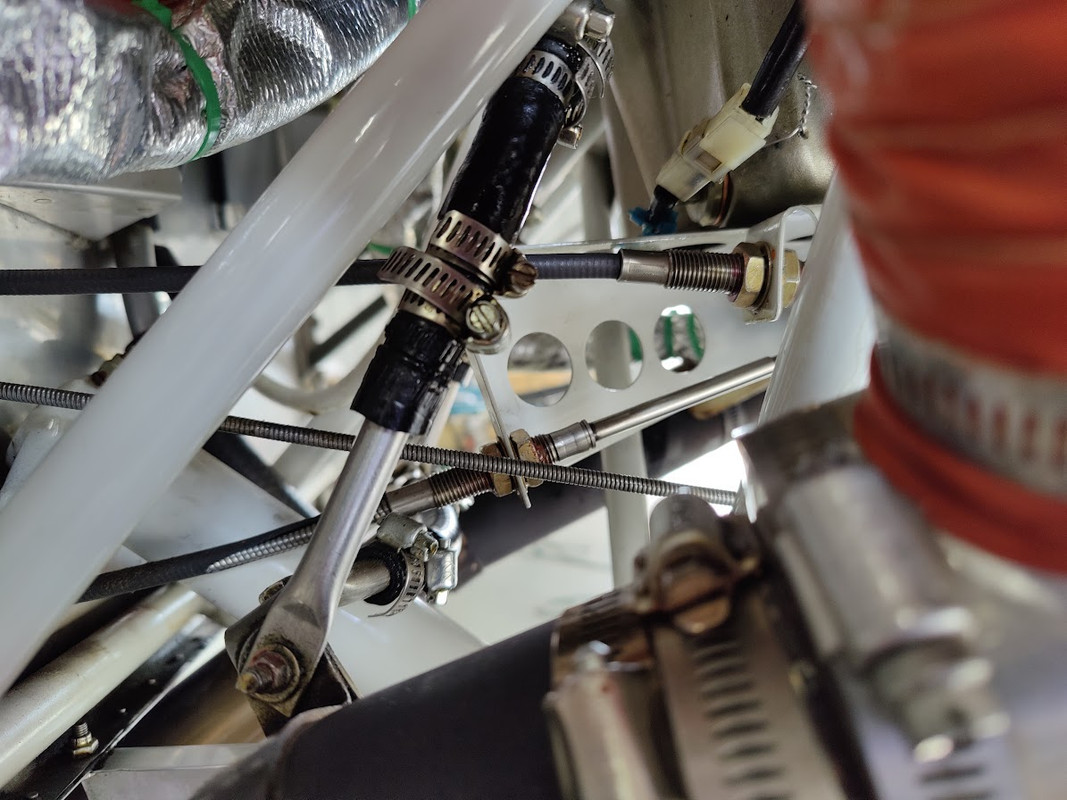
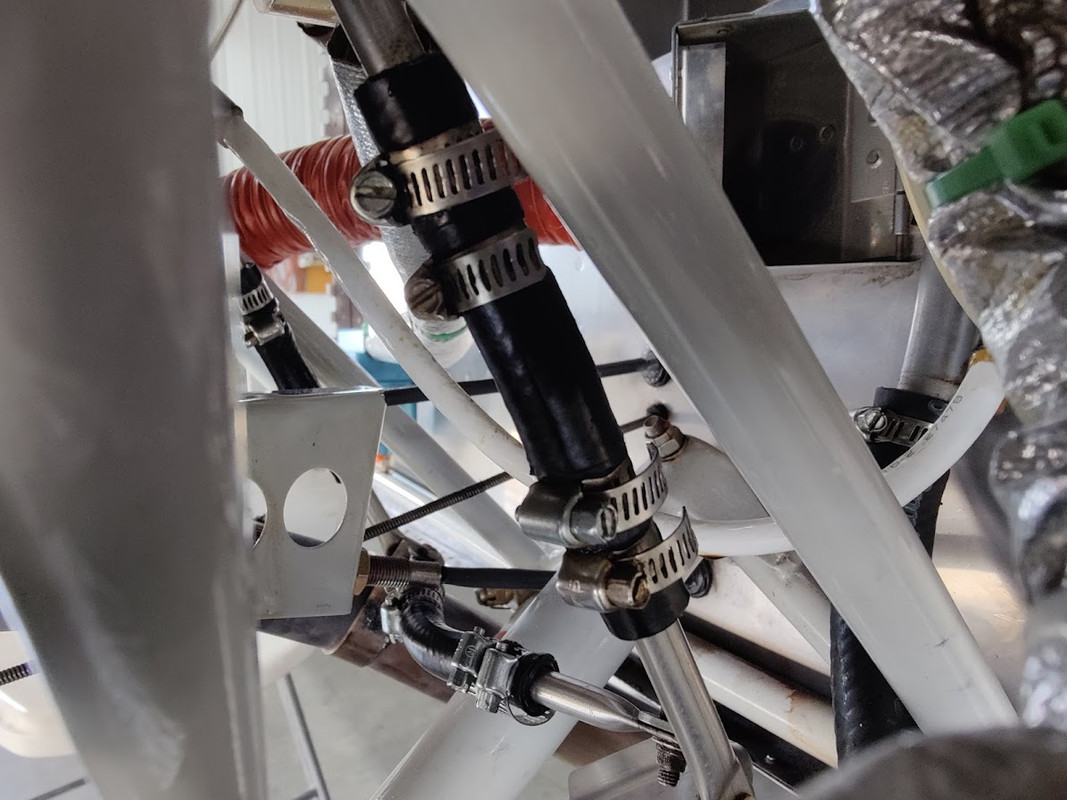
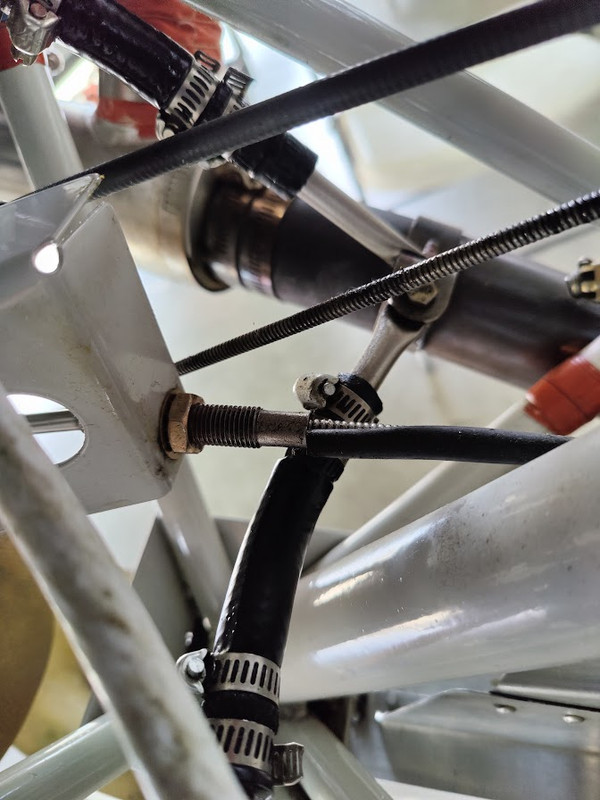
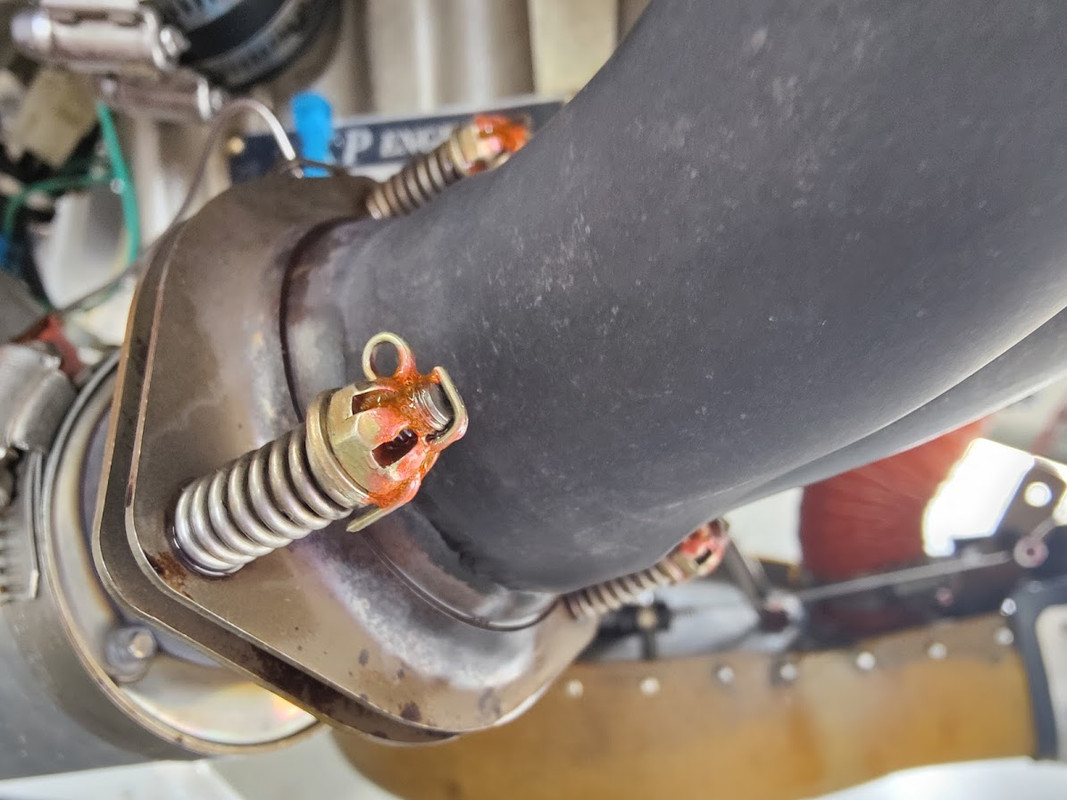
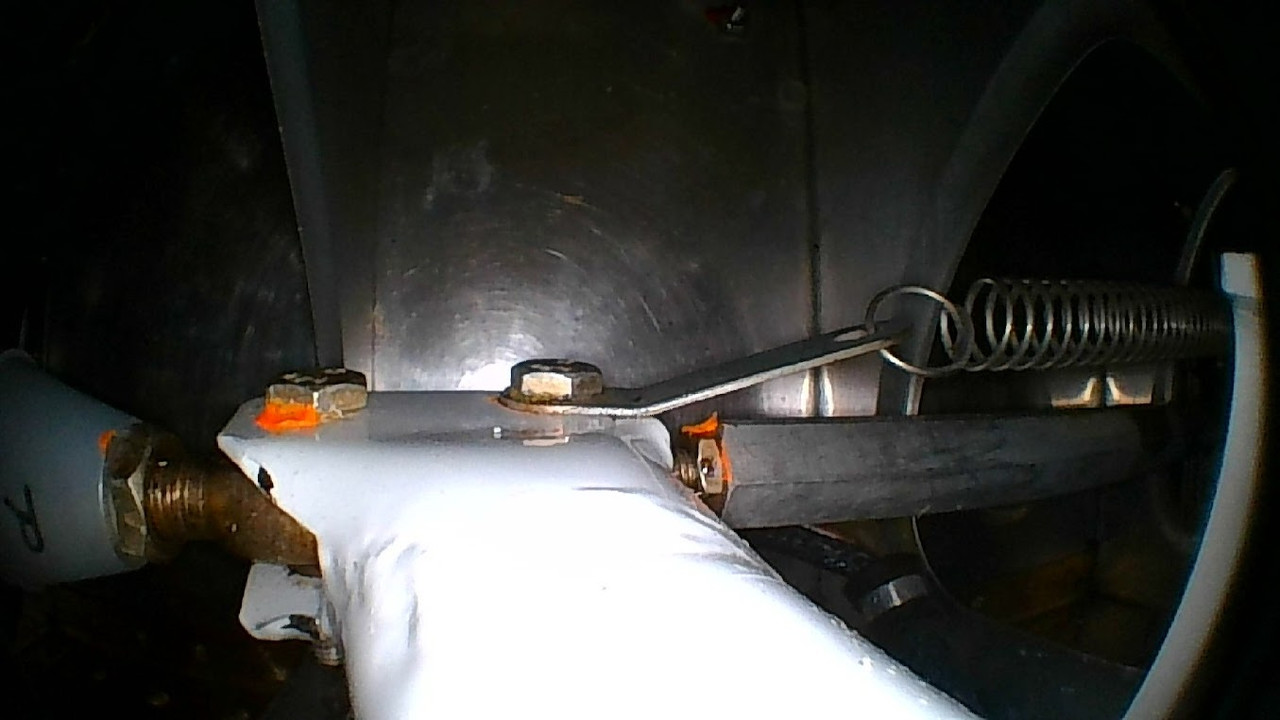
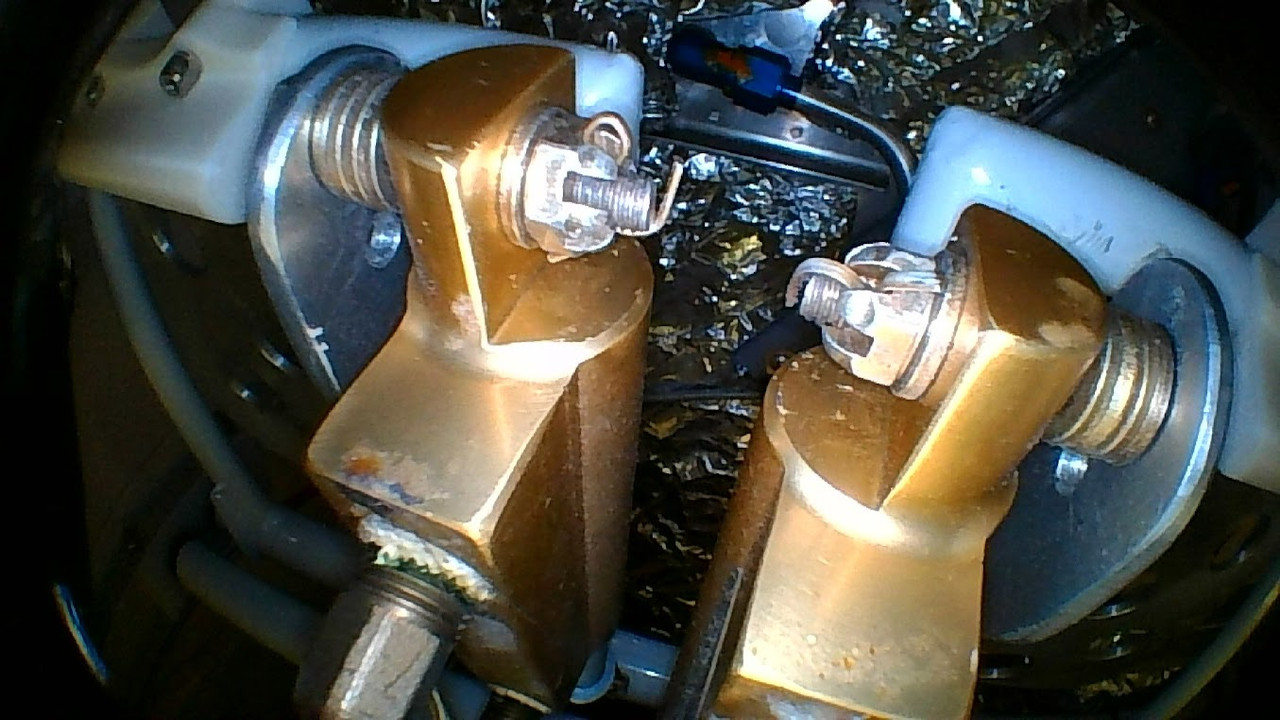
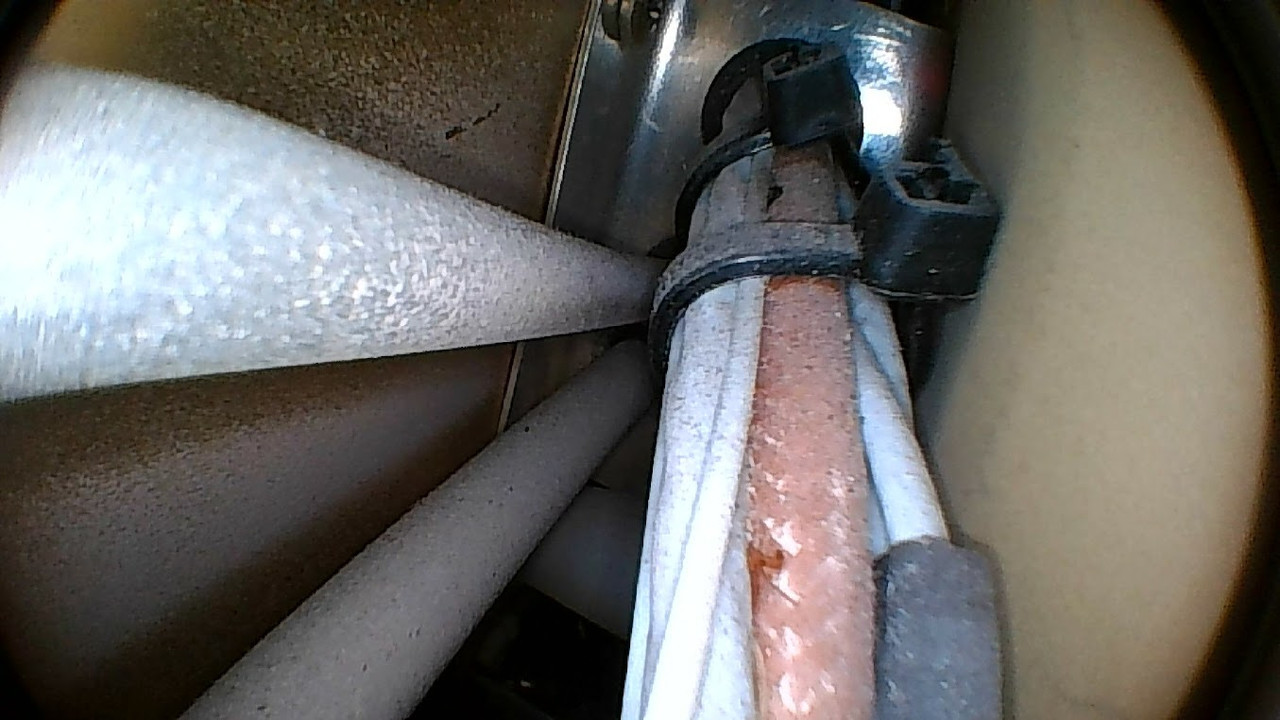
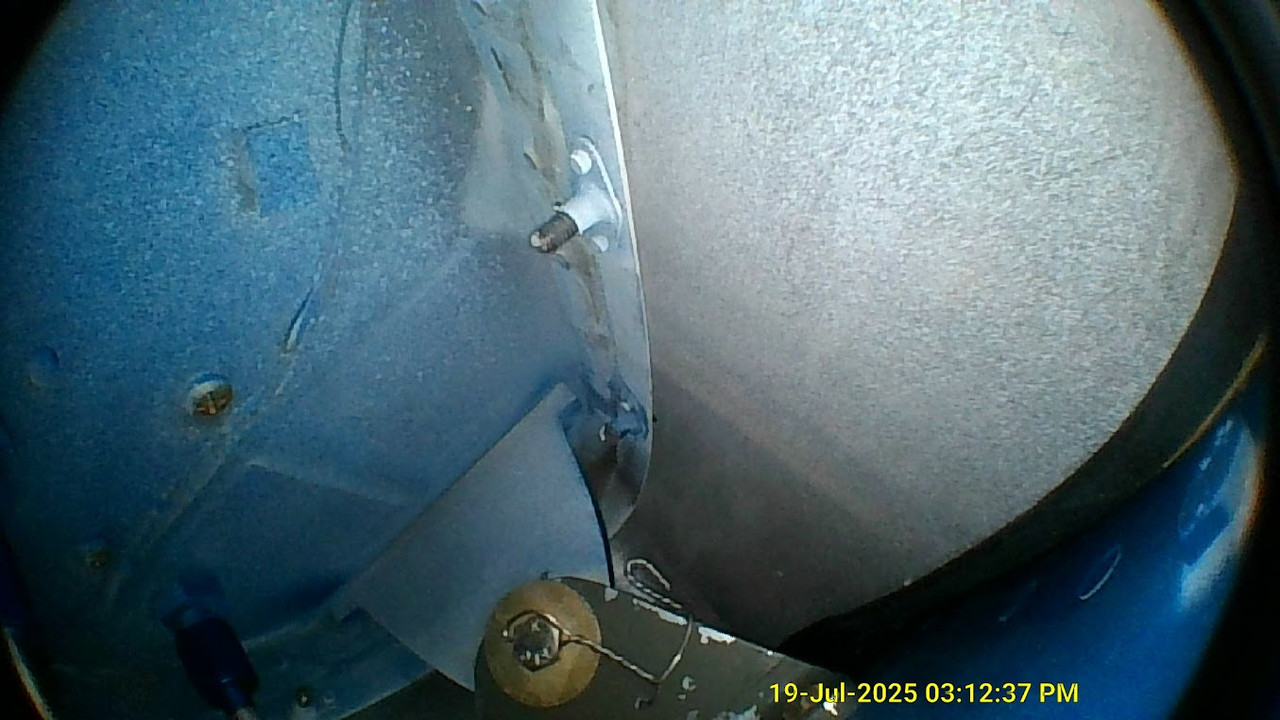
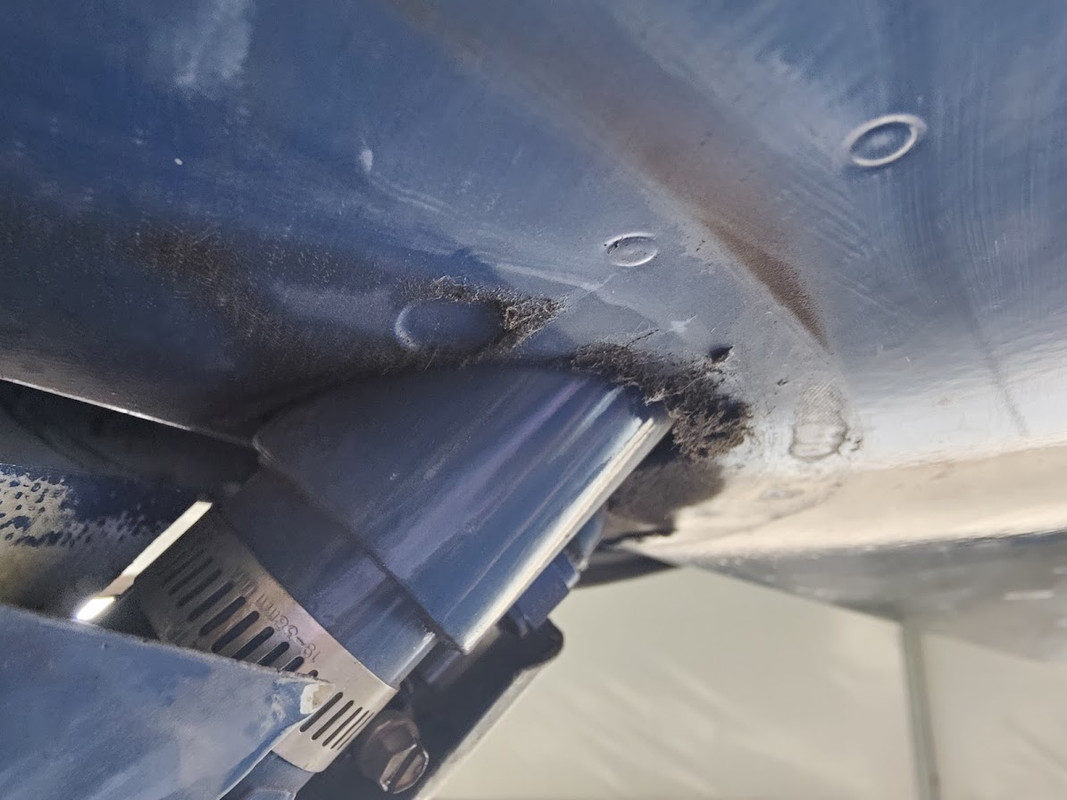
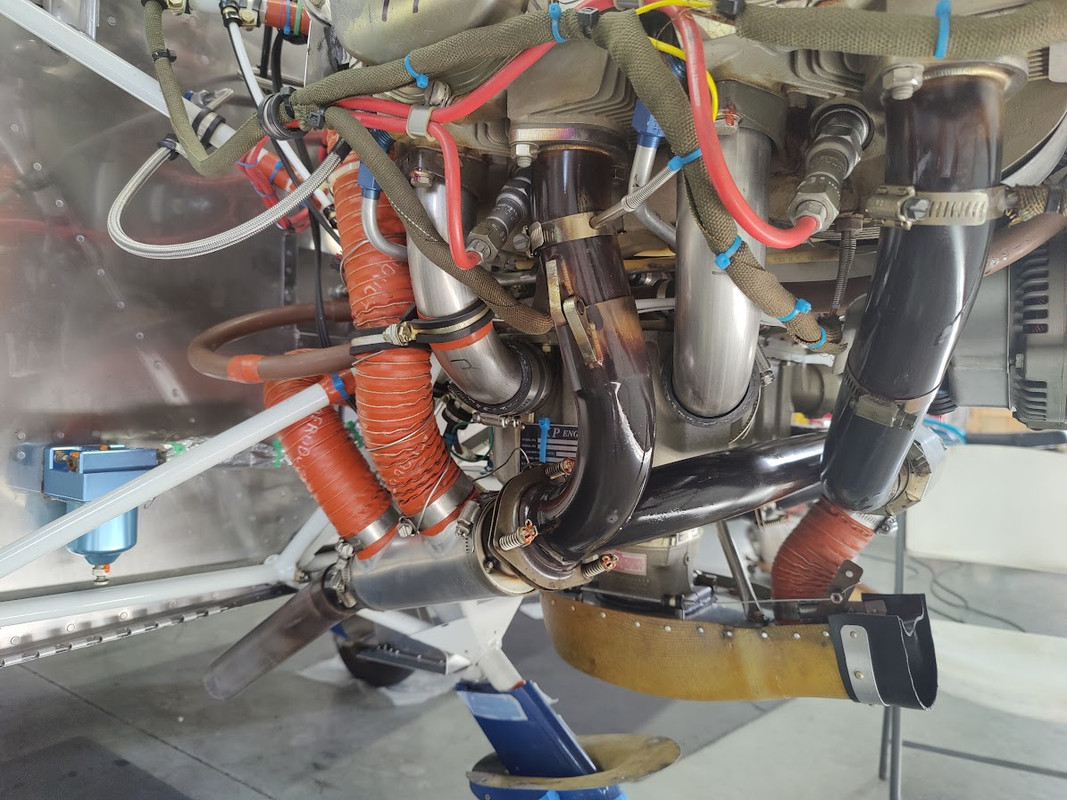
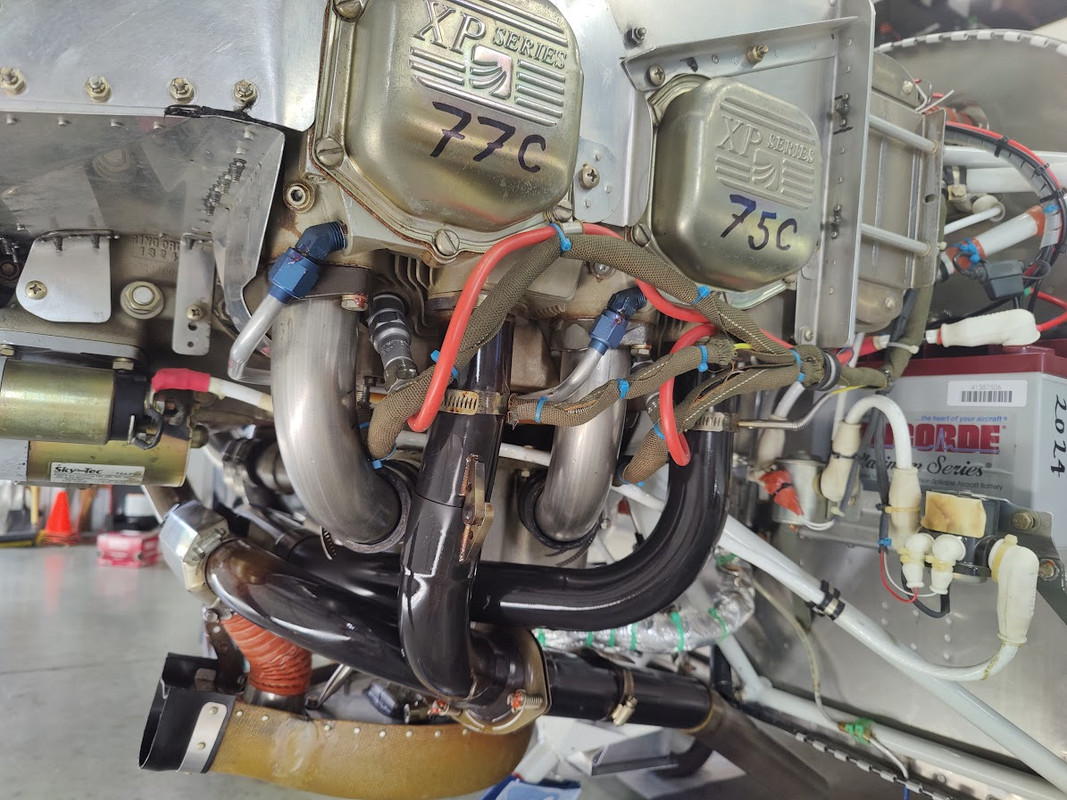
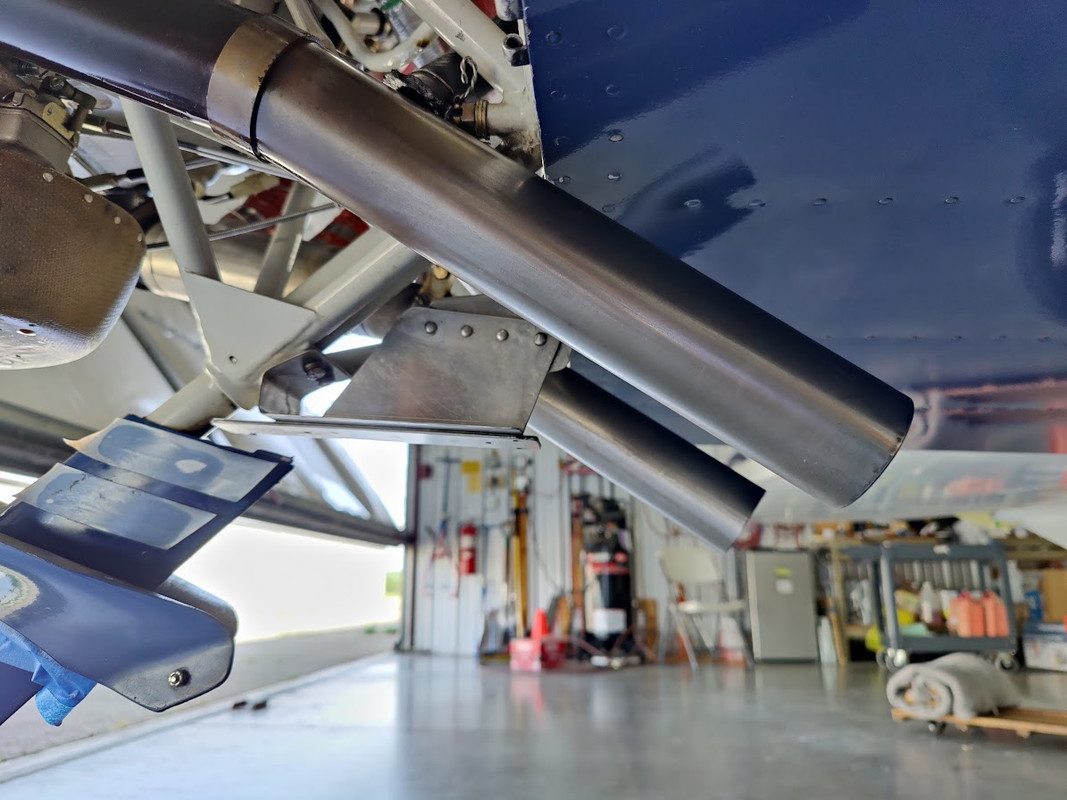
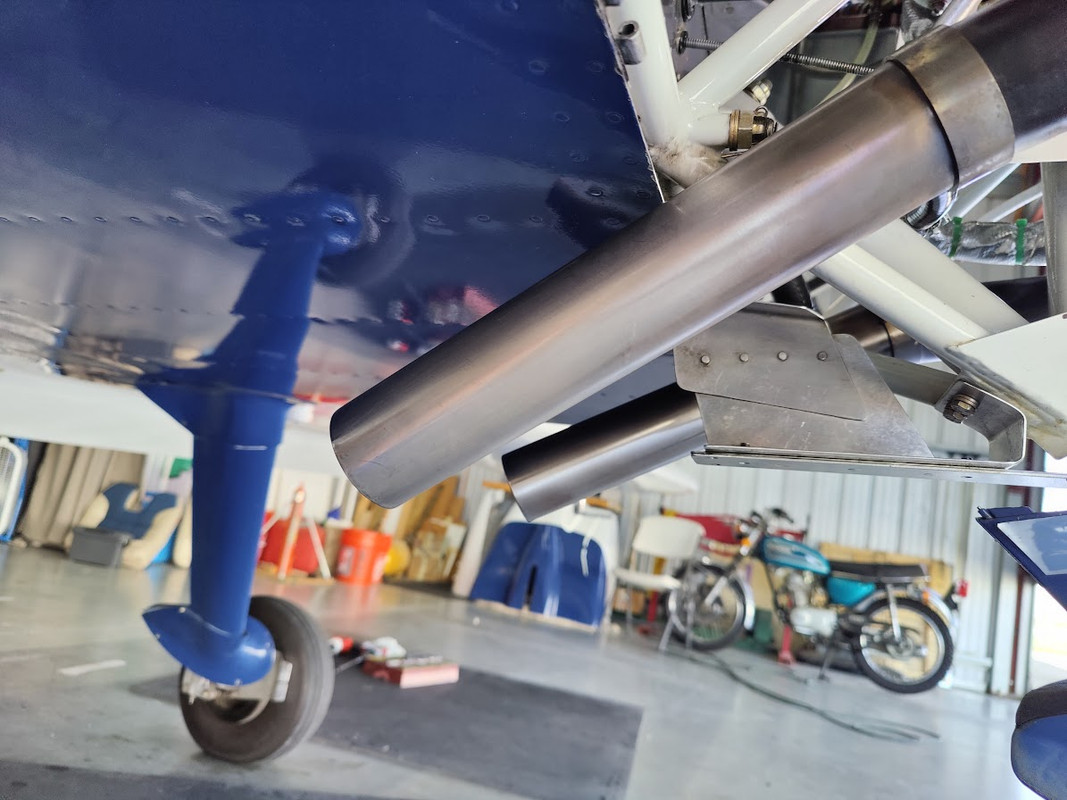
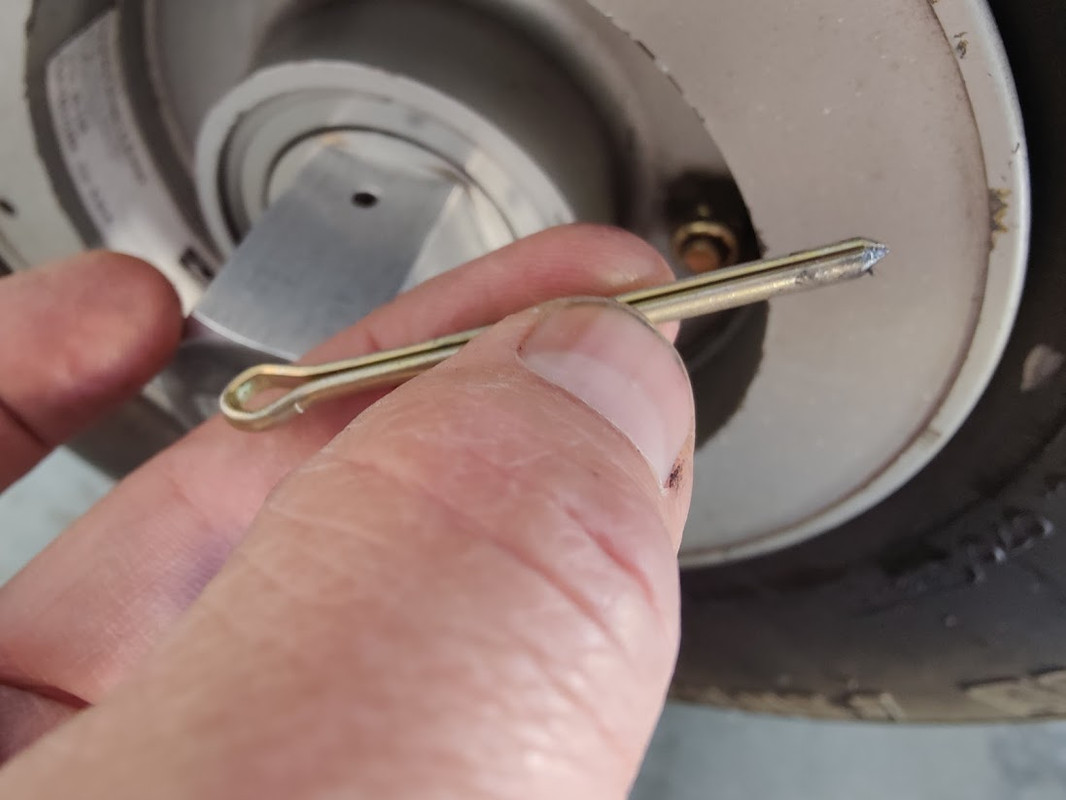
adjusted the exhaust pipe hanger about 3/32 inch. you want these to move freely so no stress is applied to the header pipes. I can swing the exhaust pipes with my pinky. the exhaust hangers are all original except for a couple clamps. hey, use good clamps here (Breeze brand or similar) not cheap China crap. be sure to bevel the ends of the hanger tubes for better retention. refreshed the exhaust 3 bolt flange cotter pin vibroseal in order to prevent cotter pin wear. there is a lot of shaking going on down there and it will wear the cotter pins if they are not secured with some kind of vibration prevention. the engine work is done and everything looks good.
RV9A, Superior O-320, WW 200RV prop, Slick mags, CHT 330F, EGT 1300F, B&C, 1400+ hours
Freedom and Democracy are all that really matter.
Ride a bike, unlock the world. https://www.rvplasticparts.com/
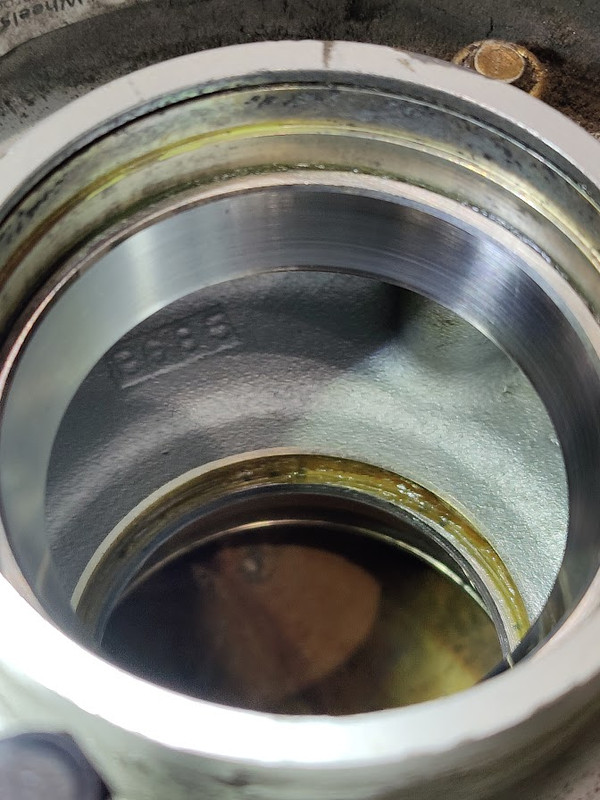
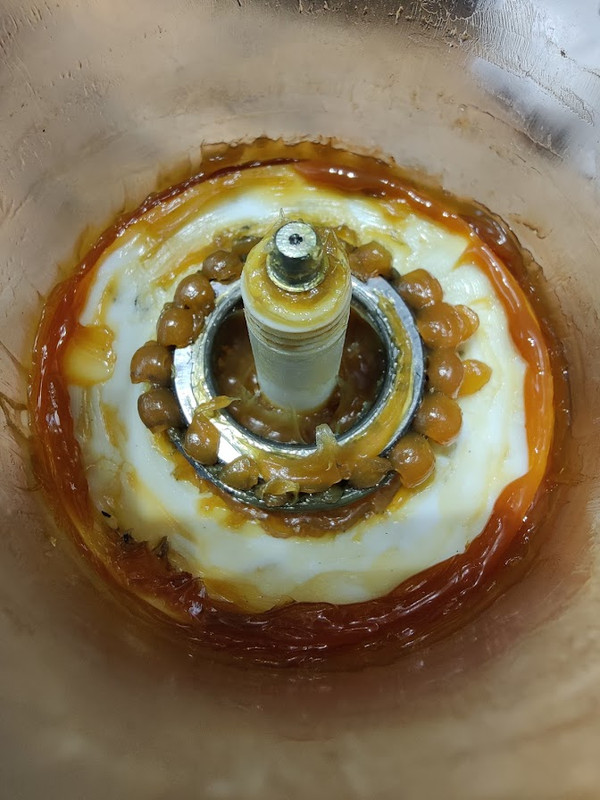
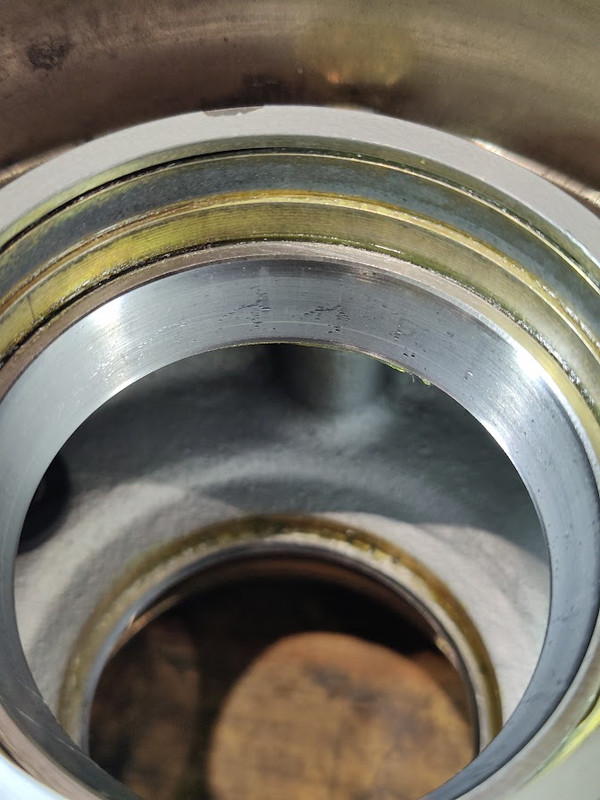
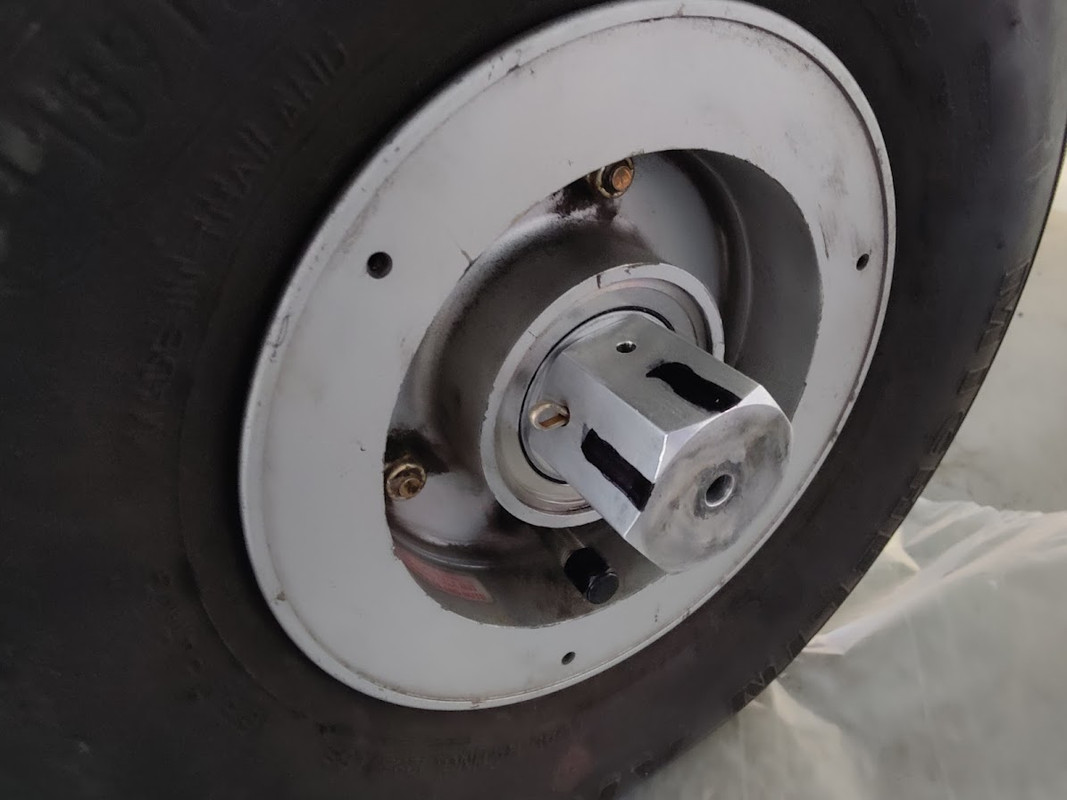
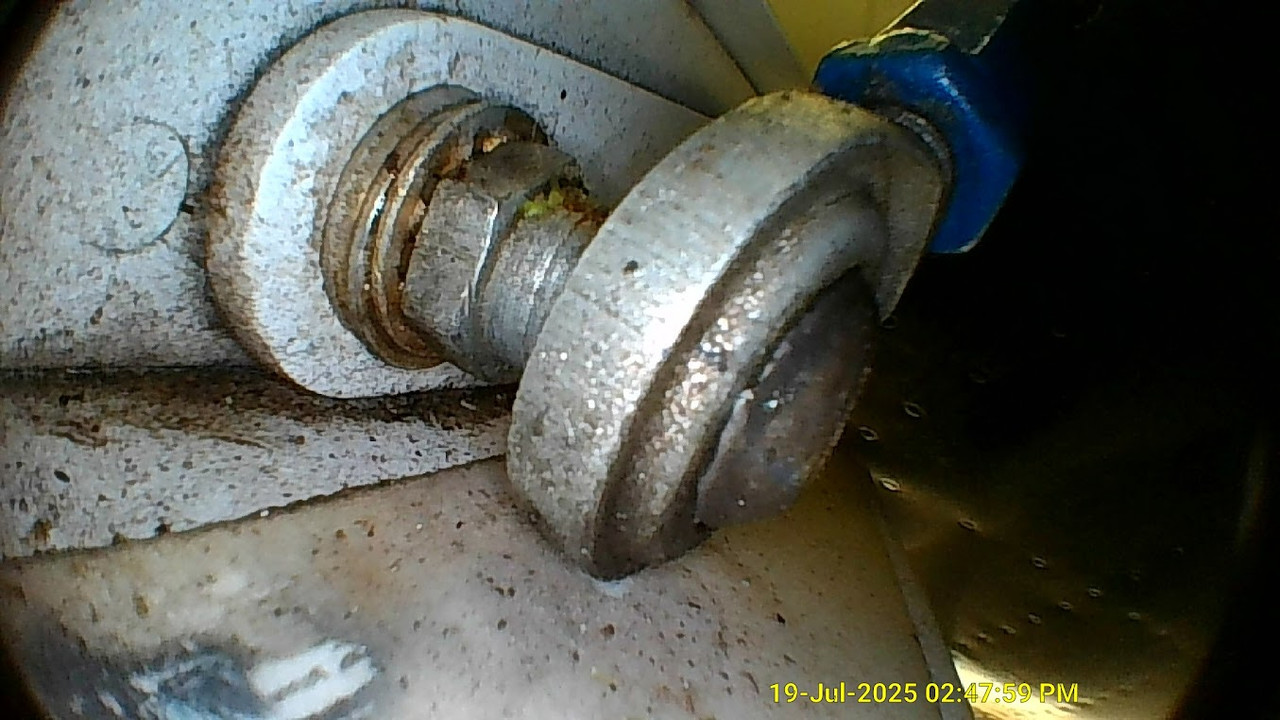
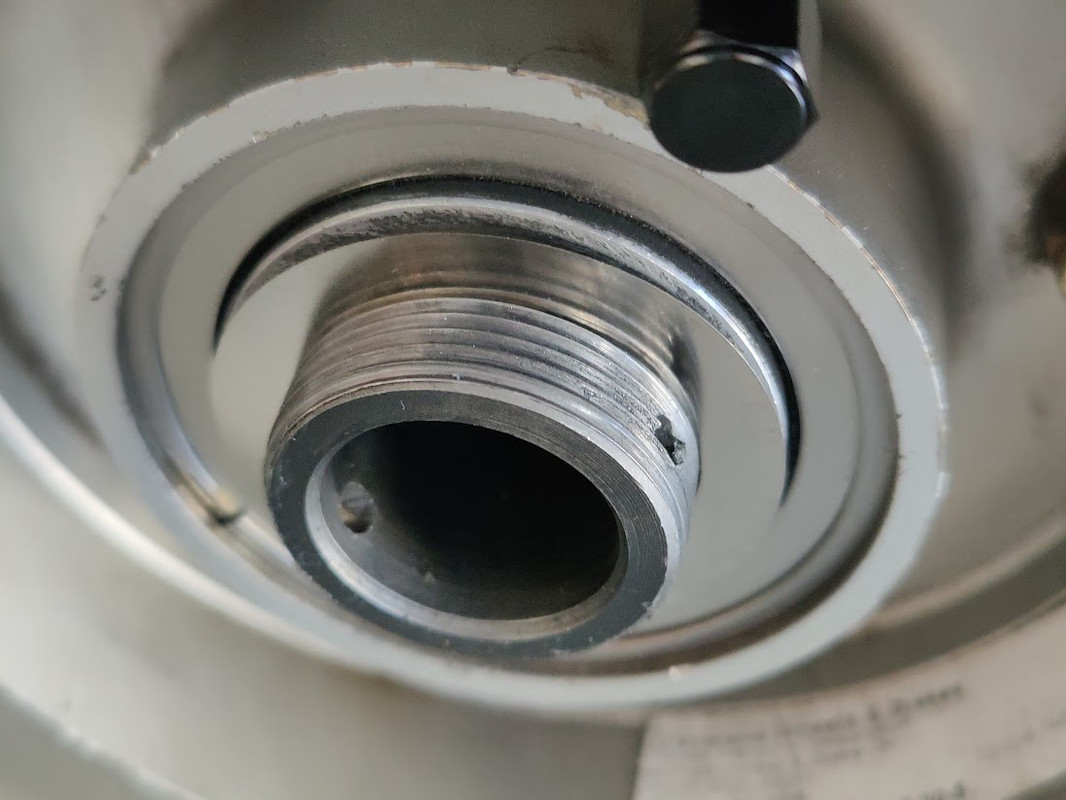
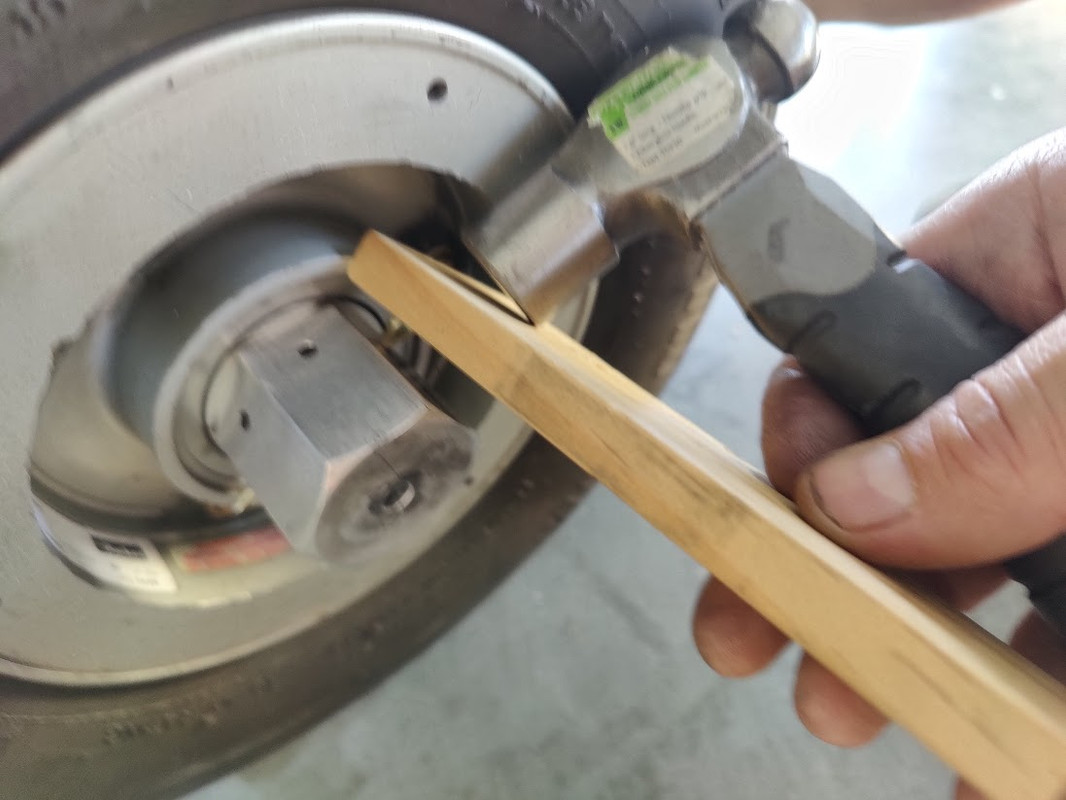
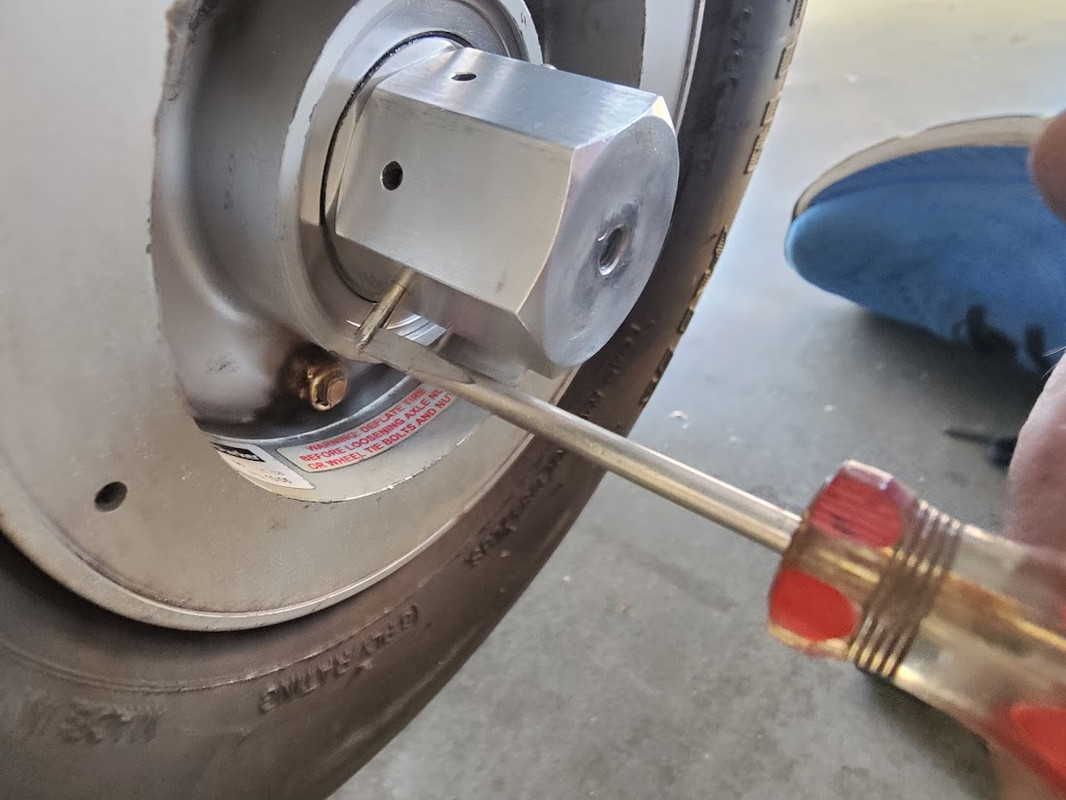
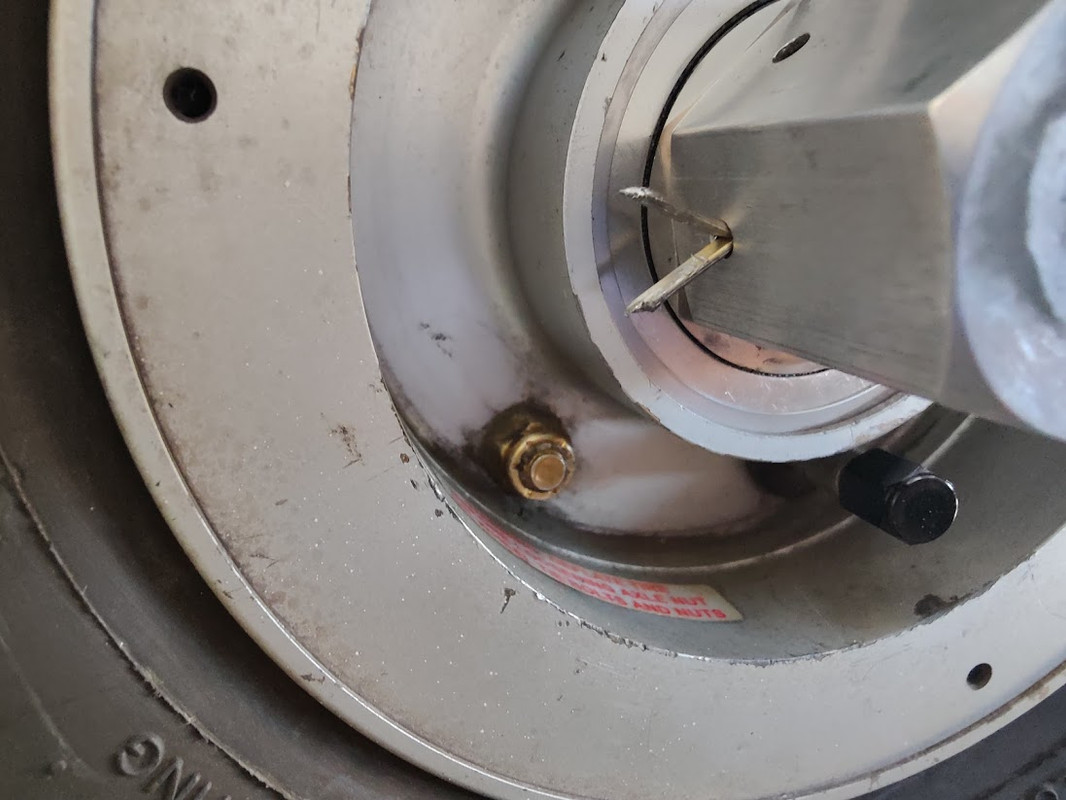
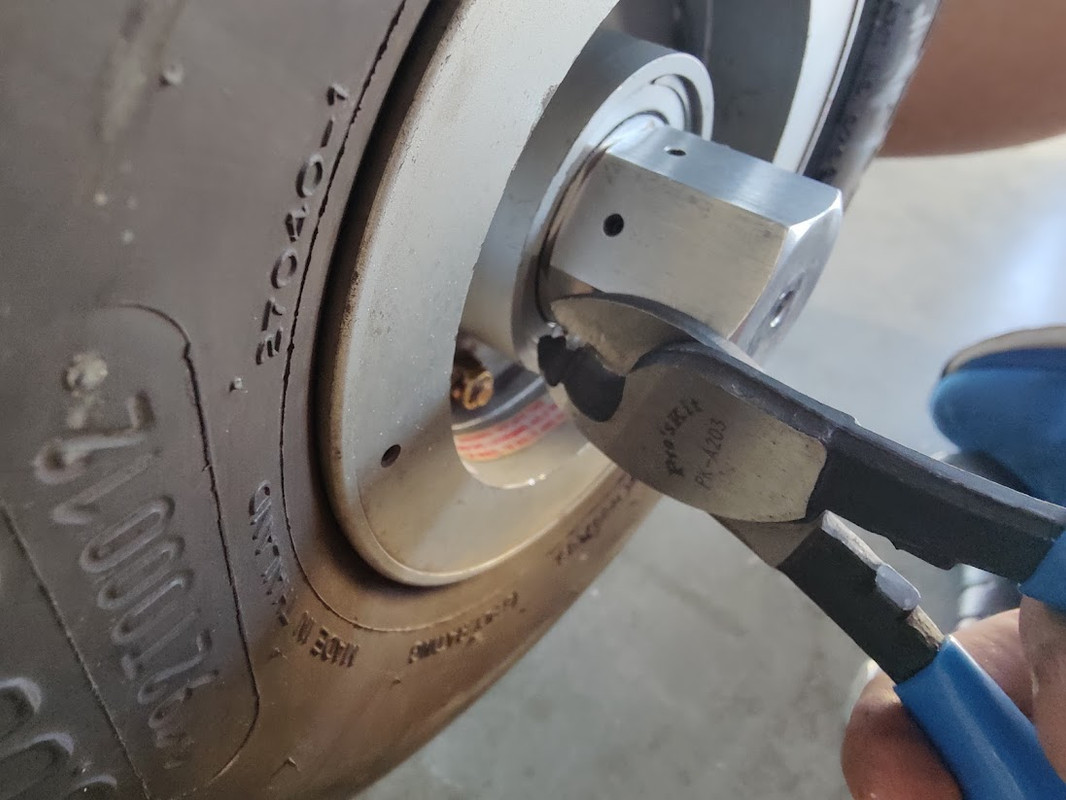
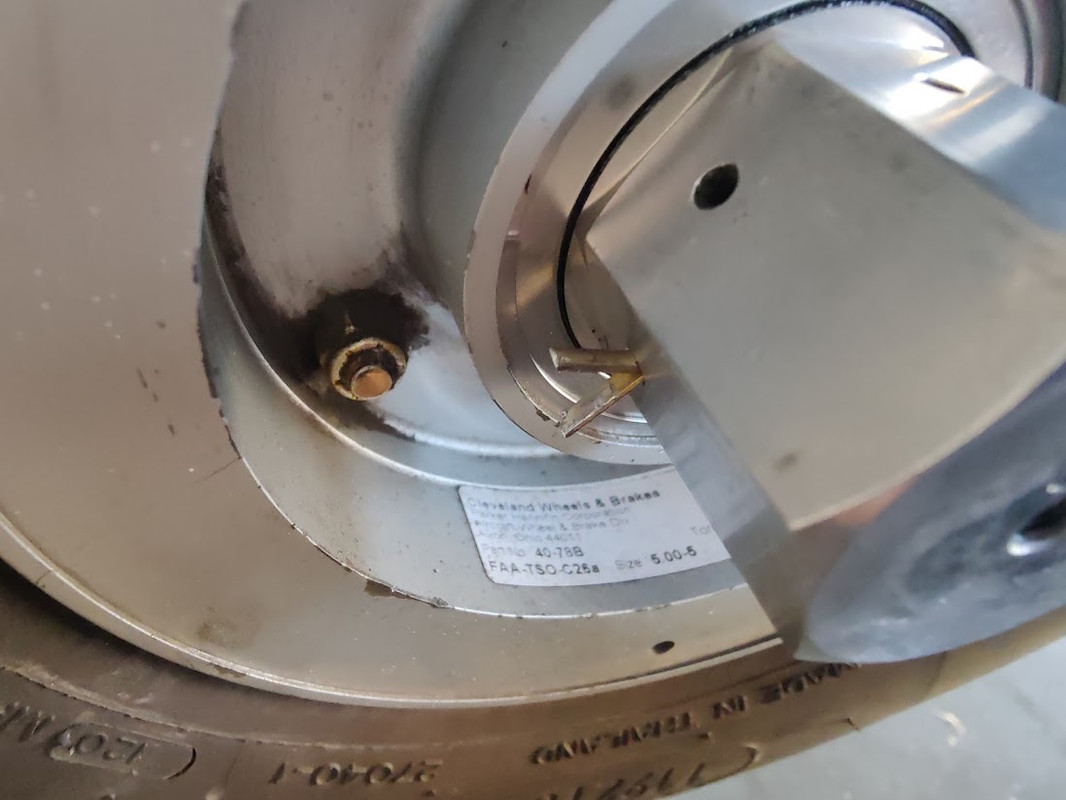
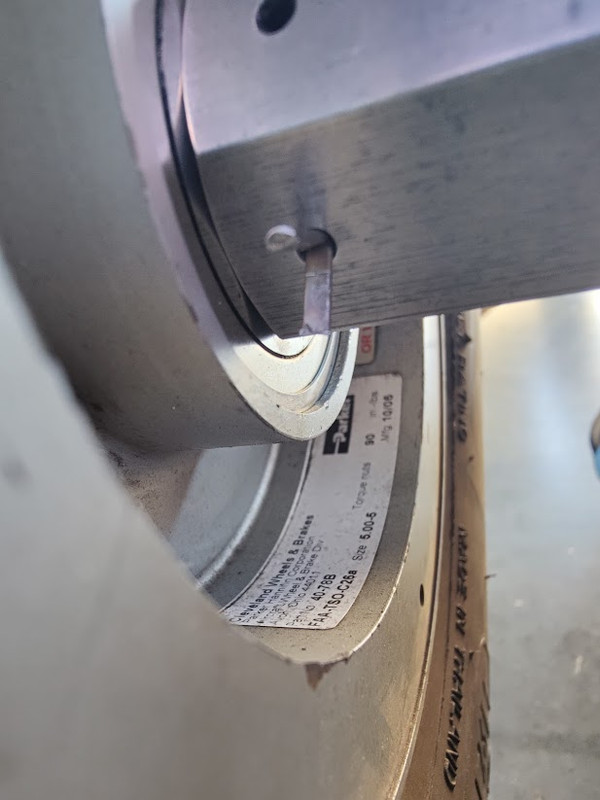
wheels.... that was easier than I thought it would be. I noted some bearing skidding damage last condition inspection, so I tightened the main wheel axel nuts one flat. I purchased new wheel bearing cups and cones this year in full anticipation of needing to replace them, but they all looked good except one of the four. the bearing grease purge showed that the bearings are running cleanly. I swapped wheels side to side and decided to continue with the suspect bearing and will monitor it this year. I am not sure how the bearings improved other than they must be relatively soft bearing material and somehow rolled out. that soft material also would make them especially susceptible to skidding damage. so, my takeaway is do not let these bearings become too loose and start skidding. the brakes are OK for another year. I don't use my brakes much. engine and wheels are done.
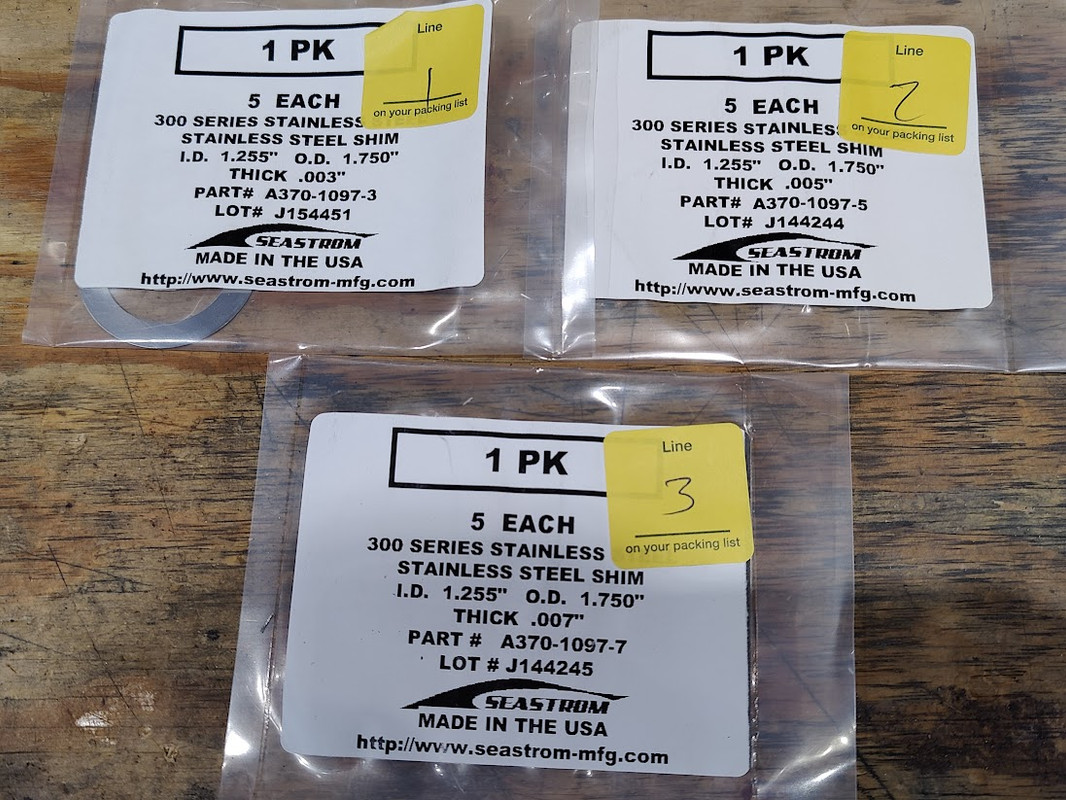
another method to tighten these bearings may be a very thin spacer of some kind but then you are trying to match wheels with spacers and that is a pain. perhaps something like this... https://www.mcmaster.com/98126A231/
edit: I purchased some of these shim washers from McMaster for a test.
RV9A, Superior O-320, WW 200RV prop, Slick mags, CHT 330F, EGT 1300F, B&C, 1400+ hours
Freedom and Democracy are all that really matter.
Ride a bike, unlock the world. https://www.rvplasticparts.com/
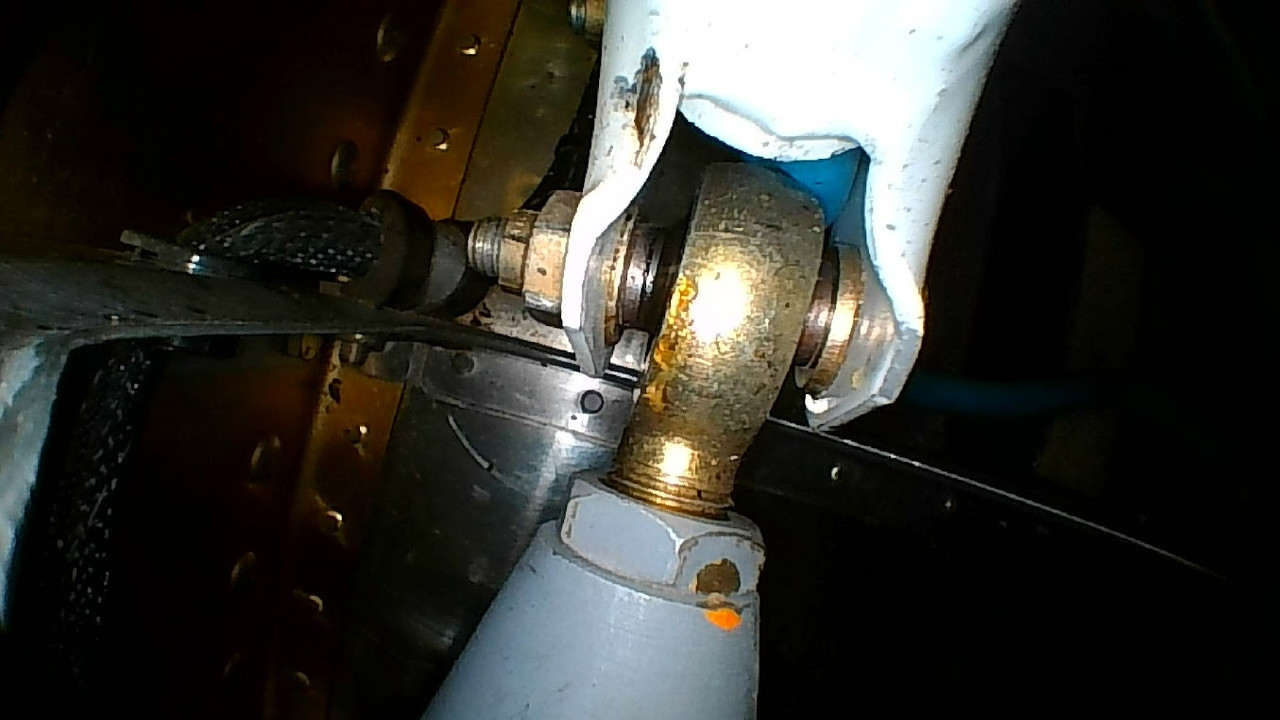
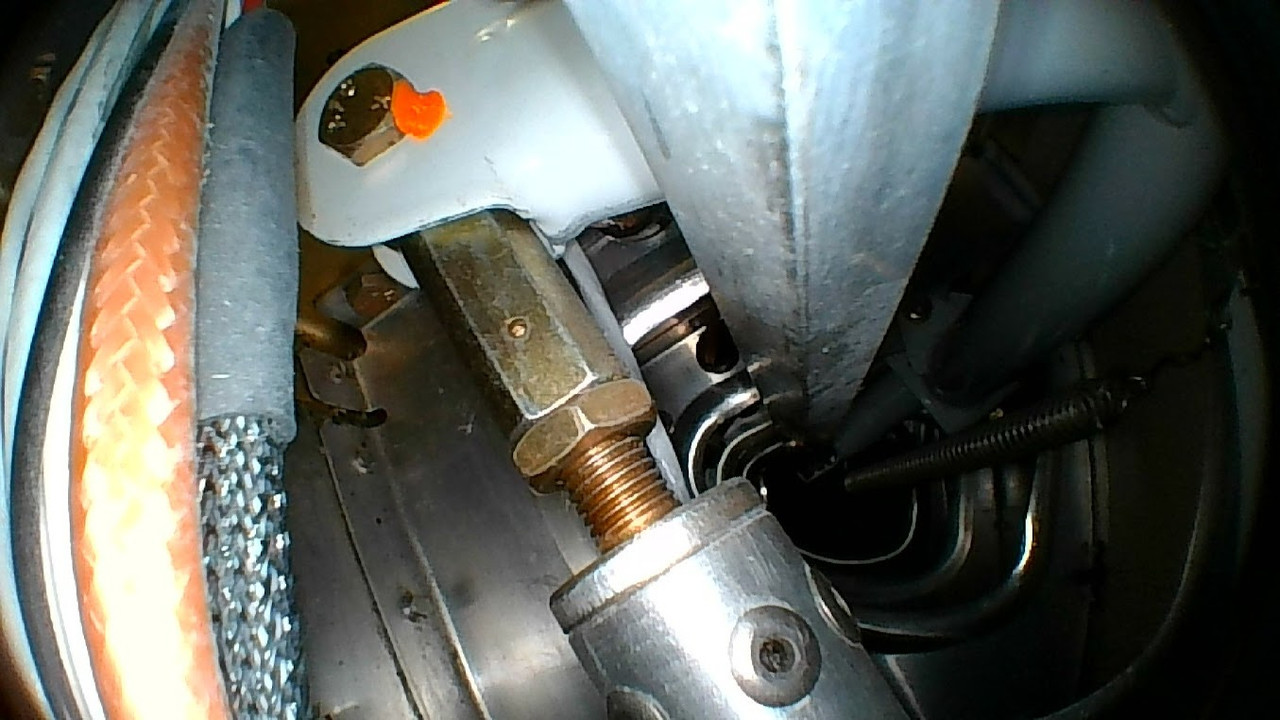
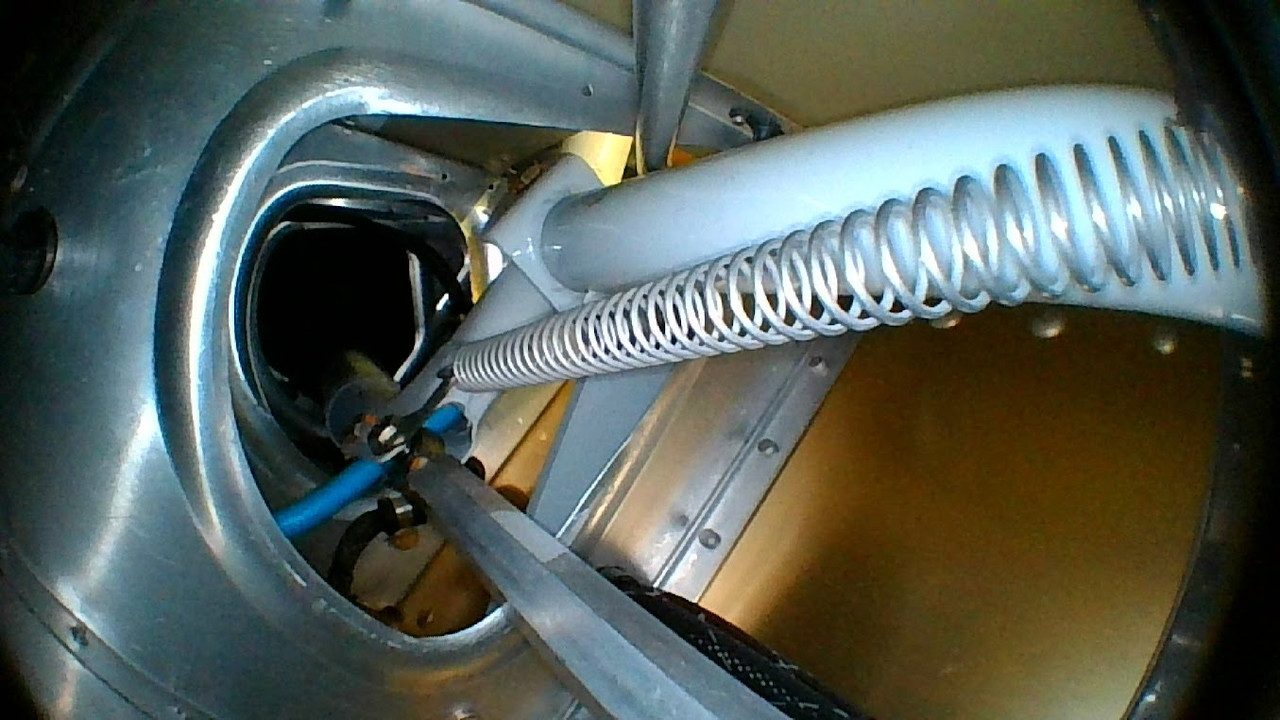
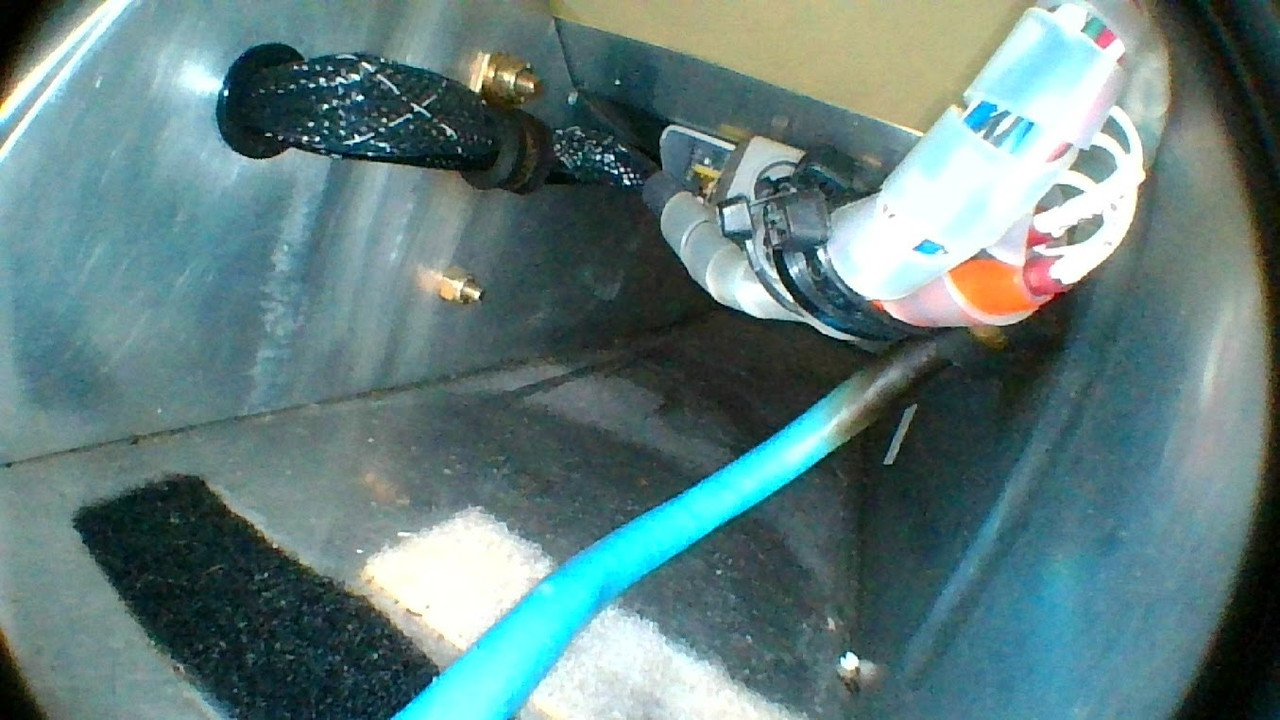
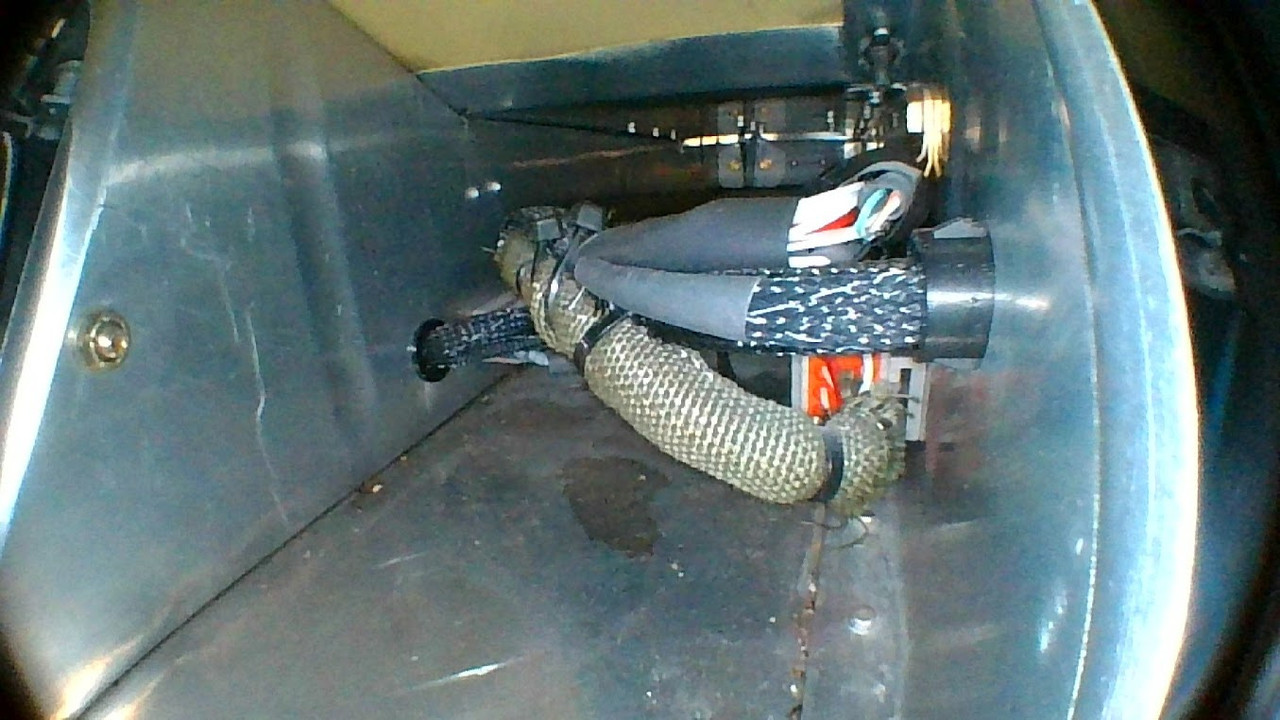
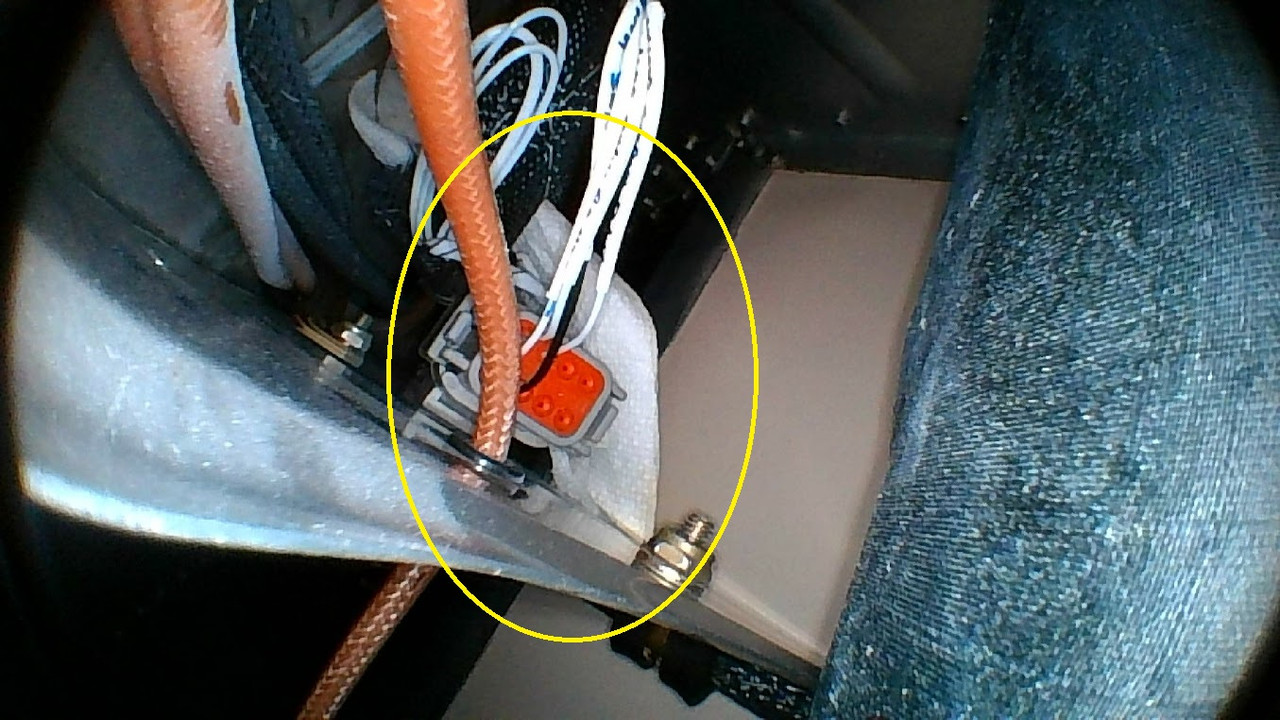
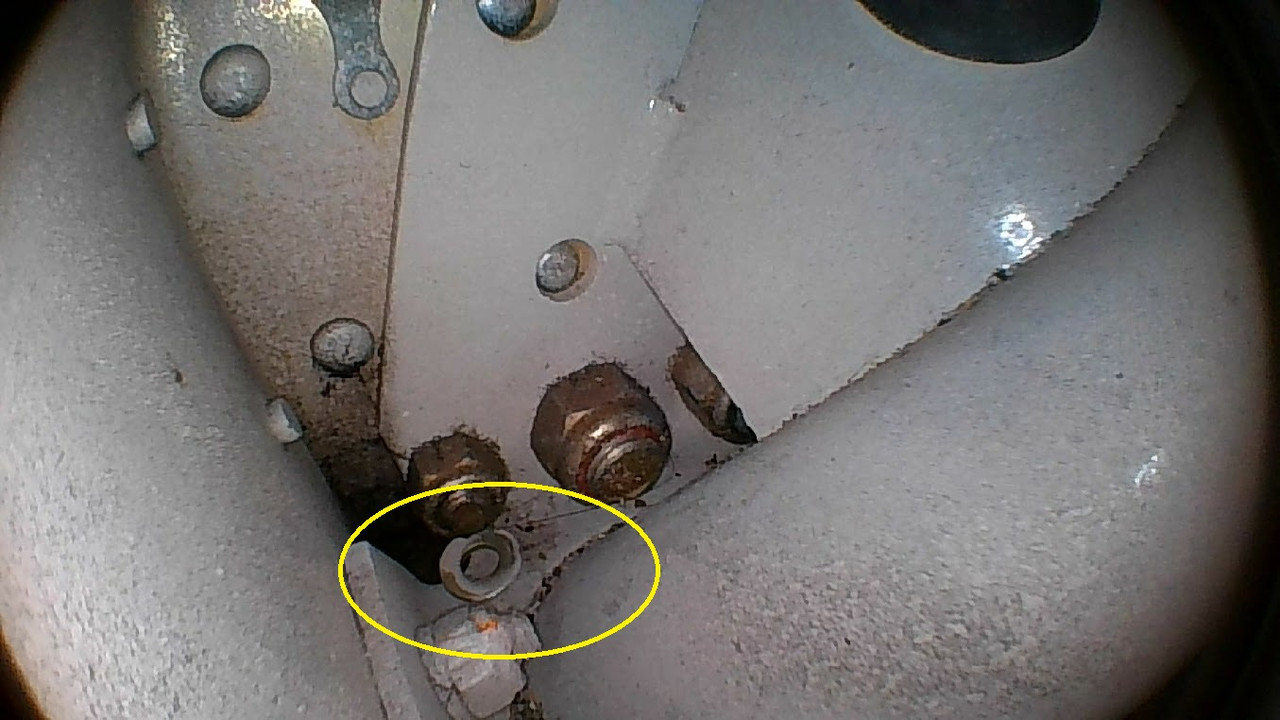
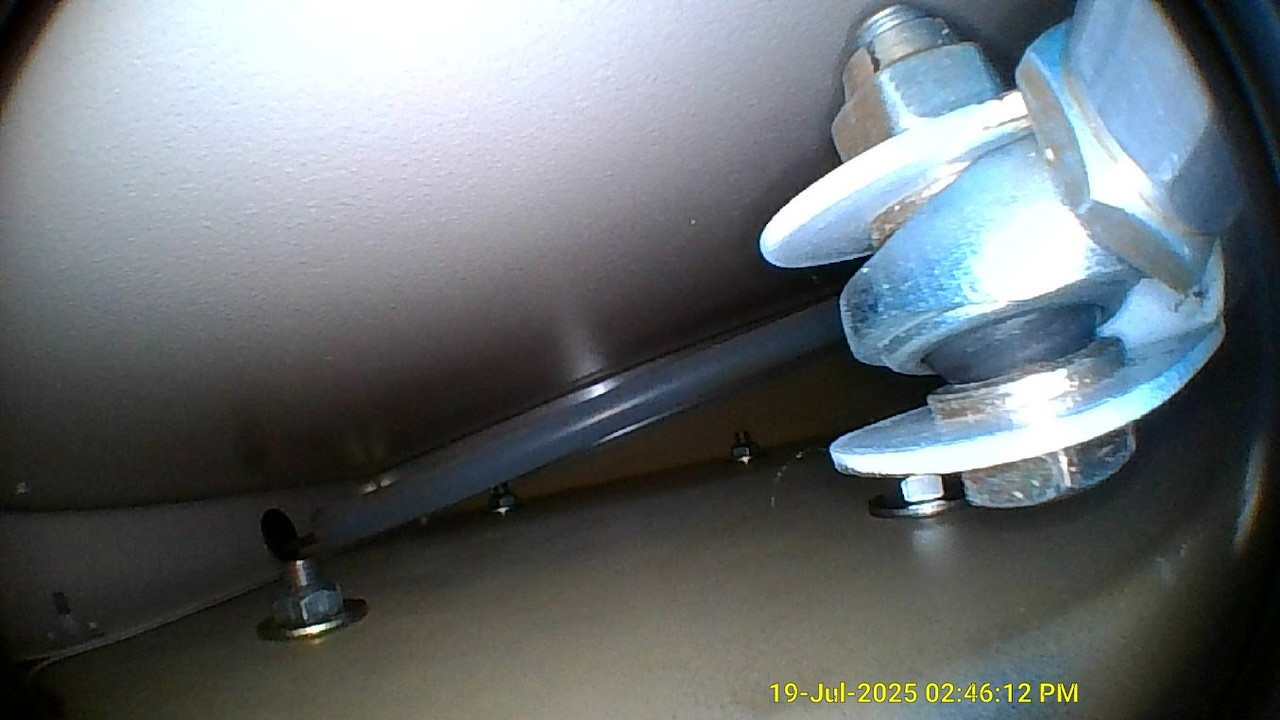
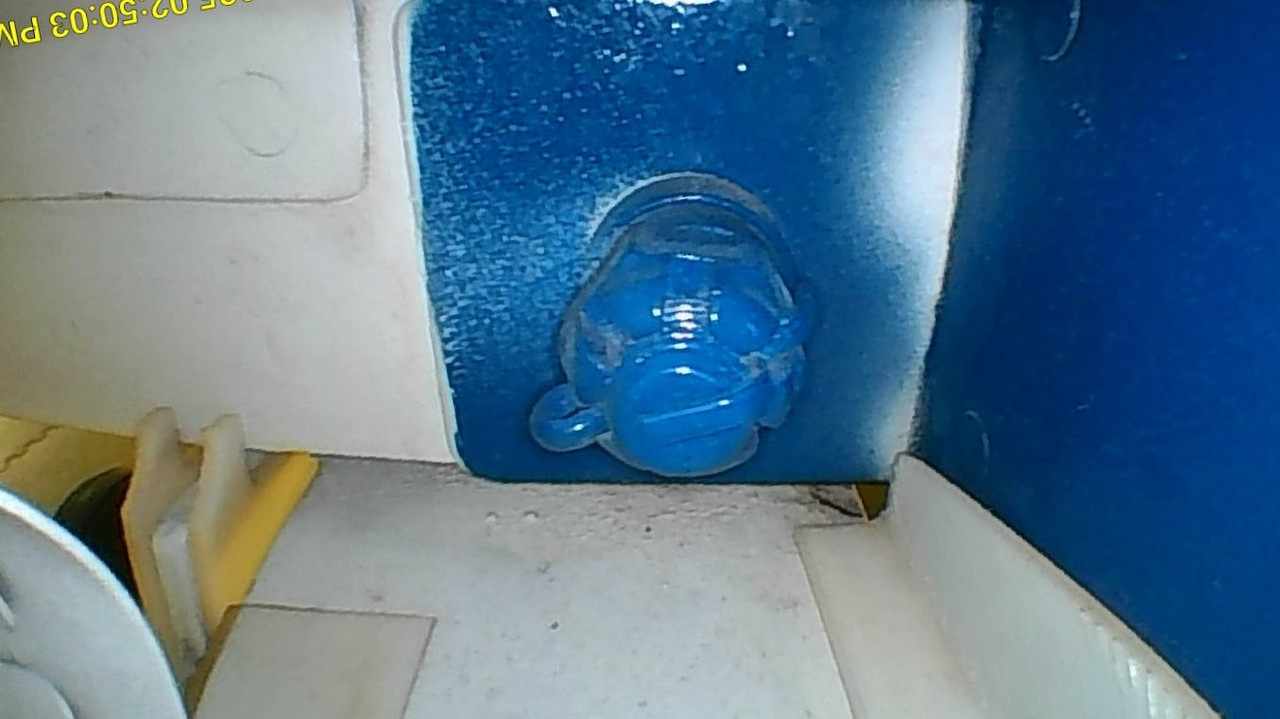
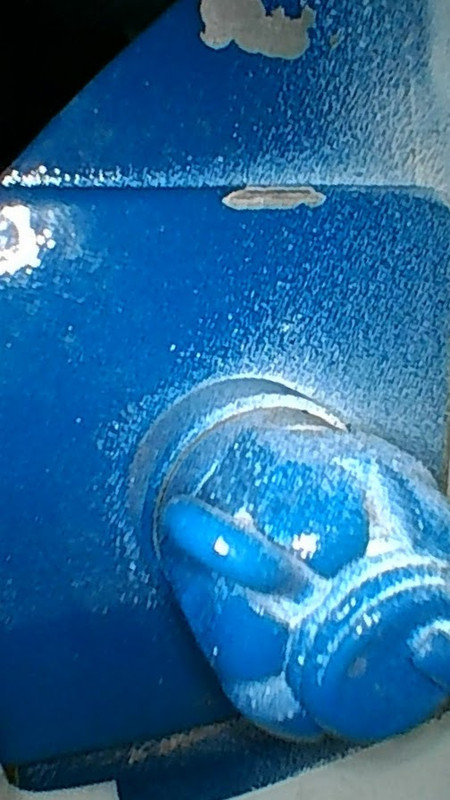
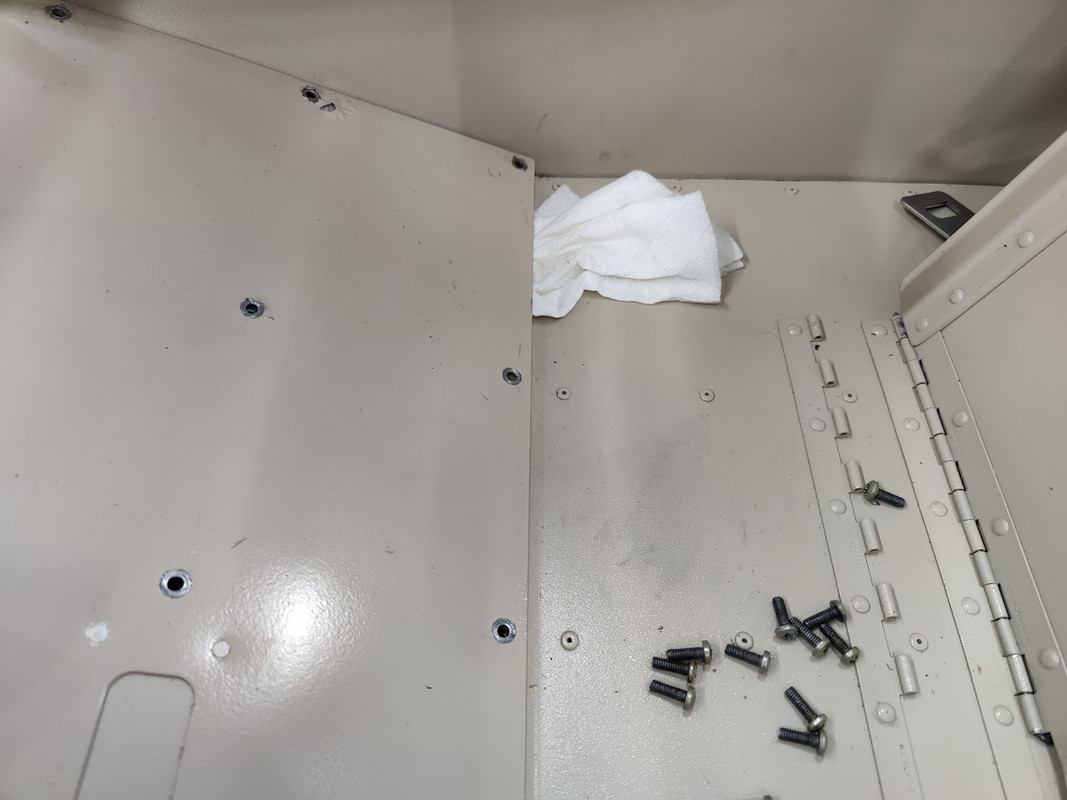
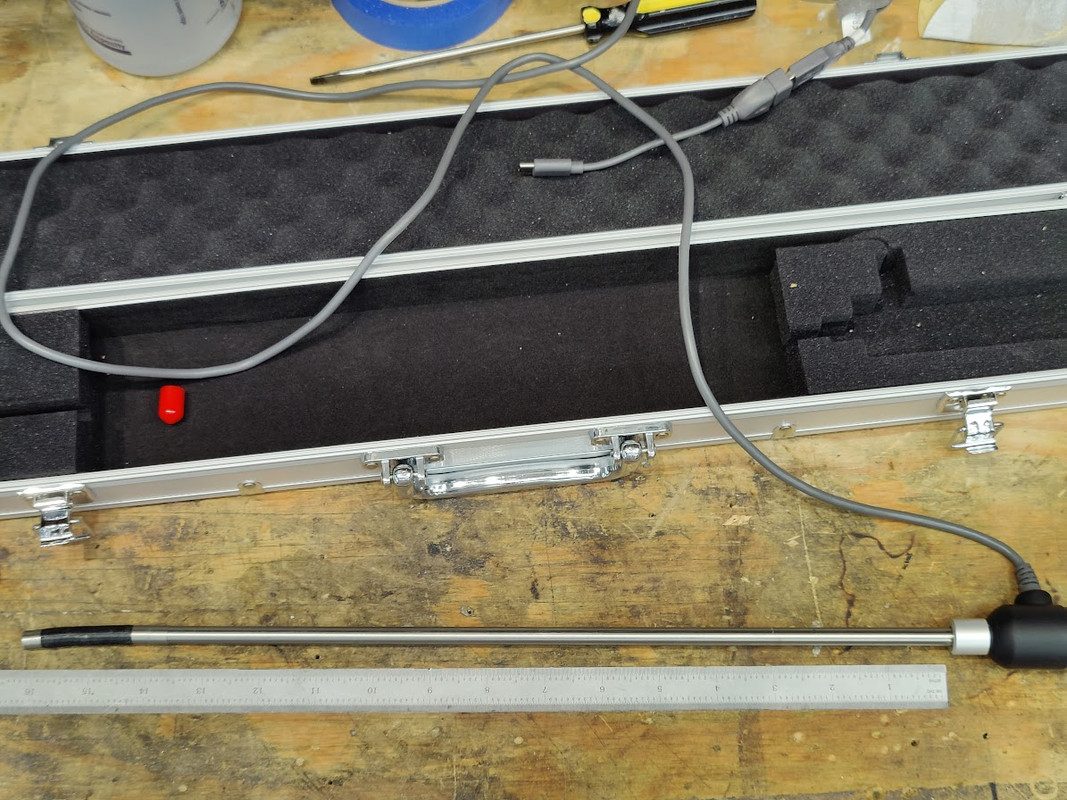
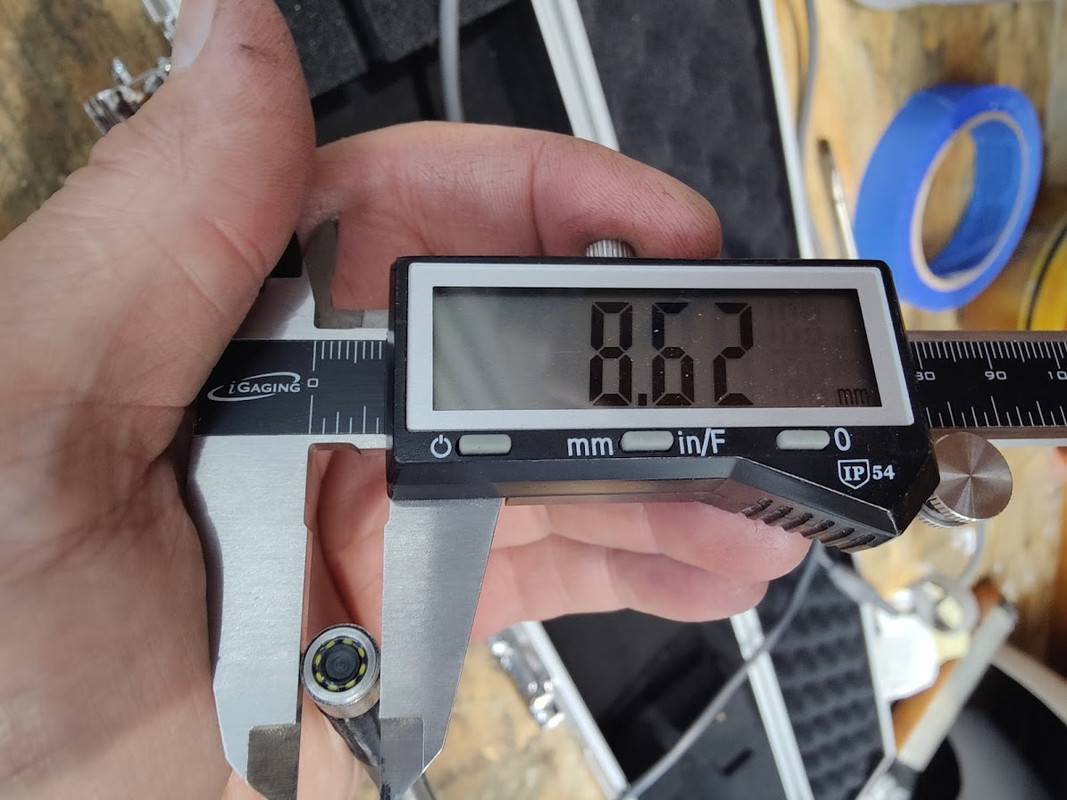
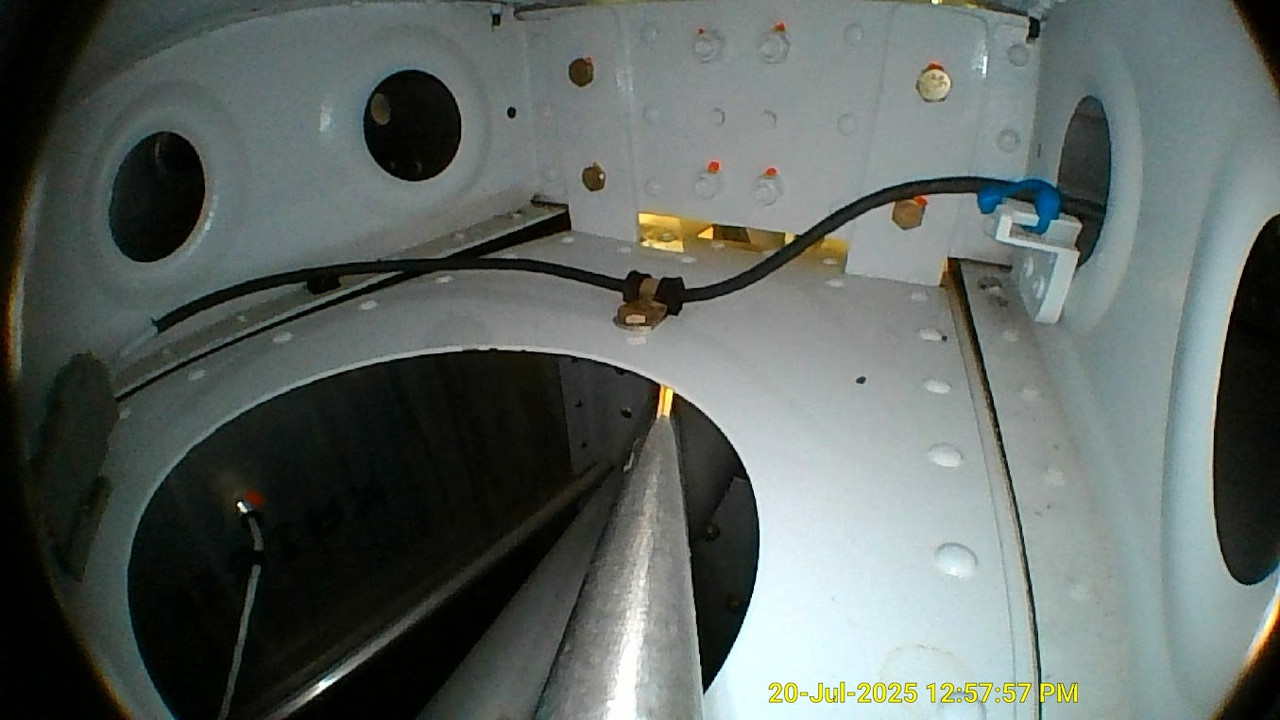
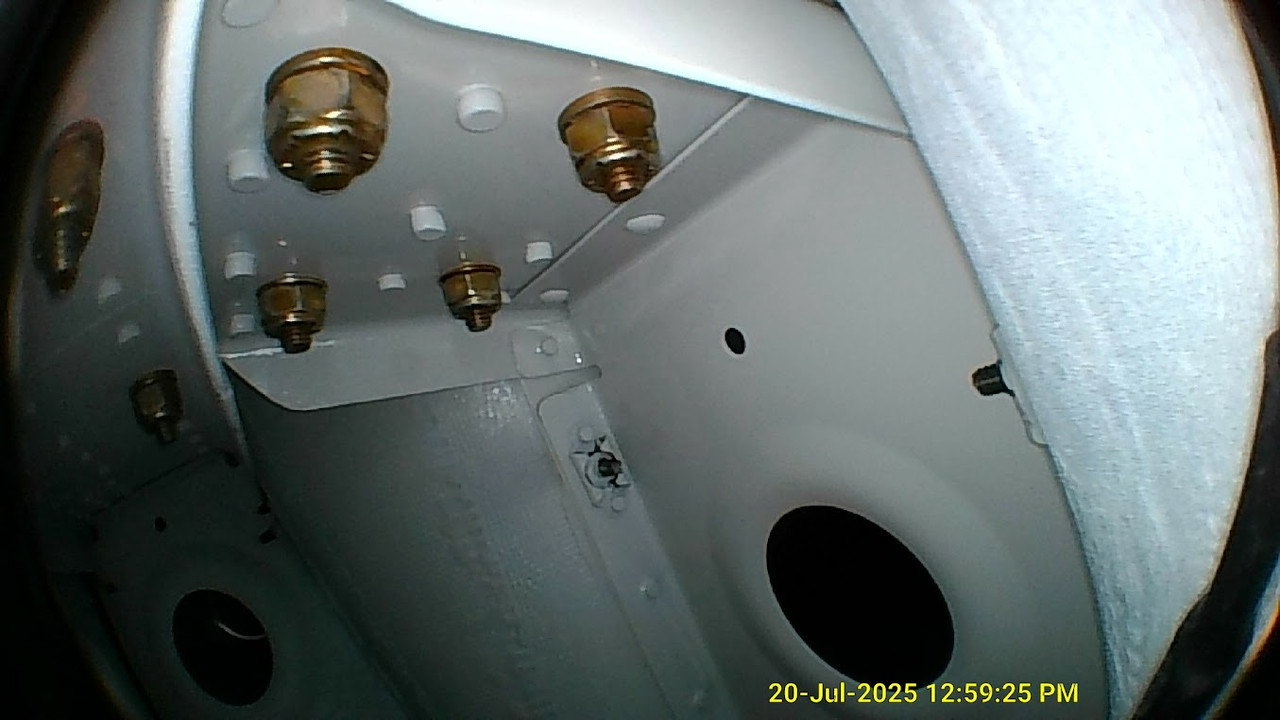
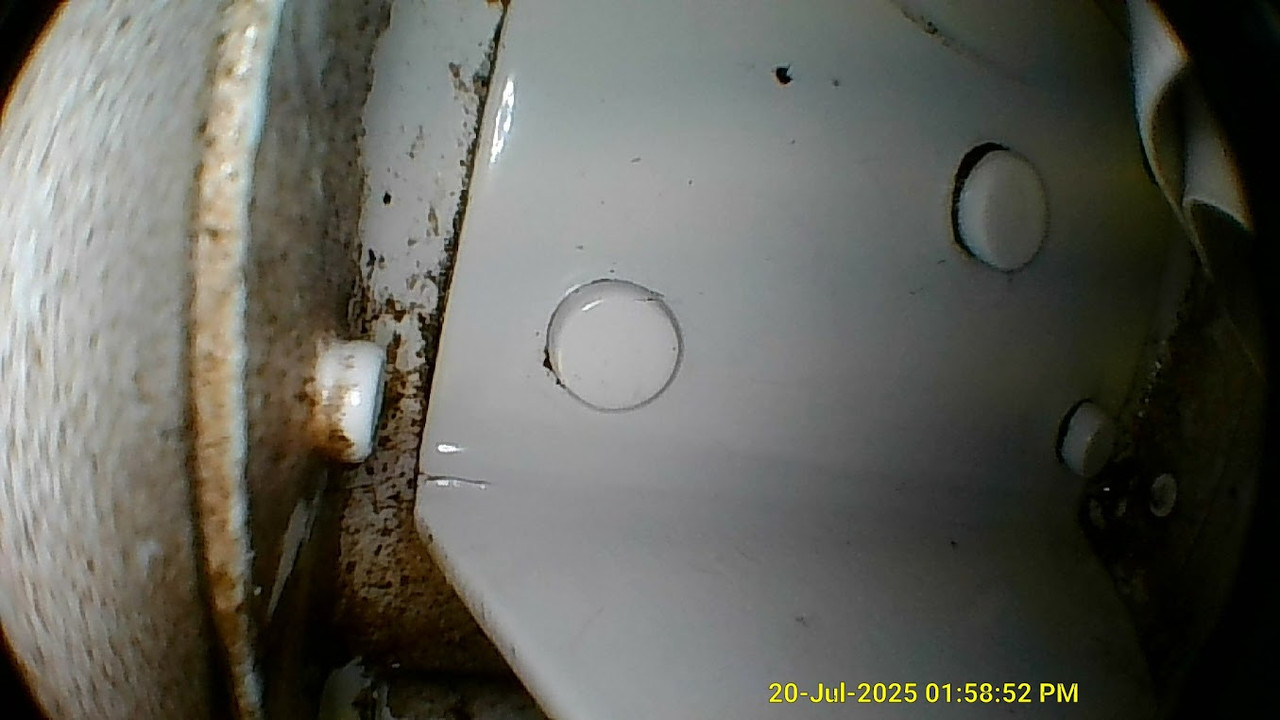
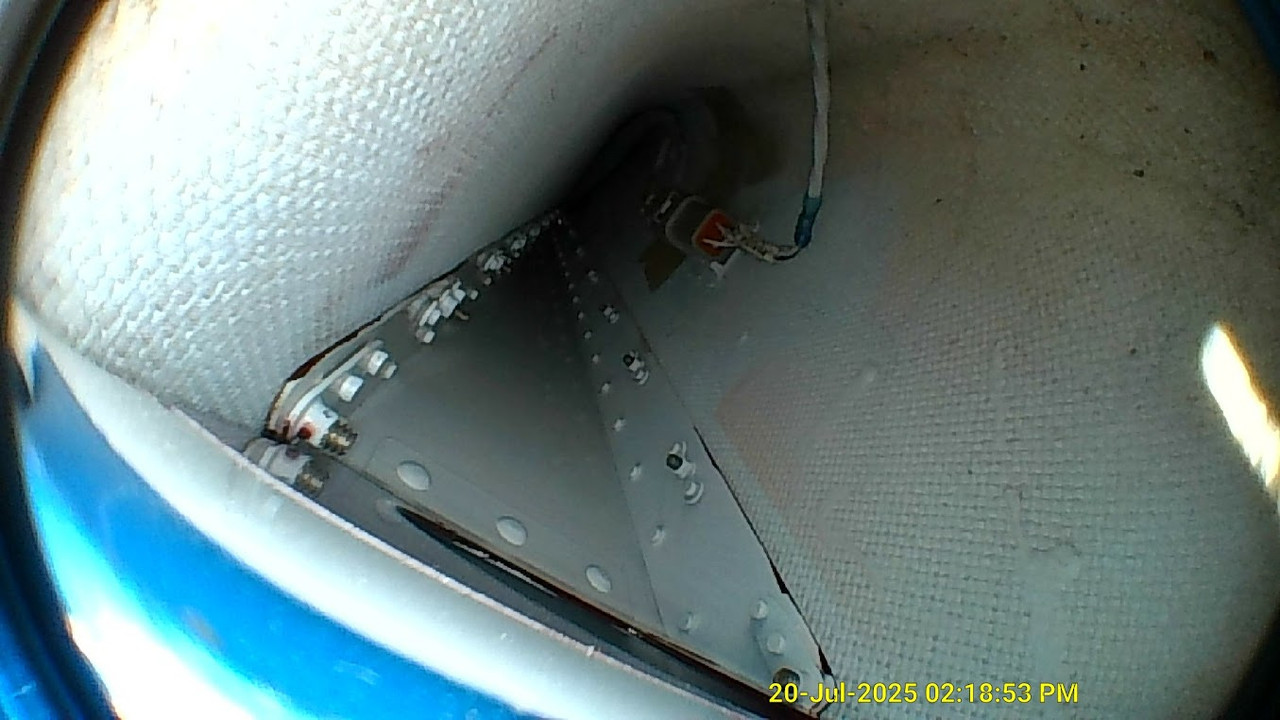
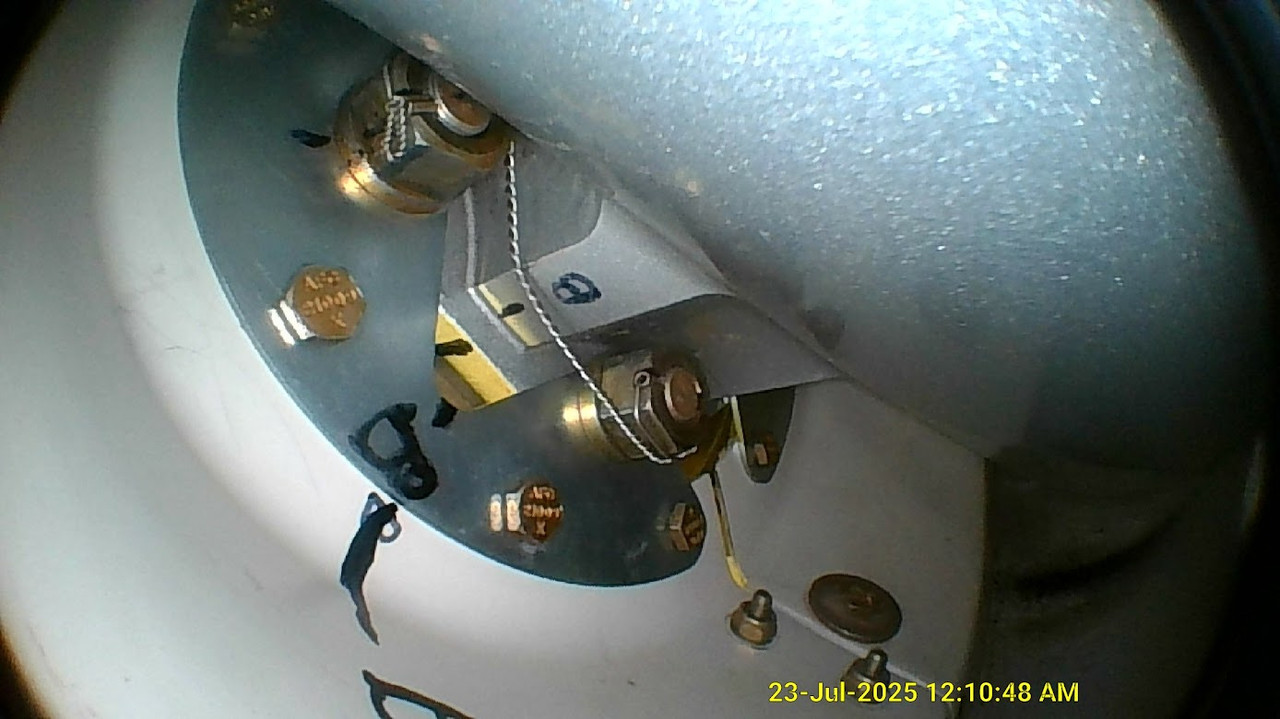
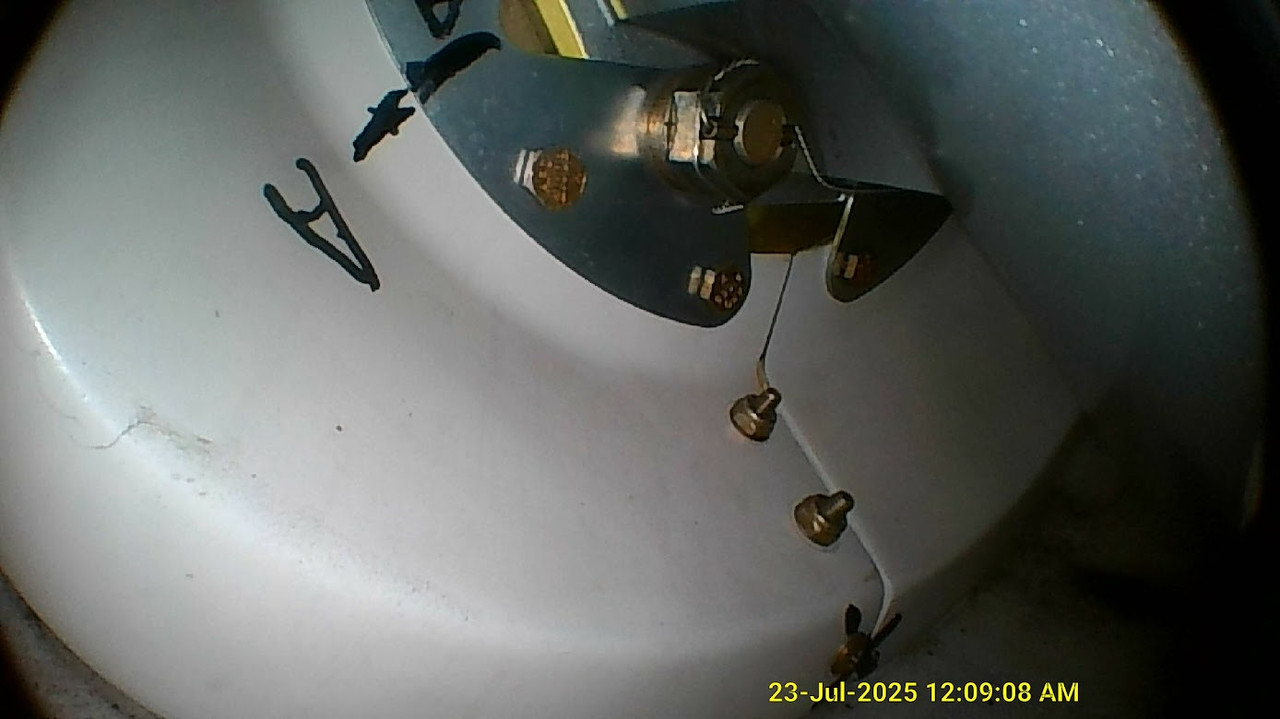
I spent some time with the borescope doing inspections before any ball joint lubrication. I found a paper towel and a washer and removed them. I was pleased with the capability of the borescope. I drained some fluid from each brake caliper just to purge any contamination. the brake caliper pistons O-rings are original. all the linkage connections are OK.
RV9A, Superior O-320, WW 200RV prop, Slick mags, CHT 330F, EGT 1300F, B&C, 1400+ hours
Freedom and Democracy are all that really matter.
Ride a bike, unlock the world. https://www.rvplasticparts.com/
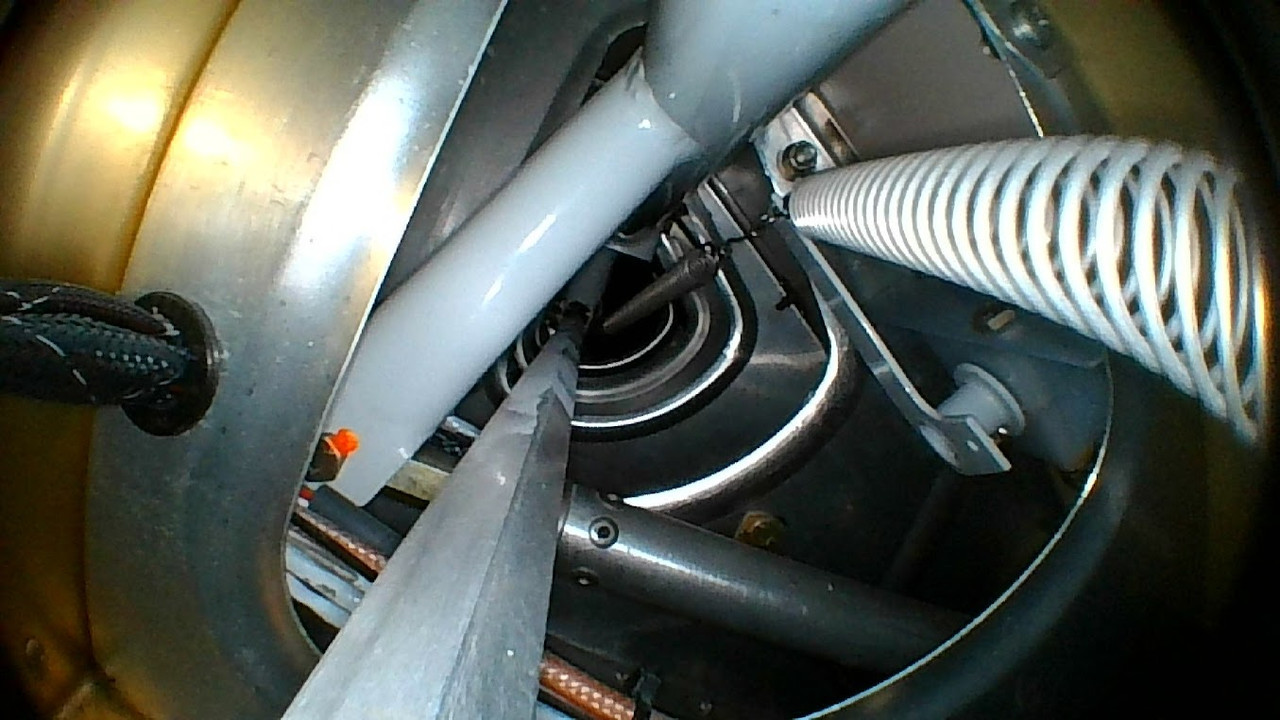
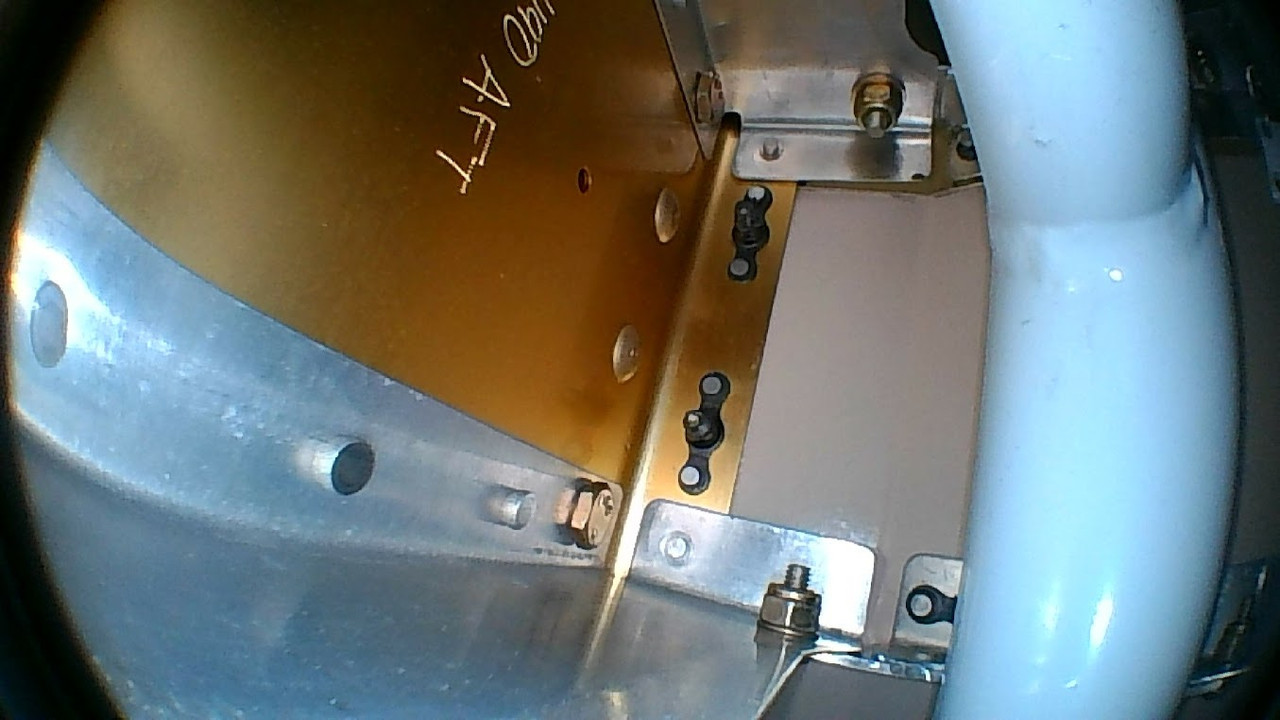
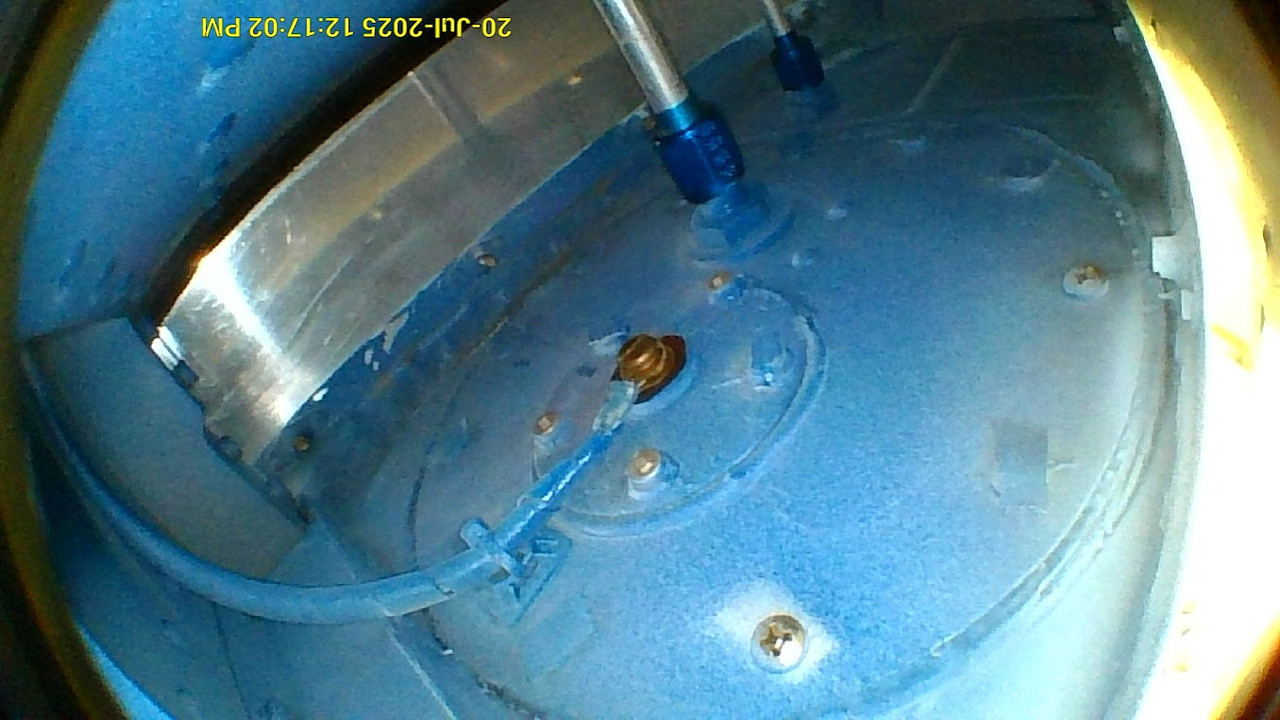
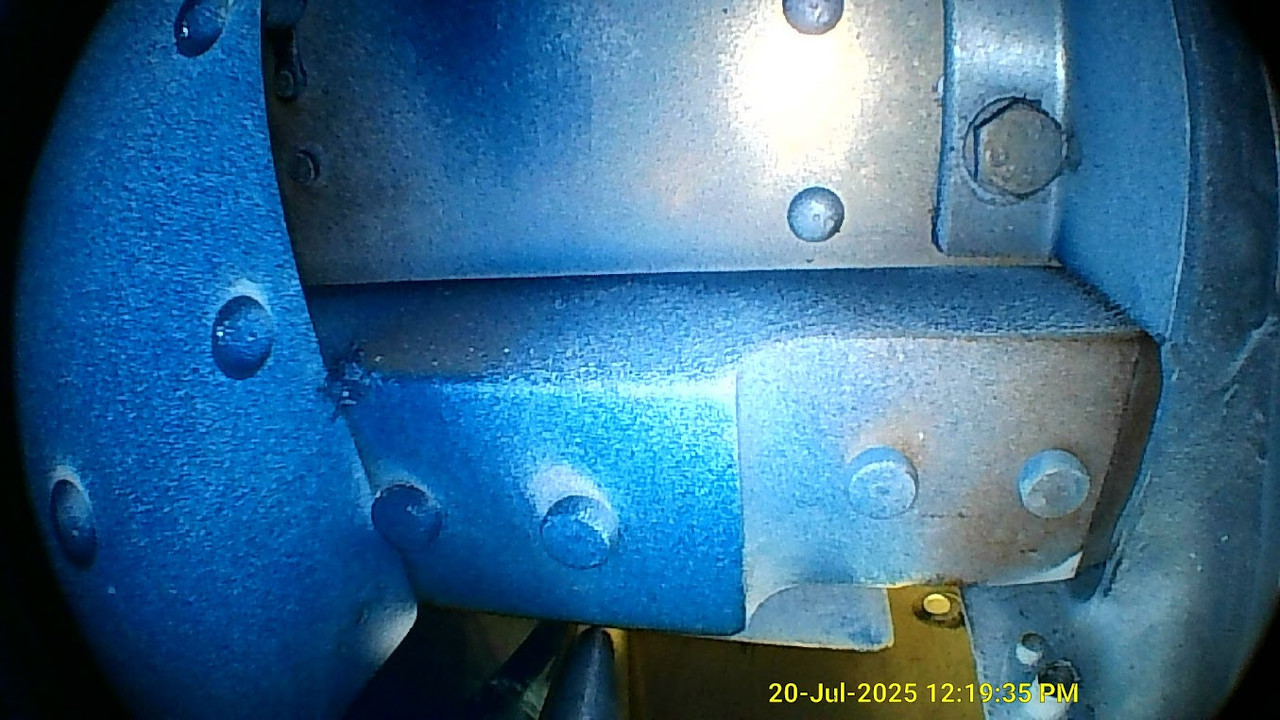
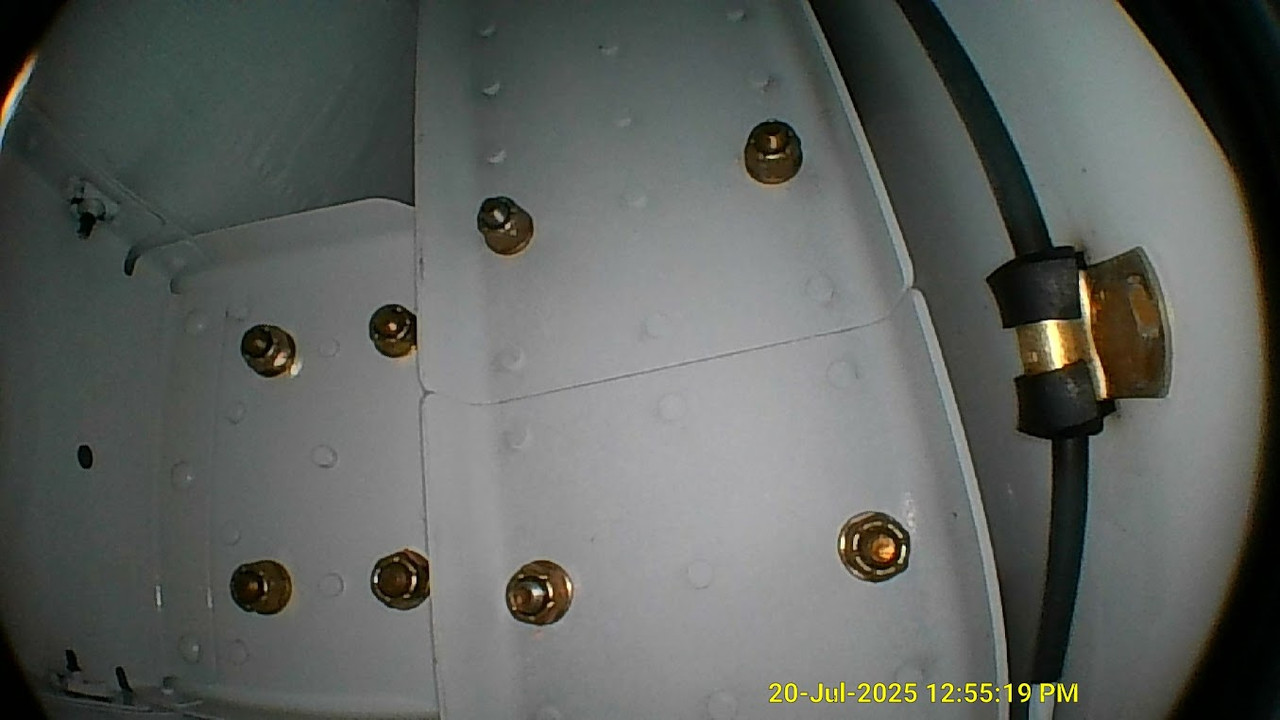
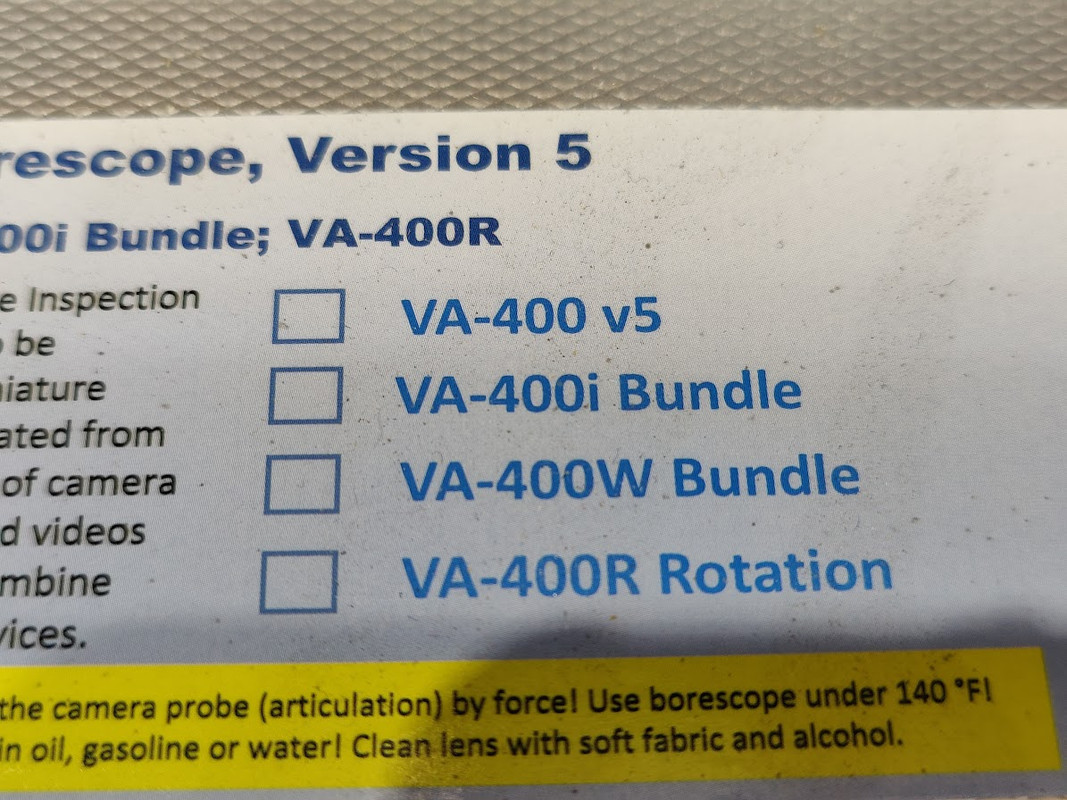
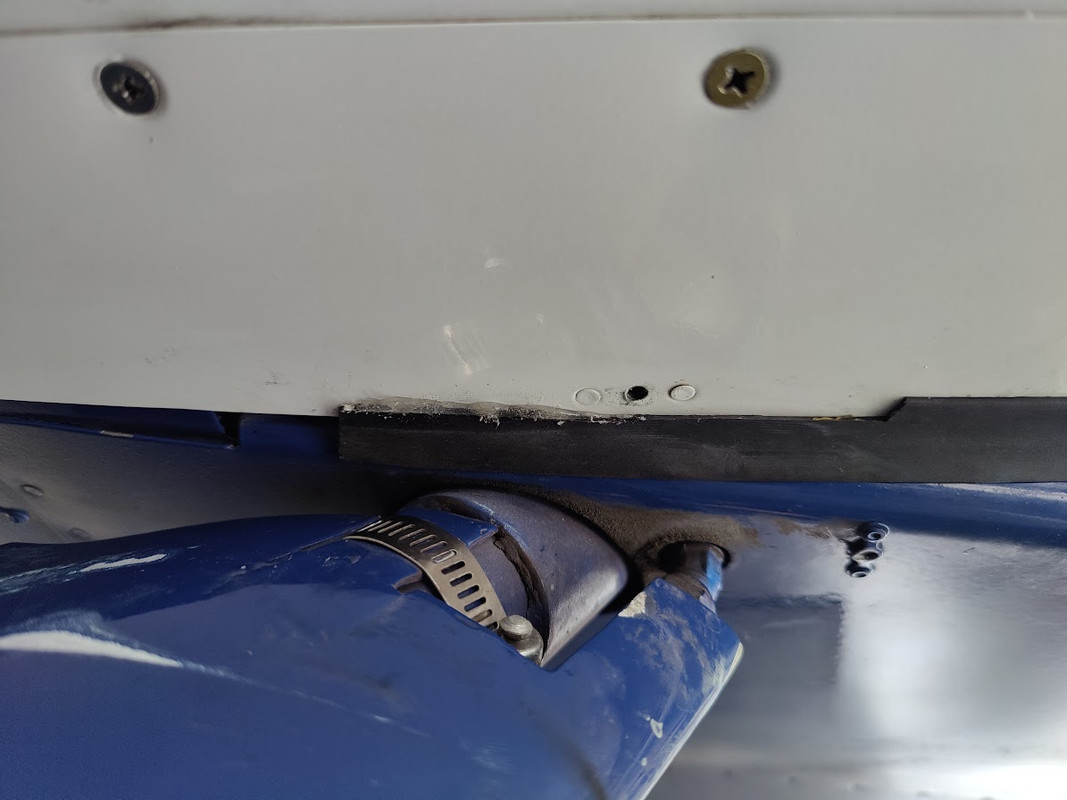
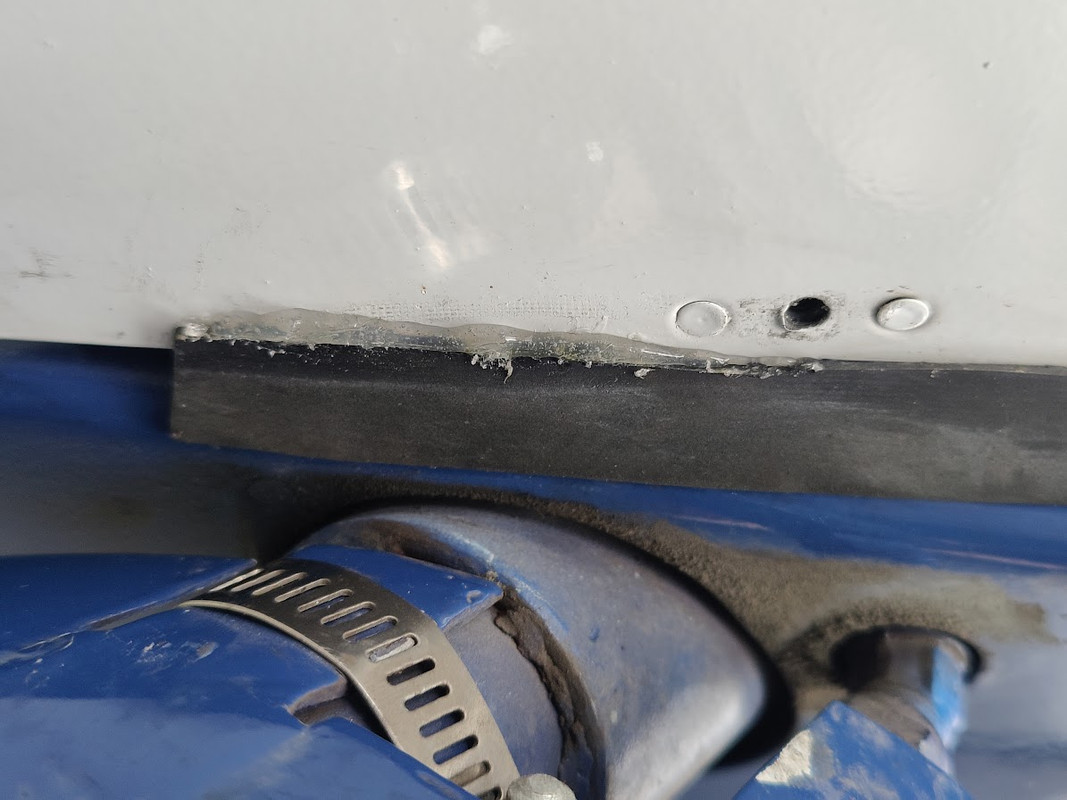
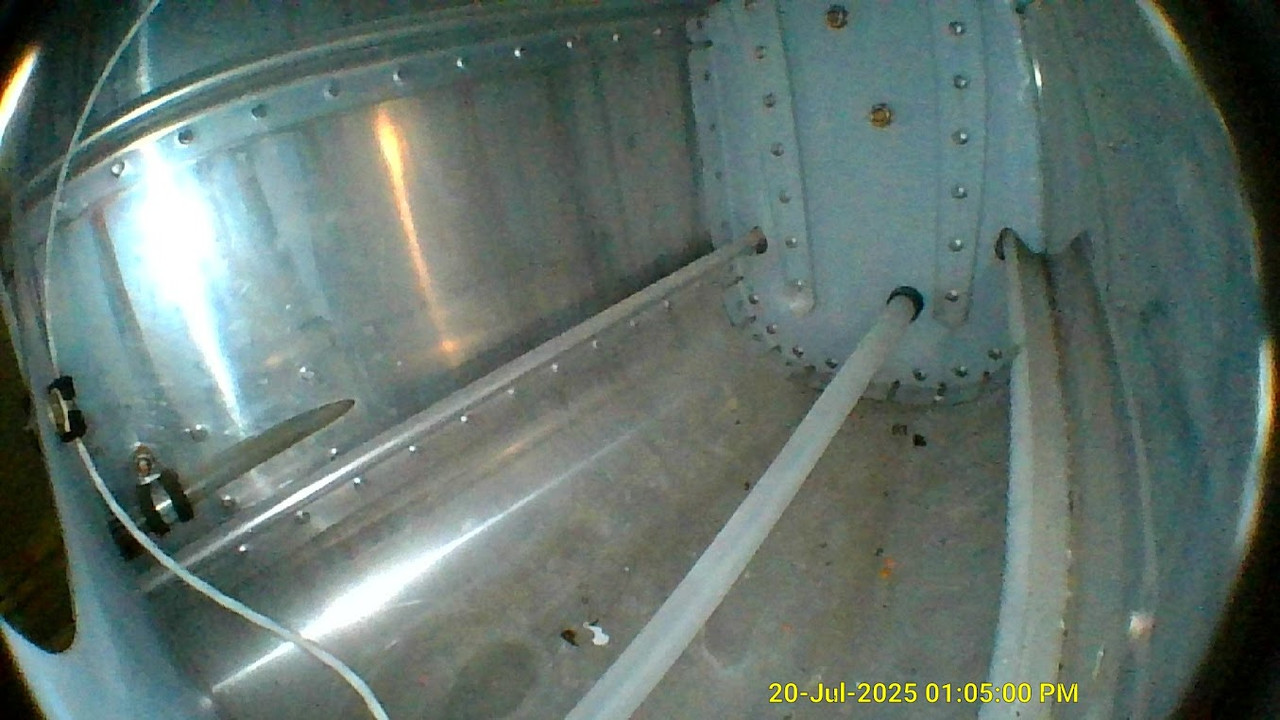
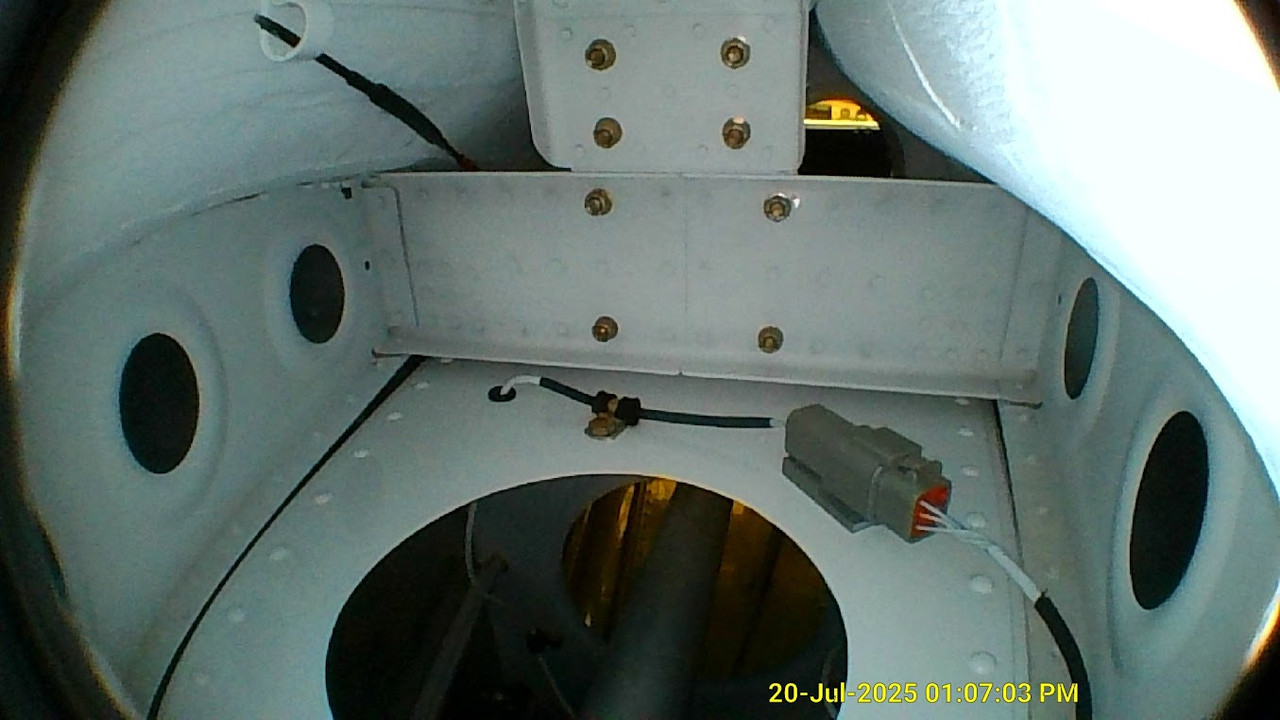
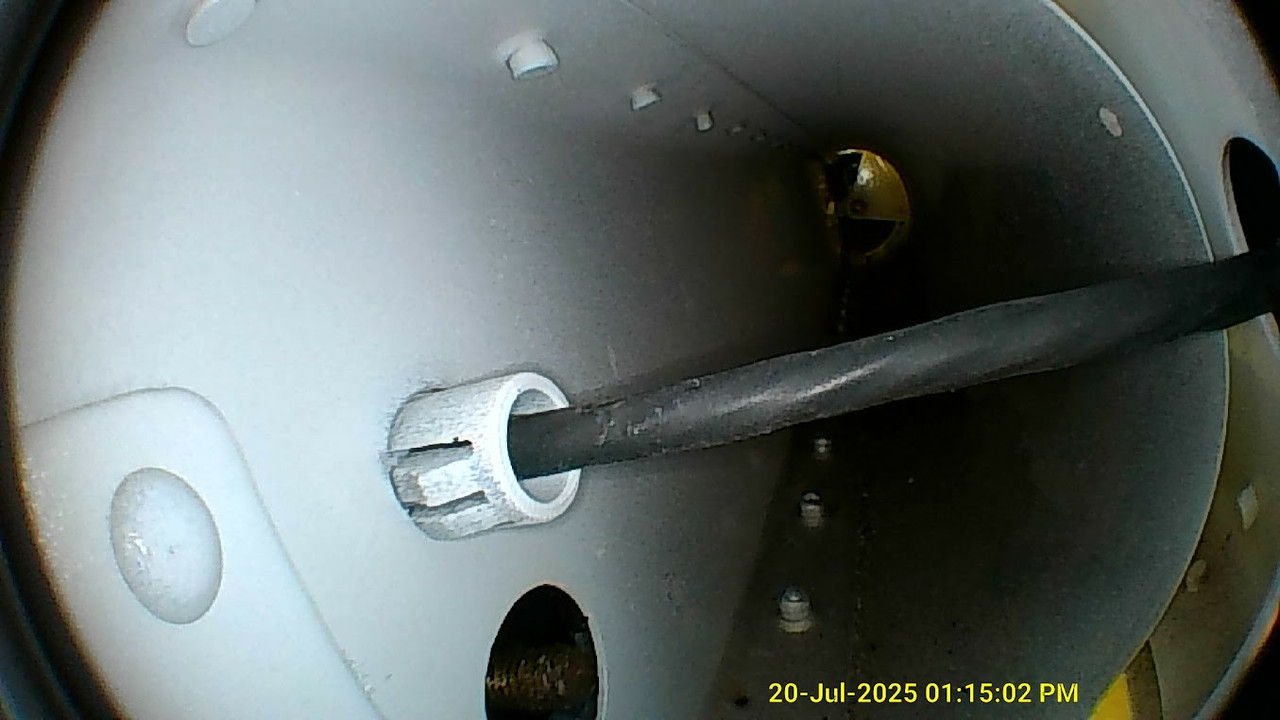
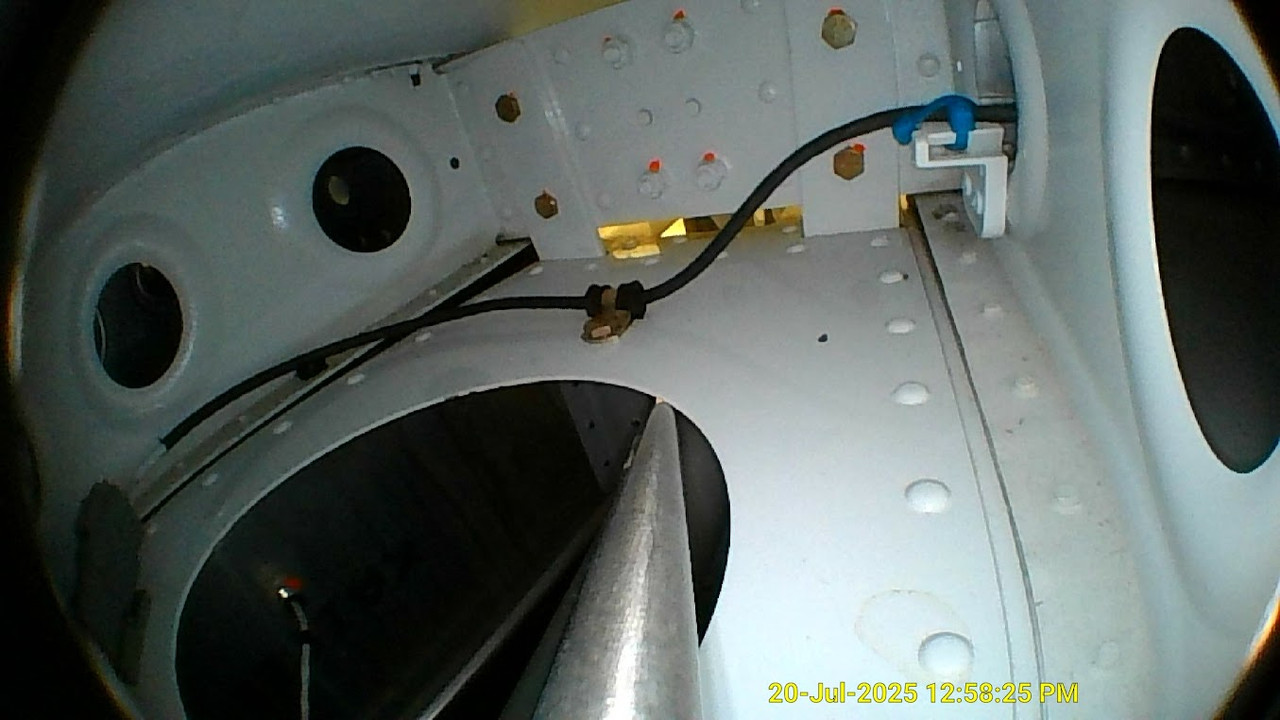
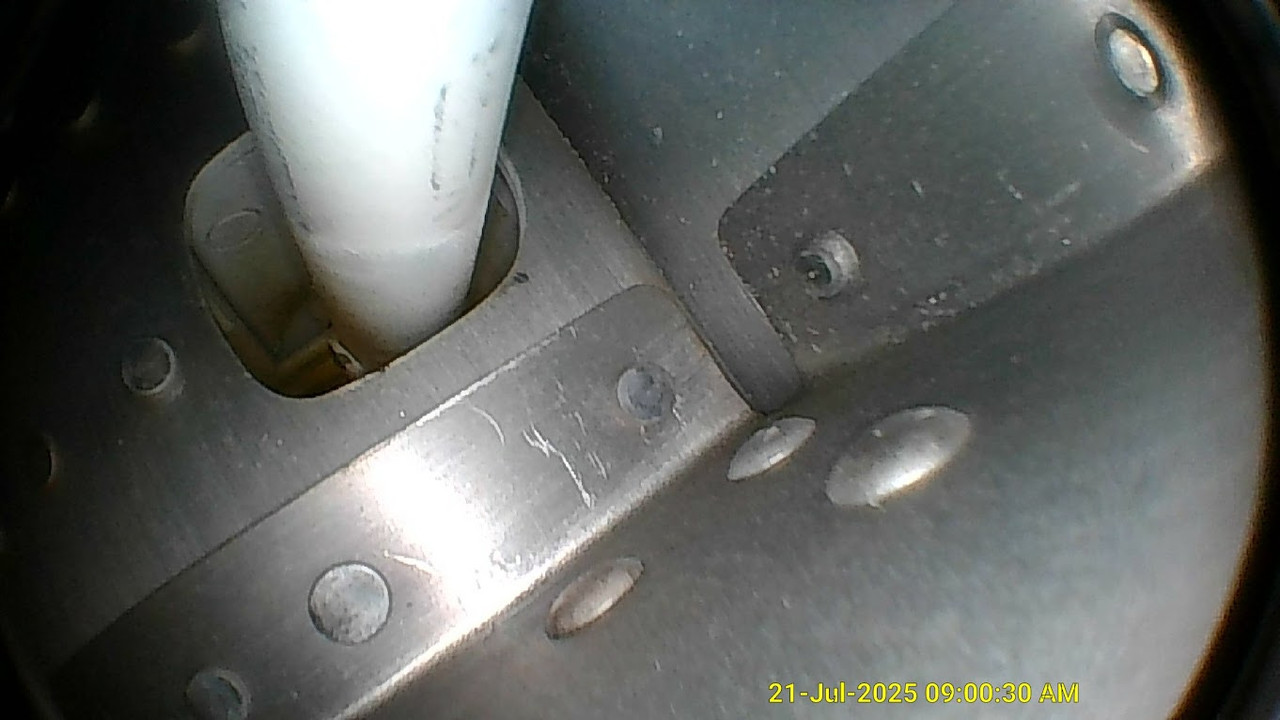
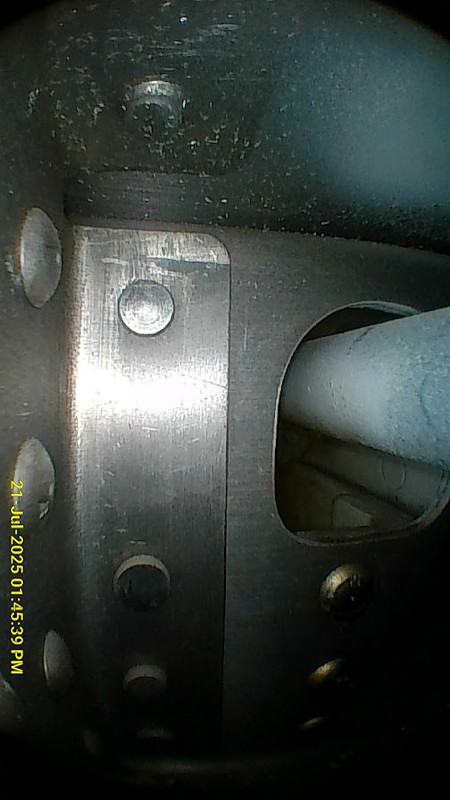
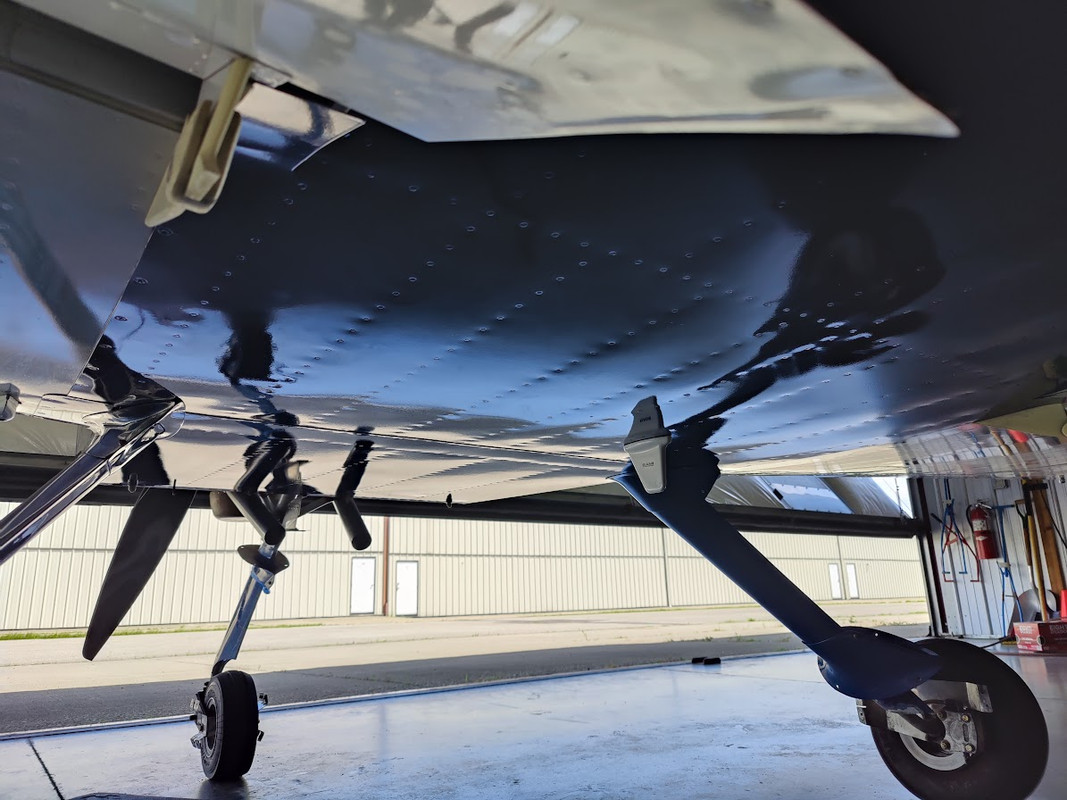
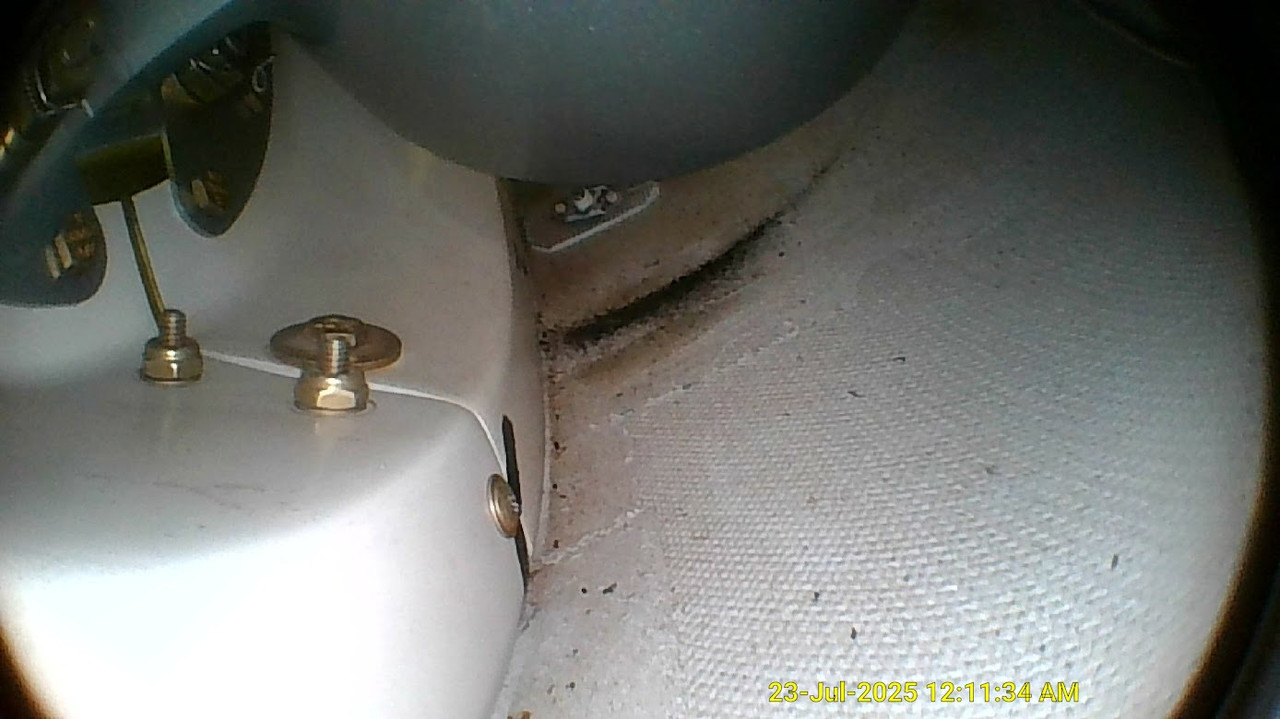
mostly, more borescope today. I am looking at all the details in search of cracks. I thought I found one at the top rudder bracket, but it turned out to be nothing after I cleaned it. I am continuing to be impressed with the capabilities of the VA-400 V5 and a smart phone. no need to pull the aft intersection fairing. there was a lot of dust under the main gear to fuse fairing. it felt like rubber. I wonder why? that's why you can sometimes smell rubber upon landing. that's where it comes from. the wheel is acting like an air pump.
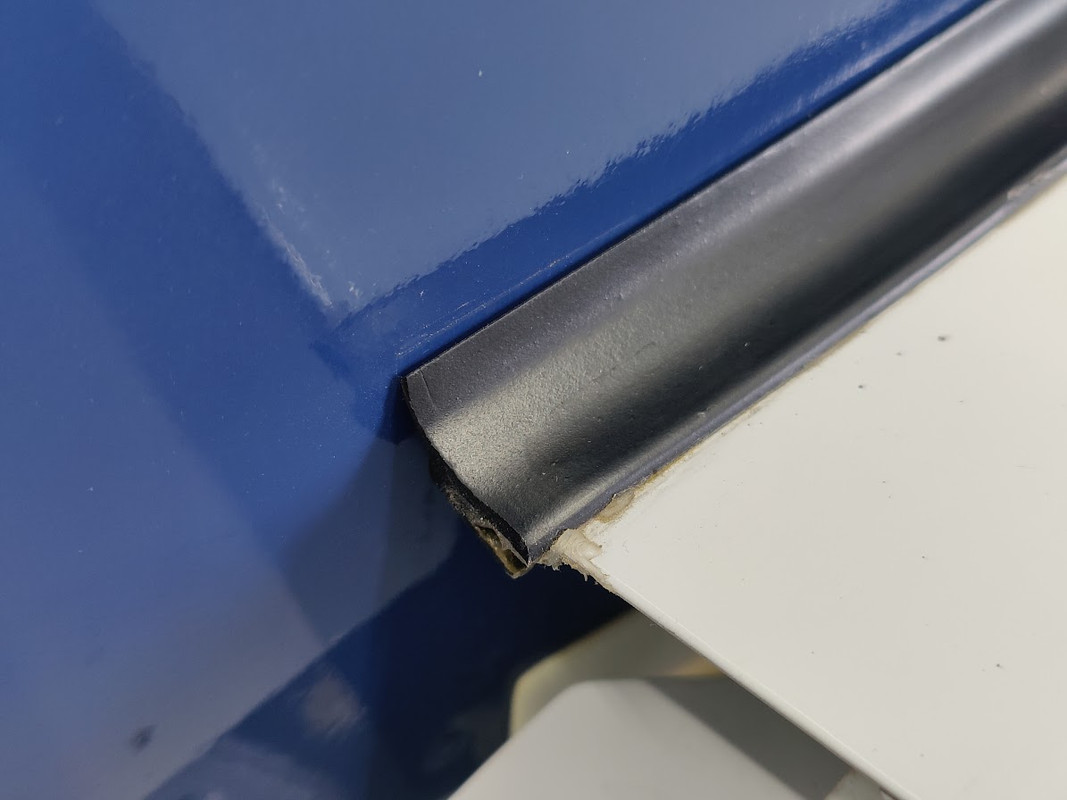
I reglued the wing to fuse intersection rubber piece at the forward end. this rubber will stretch and eventually become loose if you don't stretch and reglue at the aft end every couple of years. pull it, cut it, reglue at the aft end.
RV9A, Superior O-320, WW 200RV prop, Slick mags, CHT 330F, EGT 1300F, B&C, 1400+ hours
Freedom and Democracy are all that really matter.
Ride a bike, unlock the world. https://www.rvplasticparts.com/
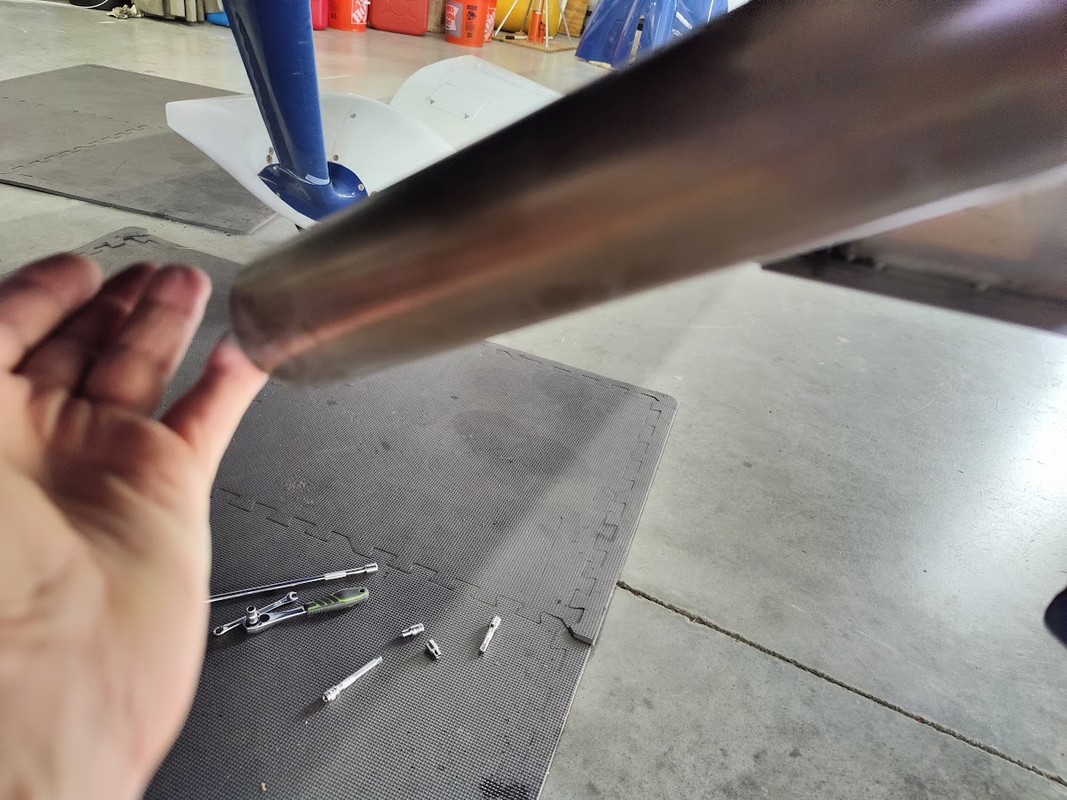
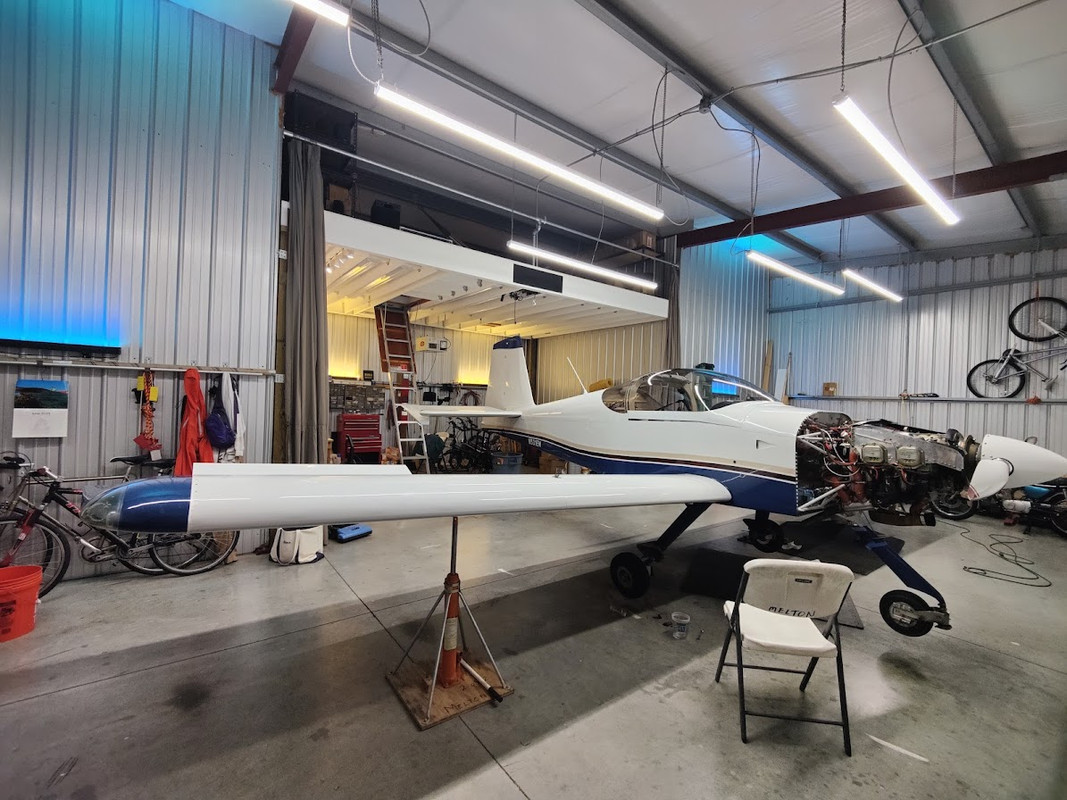
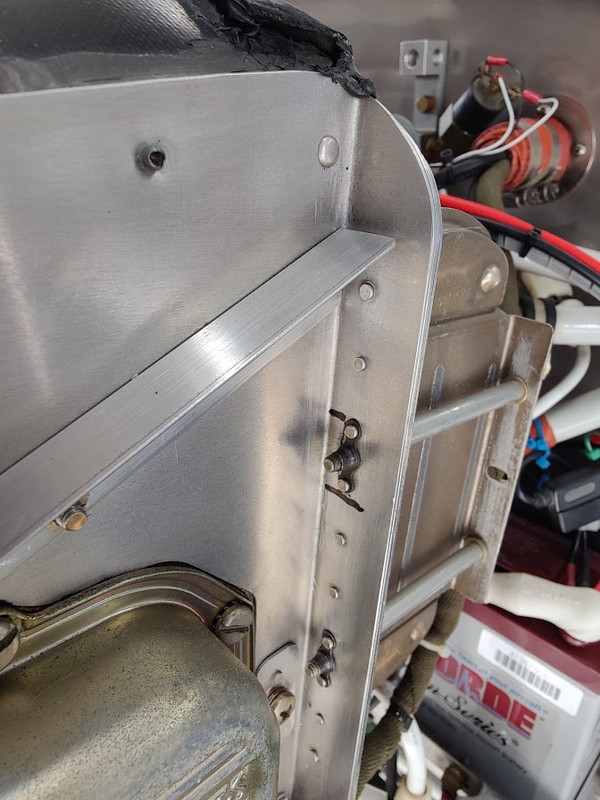
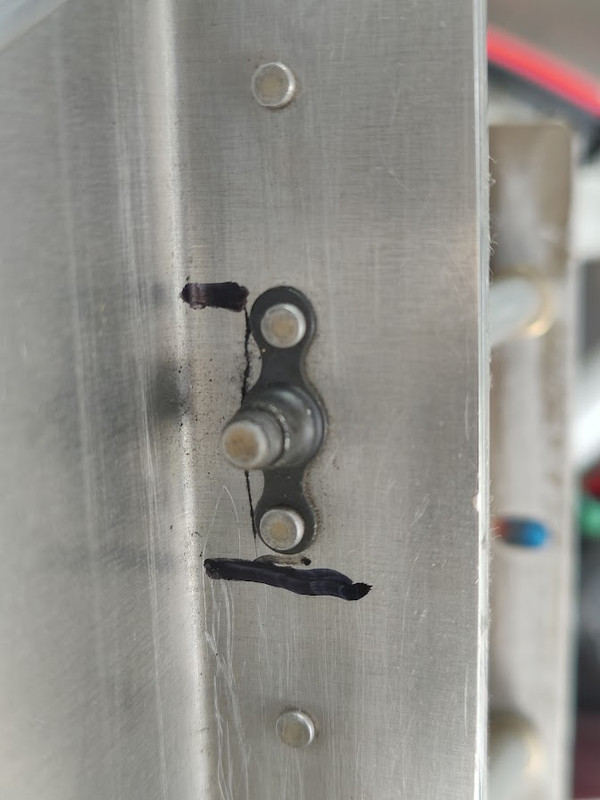
this is day 5 of a relaxed condition inspection and I am beginning to clean it and do some cosmetic stuff. the forward engine cylinder fins were beginning to corrode so I painted them. hopefully, the paint doesn't affect the heat transfer. the printed bracket in the right-wing tip that I installed 7 years ago looks OK. that large bracket only weighted 52 grams. in the wing tip, some silicone tape that I wrapped a BNC connector is becoming unwrapped, but I am OK with that. it is nice to have a clean belly again. I clean it twice a year and it takes about 30 minutes each time to do a good job. I am continuing to monitor at metal crack at the baffle. it has not grown in the last 800 hours. I did not find any other metal cracks. sanded the exhaust pipes tips to clean them. SS exhaust pipes develop an oxide layer and is corrosion protection, so it may be better not to sand these, but I like the look.
RV9A, Superior O-320, WW 200RV prop, Slick mags, CHT 330F, EGT 1300F, B&C, 1400+ hours
Freedom and Democracy are all that really matter.
Ride a bike, unlock the world. https://www.rvplasticparts.com/
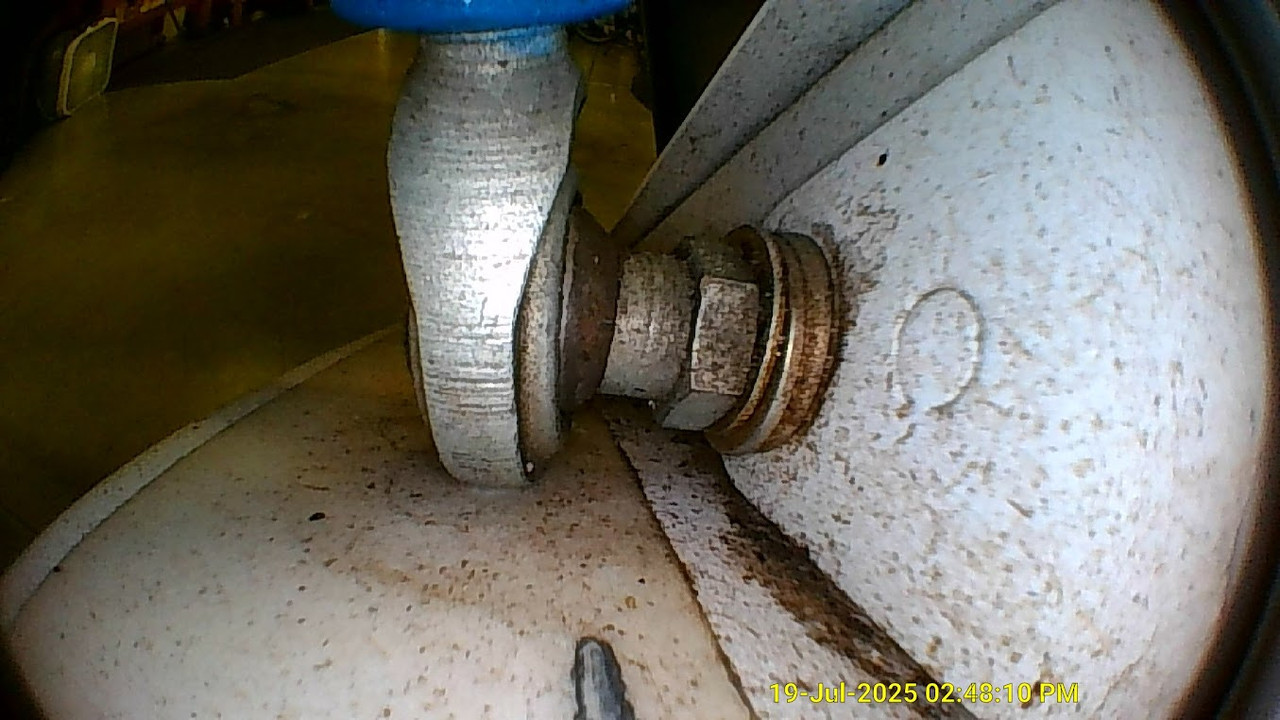
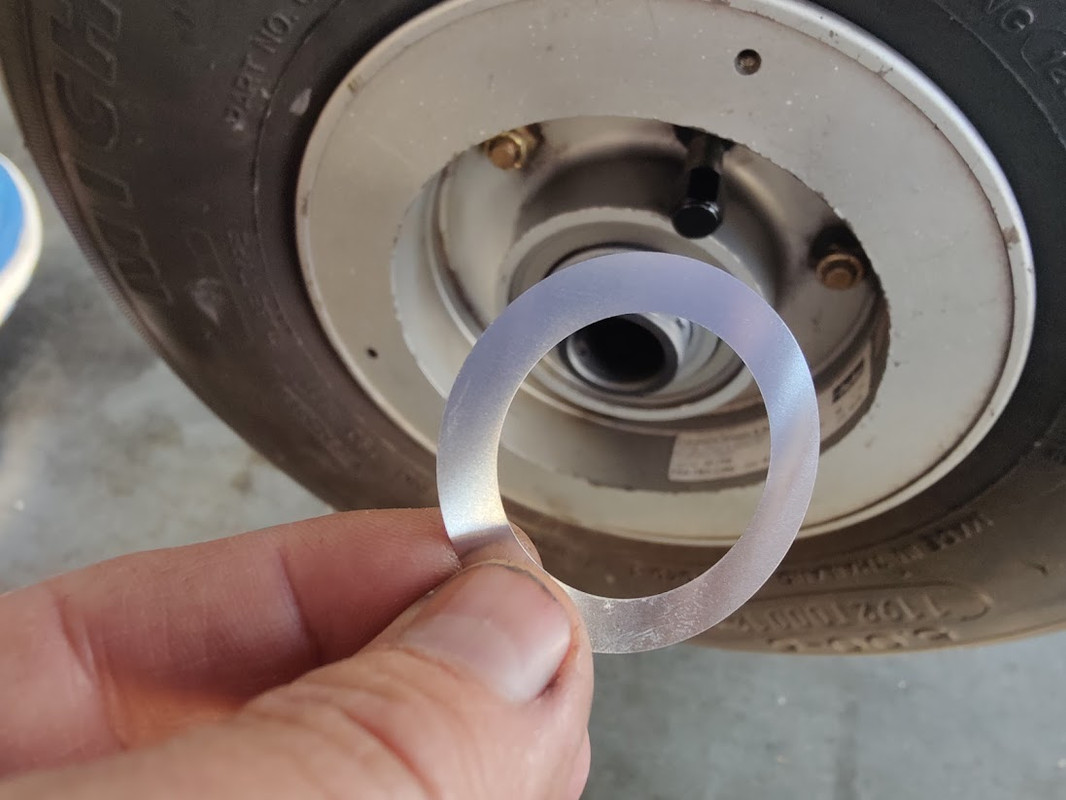
Day 6 of relaxed condition inspection. I purchased some shim washers from McMaster-Carr to tighten the tapered roller wheel bearings, and they worked great. these bearings are better to be tighter rather than looser because if they are loose, they will skid upon landing and damage the bearing. inner dia for the RV9 = 1.25 inch and possibly larger for the 14 and 10. the front crank seal is still there along with the propeller bolts. 12-year-old baffle seals are still going strong. condition inspection complete and signed. condition inspection cost = $10 spray paint for forward cylinder fins. I estimate my time to be 40 hours at a relaxed pace.
RV9A, Superior O-320, WW 200RV prop, Slick mags, CHT 330F, EGT 1300F, B&C, 1400+ hours
Freedom and Democracy are all that really matter.
Ride a bike, unlock the world. https://www.rvplasticparts.com/