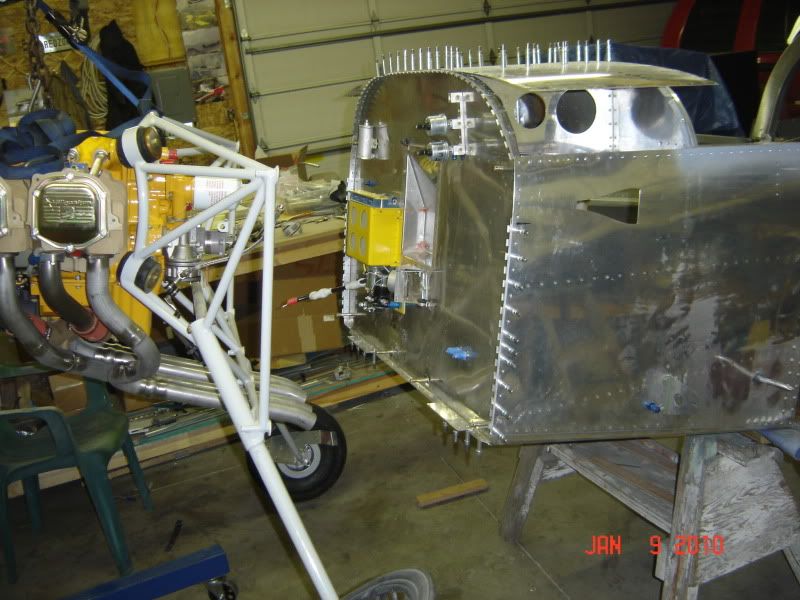
This was so easy, I'm still in shock. Did it all by myself in less than an hour. My friend Bill, who rides a Harley and lives around the corner, loaned me his very nice engine hoist. This thing folds up and can be pushed into a corner when you're not using it. Very cool. I used it and a nylon strap to lift the fuselage up high enough to slip the gear legs in. Here's a shot right as I was hooking it up:

I took the nylon strap and made a loop through the top two holes in the Dynafocal mount. The hook on the engine hoist lifted on this loop. My shop is tight, but here you can see the hoist in place in front of the firewall, ready to lift on the loop.

Then it was as simple as pumping on the handle and lifting it up. Slip in a gear leg, then standing on a step, I was able to reach in through the opening in front of the canopy and slip the AN5-22A bolt into place.
I can't believe how cool this looks. Much work remains, but this is a big step, and a great day!
More pictures and a lot more detail is on my log page for this day, right here:
http://www.europa.com/~swayze/RV-7A/Fir ... 21208.html