Off with the flanges using the dremel cut off wheel. I filed down the cuts and smoothed off the edges.

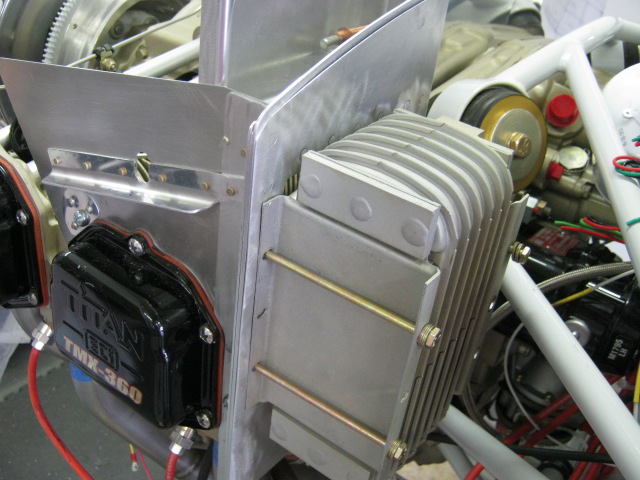
I match drilled the shutter to the baffle and gave it a test fit. The rivet heads at the top of the baffle would interfere with the movement of the shutter blades, so a regular AN960-10 washer will need to go between the baffle and shutter.

The aft part of the shutter needs just a thin AN960-10L washer between it and the oil cooler. The oil cooler bolts need to be longer. I bought some AN3-44A size and this was perfect. I also used a single AN960-10 under each of the long bolt heads.

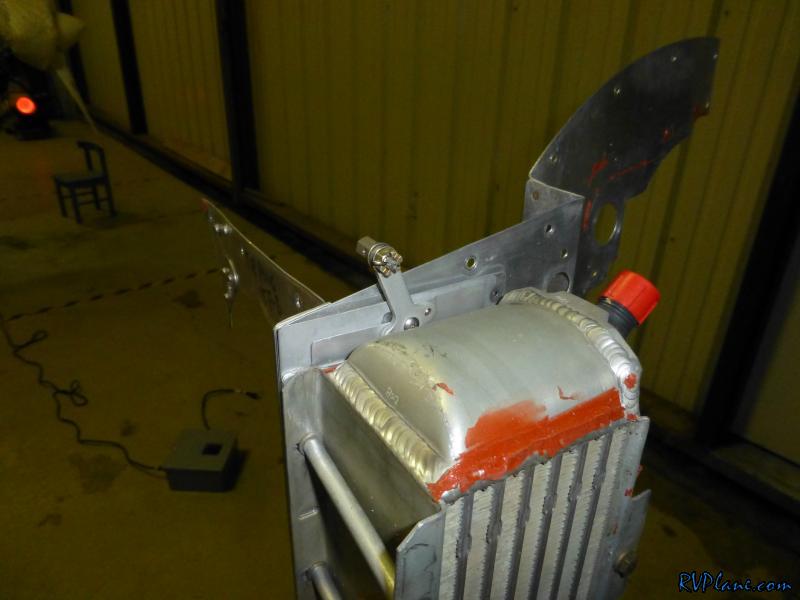
The B-nut that Van's sells with the oil cooler shutter interferes with the aft baffle skin.

The aft-most baffle skin can be cut away, since the baffle seal is forward of this skin.

Another quick set of cuts with the dremel cut off wheel and some filing. Now the B-nut has plenty of clearance in both the on and off position of the shutter.

The worst part of the project was punching a new hole in the firewall for the cable control. It took a bit of work, but I got the control cable drilled on the panel, run through the firewall and up to the shutter.
I did a lunch flight today and the OAT was about 60F at altitude. The oil temps were barely pushing 175F with the shutter open. I pulled out the control knob just a bit and was able to control the temps nicely to about 185-190F.
I took more pictures of the finished project, but left the camera at the hangar. Look in the Phase 2 gallery on my web site in a few days to see the rest.