Status Brantel #72823

A forum in which to discuss topics specific to the assembly of the RV 7/7A.
Post Reply
User avatar
rv8or
Class E
Posts: 148
Joined: Fri Oct 22, 2004 1:50 pm
Location: DFW

Post by rv8or »

weezbad wrote:
cjensen wrote:Brian, the more I look at the paint job you did, the more I want to respray mine... :o 8) 8)

The latch looks great!!
it does look great. the sensation i got when i saw the macro pics was, damn thats clean. 8) makes me want a "do over" as well. :cry:

I was going to go back and look, but I'm lazy so I'll just ask..

What kind of paint is that? It does look great.

Joe
Joe Ferraro
aka: "jferraro16"
DFW, RV-8A Fuse

User avatar
Brantel
Class B
Posts: 1030
Joined: Wed Aug 30, 2006 3:23 pm
Location: Newport, TN

Post by Brantel »

Rustoleum Hammered Silver.... Comes in a quart can or spray cans from any hardware store or home center even some Walmarts.

I used the bulk cans and sprayed it with a gun. It must be thinned to spray.

So far it seems pretty tough. Sure it is not epoxy tough but for 10 bucks a can (only takes one to one and a half cans) you cant beat the price.

It touches up easy and the repairs are hard to see because of the finish.
Brantel (Brian Chesteen),
RV12-IS, #121606, N912BC - Building Now!
RV10, #41942, N????? - Project Sold
RV-7/TU, #72823, N159SB - SOLD

User avatar
rv8or
Class E
Posts: 148
Joined: Fri Oct 22, 2004 1:50 pm
Location: DFW

Post by rv8or »

I used that on my DRDT when I built it (grey). I thought that was what it was, but didn't want to insult you if it wasn't! :oops:

It looks great! Are you going to put any fabric or carpet in the recesses?

Joe
Joe Ferraro
aka: "jferraro16"
DFW, RV-8A Fuse

User avatar
Brantel
Class B
Posts: 1030
Joined: Wed Aug 30, 2006 3:23 pm
Location: Newport, TN

Post by Brantel »

Yep. The area under the feet and the bagage area will have carpet.

The interior is on its way to me from Flightline Interiors.

I'll have seats, stick boots, armrest pads, front and rear carpet.

Abby bound the edges of the carpet and made heel pads into it as well. She is also providing the insulation that goes under it.
Brantel (Brian Chesteen),
RV12-IS, #121606, N912BC - Building Now!
RV10, #41942, N????? - Project Sold
RV-7/TU, #72823, N159SB - SOLD

User avatar
Brantel
Class B
Posts: 1030
Joined: Wed Aug 30, 2006 3:23 pm
Location: Newport, TN

Post by Brantel »

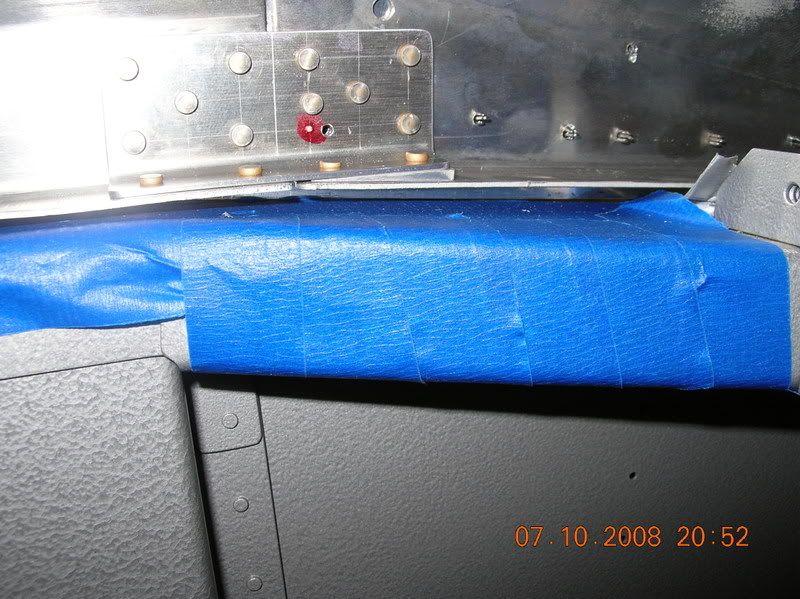
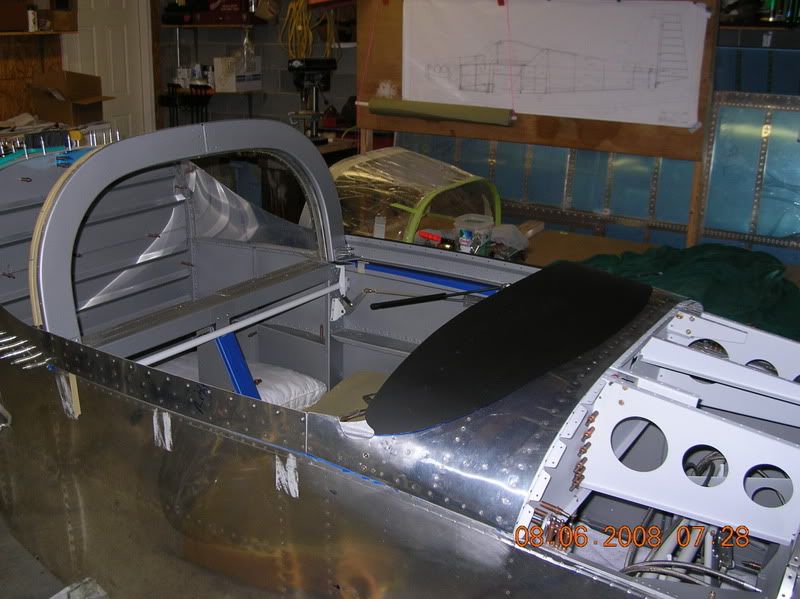
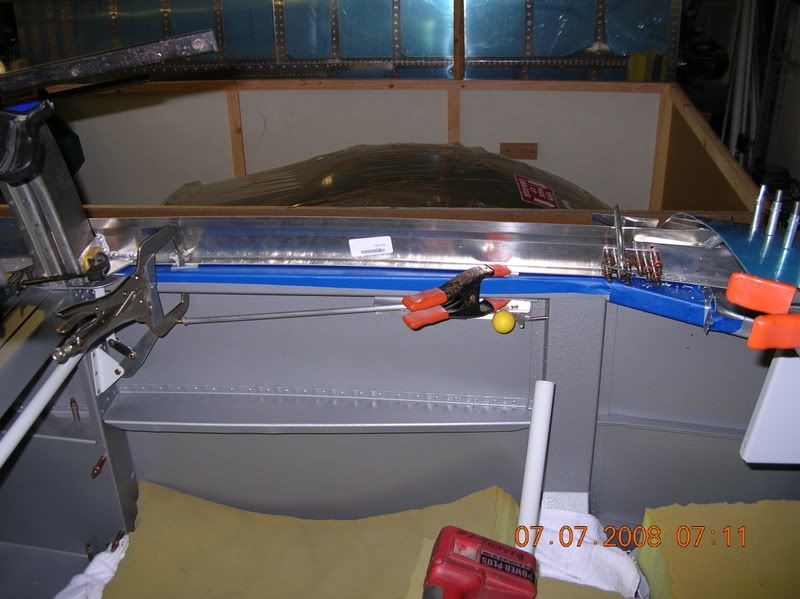
Started this work session with straping down the canopy frame and skin to the front fuse. Used a tie down strap to pull it down snug but not too tight. I added several layers of duck tape in the center area in an effort to get the canopy skin to sit slightly higher than the front skin to prevent snagging.

Image

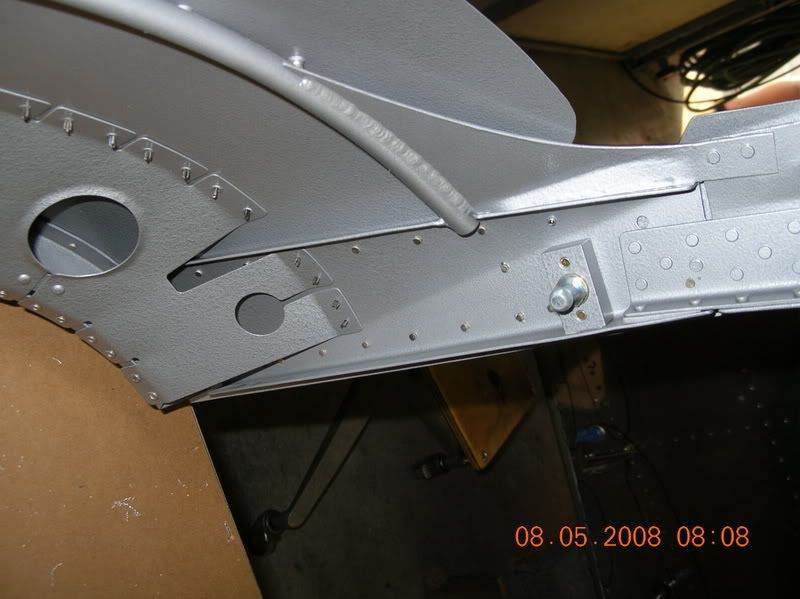
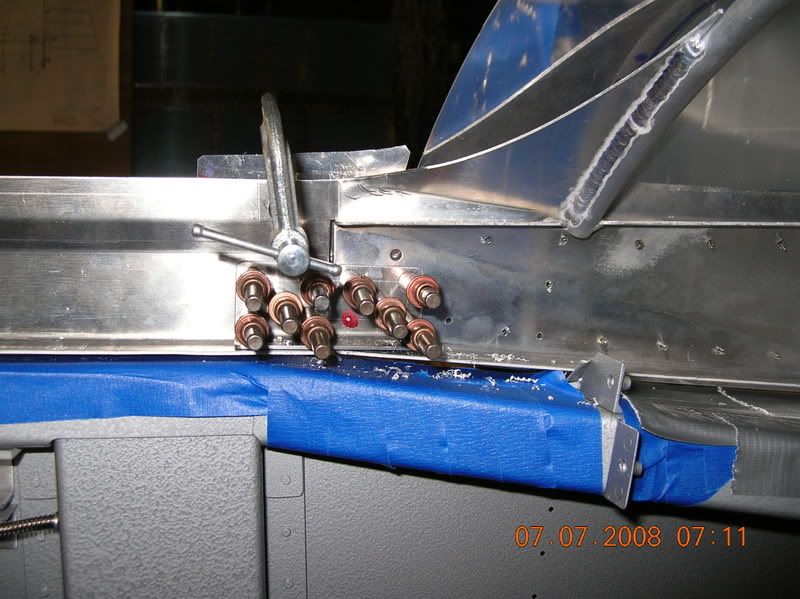
Once happy with the placement and fit (not happy, just as good as it was gonna get), I drilled, debured and riveted the splice plate and the hinge angles.

Image

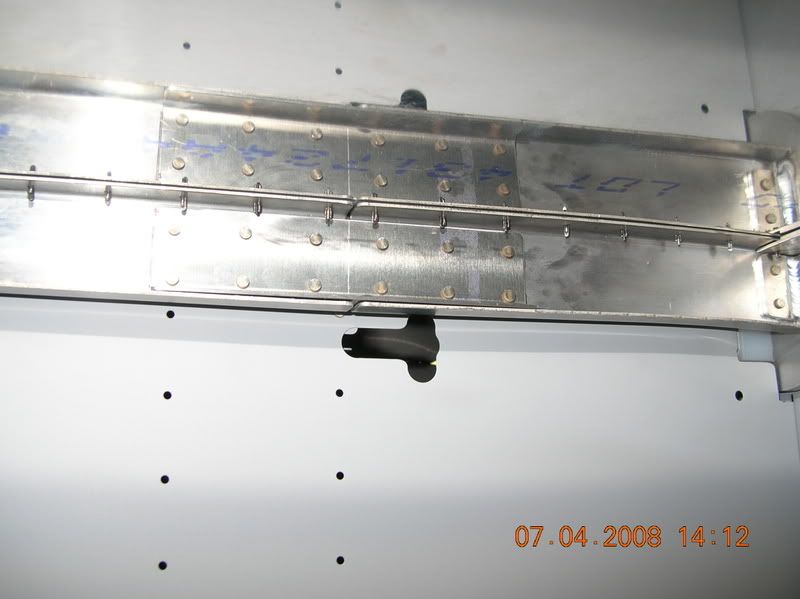
Then apparently the Sun, Moon and stars must have been aligned with Mars because the hinge drilling ended up with holes that are almost dead center of the hinges.

Image

Image


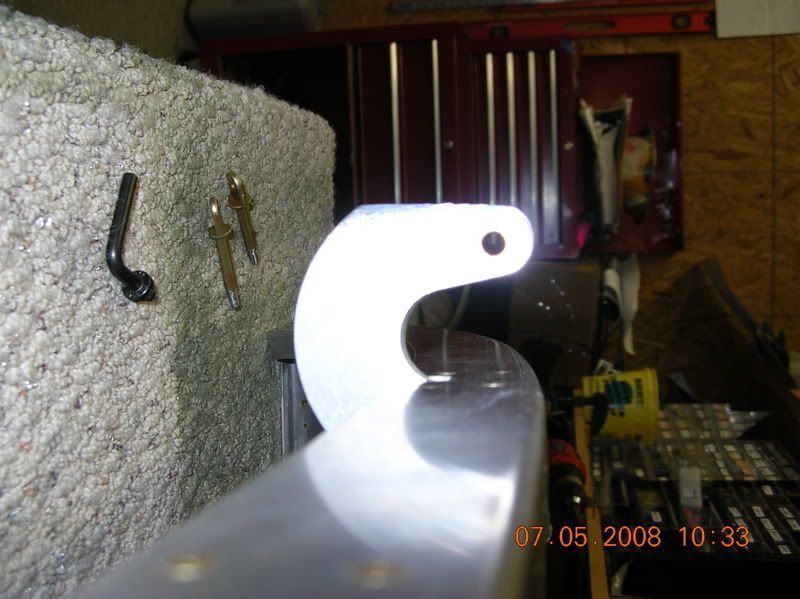
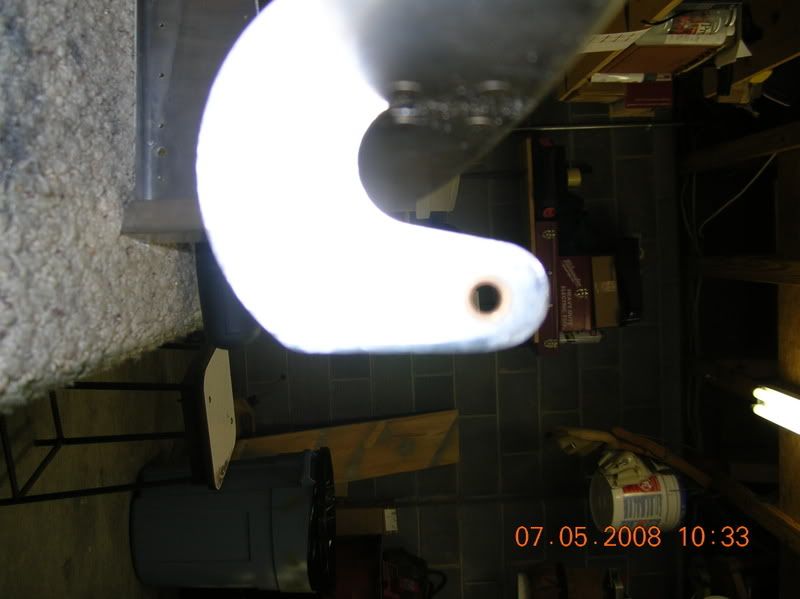
Then I did the usual trimming of the seal angle in order to get the unit to rotate.

Image

Once that was done, the frame rotated just fine.

Image

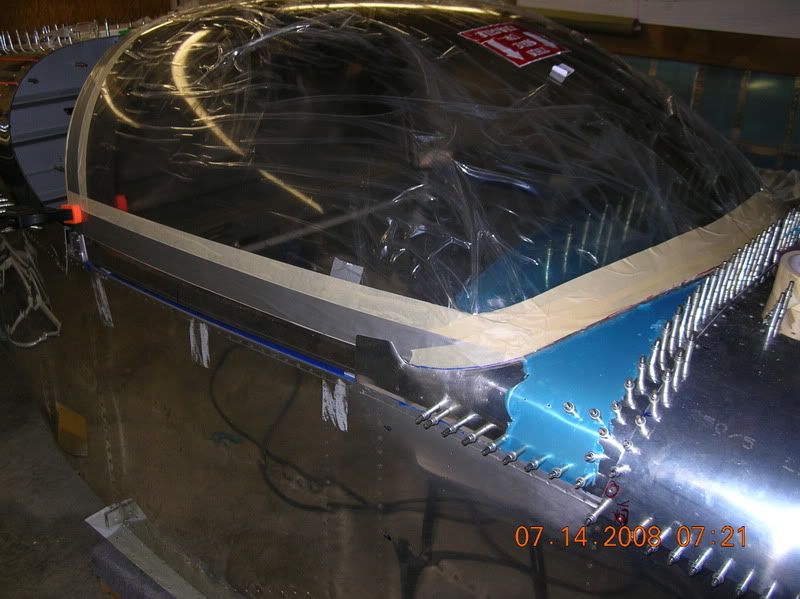
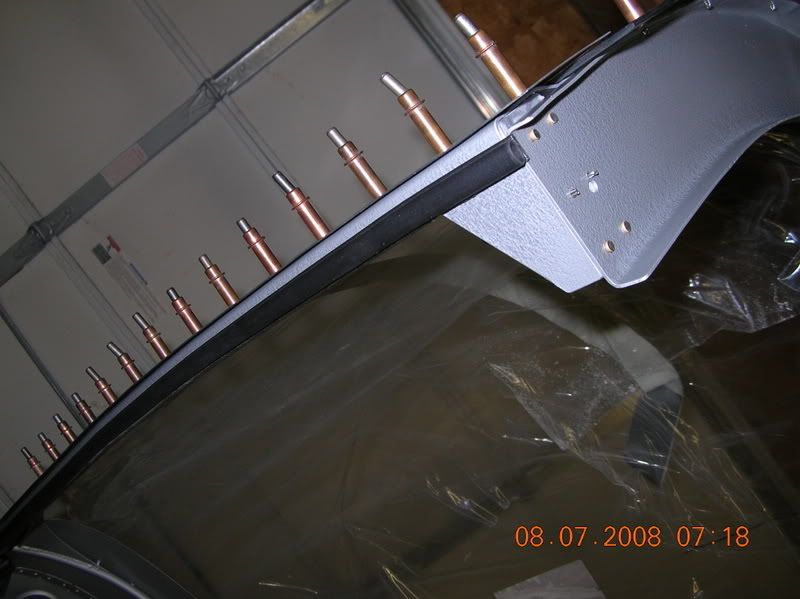
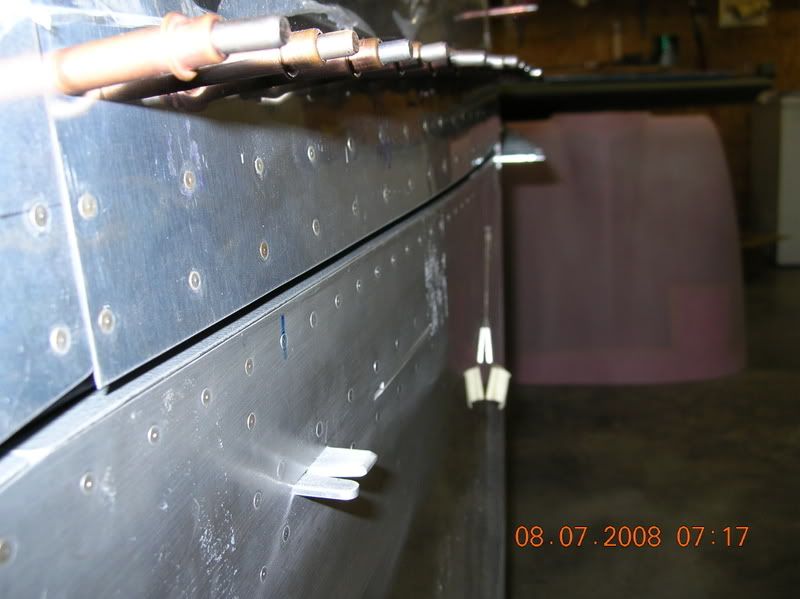
Put the canopy skin back on and then I had what everyone else seems to have. A tighter gap on the copilot side than the pilot side, canopy skin sticking up above the front top skin at the corners, and the center section would catch the front skin and it would not open.

So I spent the next 4 hours filing the skins and making shims to go under the center of the canopy skin and the corners of the front top skin.

This process is horrible slow and painfull. I got it close and decided to move on. I can work on that more later. It seems possible to get it all worked out with shims but I would like to shrink the corners of the canopy skin but I do not have a shrinker.

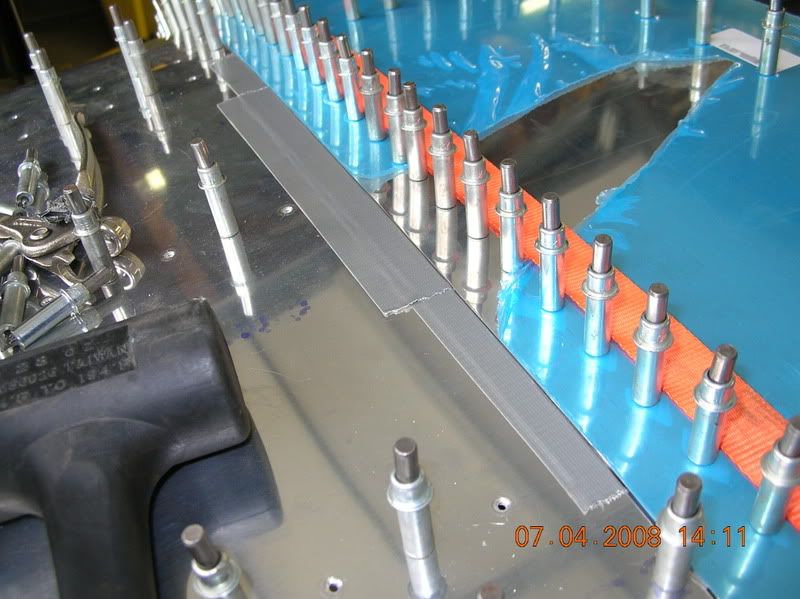
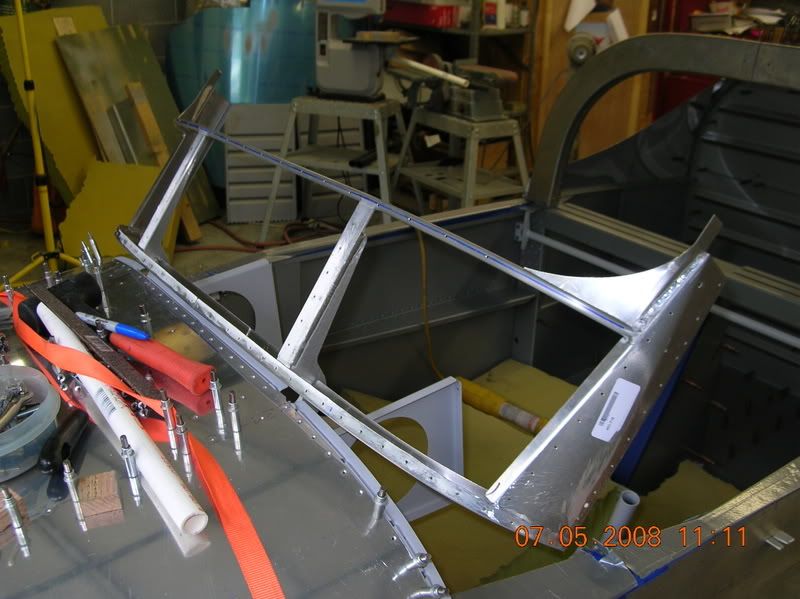
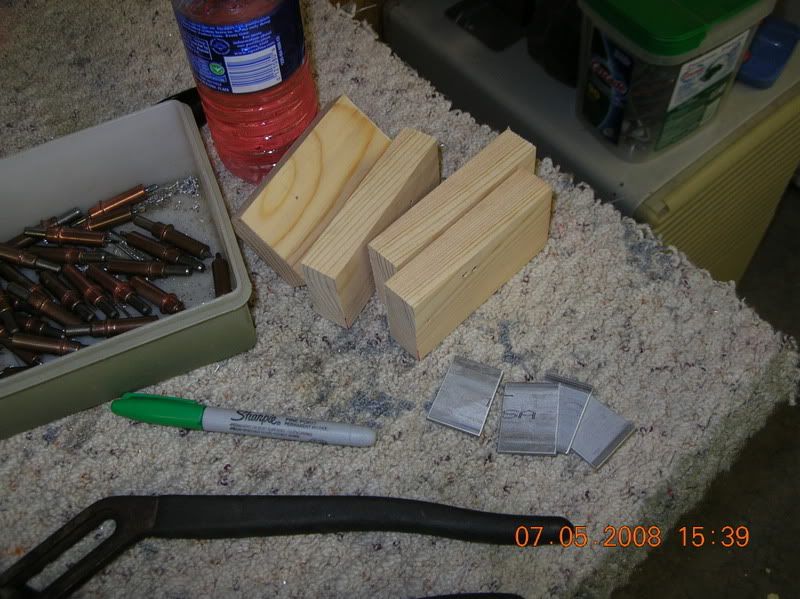
Got started on the rear canopy frame ribs by marking where the screws will go and then, flanged to the correct angle, fluted and twisted them back into shape.

Image

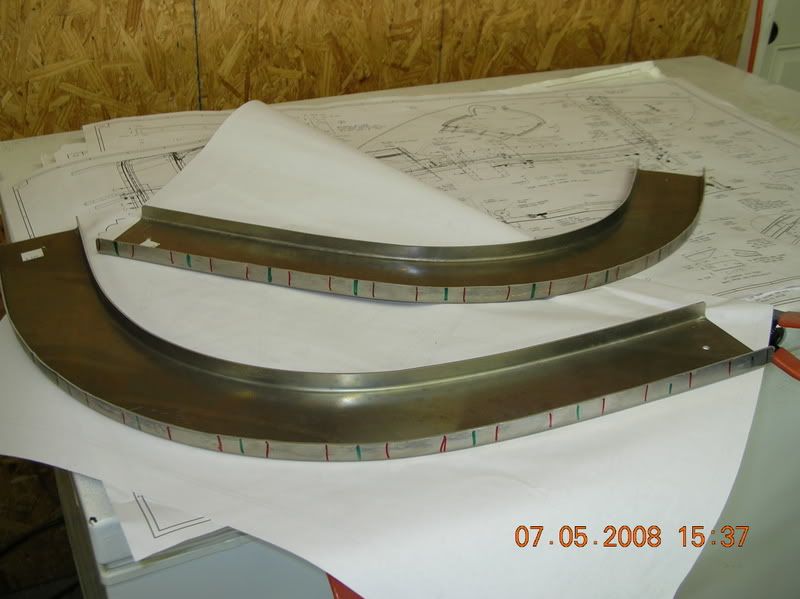
Made up all the spacers...

Image

Clamped the pilot side rails in place and drilled them to the front canopy frame.

Image

Image

I am not going to drill the side rails to the rear canopy ribs like it tells you in the directions at this time. Seems this causes problems getting the ribs to fit later against the canopy without messing up the 1/8" gap that is suppose to be under the side rails for the seal strip.
Brantel (Brian Chesteen),
RV12-IS, #121606, N912BC - Building Now!
RV10, #41942, N????? - Project Sold
RV-7/TU, #72823, N159SB - SOLD

Spike
Chief Rivet Banger
Posts: 4013
Joined: Thu Oct 14, 2004 8:40 pm
Location: Baltimore, MD
Contact:

Post by Spike »

You can come do mine when the time comes :P
http://www.rivetbangers.com - Now integrating web and mail!
Current Build: 2 years into a beautiful little girl

User avatar
Brantel
Class B
Posts: 1030
Joined: Wed Aug 30, 2006 3:23 pm
Location: Newport, TN

TIME TO CUT THE BUBBLE!!!!

Post by Brantel »

Spent last evening making and installing these little wedge pains in the rear! Made them out of scrap and not the big honkin parts Vans sends.

Image

Now I am ready to start CUTTING THE BUBBLE! :o

It will be easy right? :lmao:
Brantel (Brian Chesteen),
RV12-IS, #121606, N912BC - Building Now!
RV10, #41942, N????? - Project Sold
RV-7/TU, #72823, N159SB - SOLD

weezbad
Class C
Posts: 528
Joined: Sun Oct 21, 2007 9:00 pm
Location: darlington s.c.

Post by weezbad »

you'll need some wine coolers. i hear berry flavored ones are the preference of master builders. :lol:
william....don't let it beat you down, you are stronger than you think.

User avatar
cjensen
Whiskey Victor
Posts: 5275
Joined: Sat Apr 23, 2005 10:36 pm
Location: Green Bay, WI

Post by cjensen »

weezbad wrote:you'll need some wine coolers. i hear berry flavored ones are the preference of master builders. :lol:
Now wait just a cotton pickin' minute! I'm drawing the line here buddy! Wine coolers!!?? :o I won't step THAT low! :P

Beverage of YOUR CHOICE! :mrgreen:
Chad Jensen
Missing my RV-7...
Vertical Power support
920.216.3699
http://verticalpower.com

User avatar
Brantel
Class B
Posts: 1030
Joined: Wed Aug 30, 2006 3:23 pm
Location: Newport, TN

Post by Brantel »

Nope... Diet Coke (generic brand) for me.
Brantel (Brian Chesteen),
RV12-IS, #121606, N912BC - Building Now!
RV10, #41942, N????? - Project Sold
RV-7/TU, #72823, N159SB - SOLD

User avatar
Brantel
Class B
Posts: 1030
Joined: Wed Aug 30, 2006 3:23 pm
Location: Newport, TN

Made the big cut

Post by Brantel »

Started cutting the bubble this weekend.

After the initial fitting, made the big cut!
Total non event.... It was about 95 in the sun on Saturday and the bubble was like a wet noodle.

Image

Working on some more detail trimming. I also trimmed the sides off and started working on the area up at the front corners. Got the right side almost there and had to stop. This week is bible school week at church and I am part of that so no RV building this week at all!

Image
Brantel (Brian Chesteen),
RV12-IS, #121606, N912BC - Building Now!
RV10, #41942, N????? - Project Sold
RV-7/TU, #72823, N159SB - SOLD

User avatar
cjensen
Whiskey Victor
Posts: 5275
Joined: Sat Apr 23, 2005 10:36 pm
Location: Green Bay, WI

Post by cjensen »

Looks great Brian!! Have a great week!! 8)
Chad Jensen
Missing my RV-7...
Vertical Power support
920.216.3699
http://verticalpower.com

weezbad
Class C
Posts: 528
Joined: Sun Oct 21, 2007 9:00 pm
Location: darlington s.c.

Post by weezbad »

cjensen wrote:
weezbad wrote:you'll need some wine coolers. i hear berry flavored ones are the preference of master builders. :lol:
Now wait just a cotton pickin' minute! I'm drawing the line here buddy! Wine coolers!!?? :o I won't step THAT low! :P

Beverage of YOUR CHOICE! :mrgreen:
chad chad chad,
I wasn’t referring to you :roll: :lol: :lol: :lol:

ok yes i was :lol:
william....don't let it beat you down, you are stronger than you think.

User avatar
rv8or
Class E
Posts: 148
Joined: Fri Oct 22, 2004 1:50 pm
Location: DFW

Post by rv8or »

Hey Brian--

Is that canopy flame retardant? :lol: :lol:

Well handled, BTW.


Joe
Joe Ferraro
aka: "jferraro16"
DFW, RV-8A Fuse

User avatar
cjensen
Whiskey Victor
Posts: 5275
Joined: Sat Apr 23, 2005 10:36 pm
Location: Green Bay, WI

Post by cjensen »

rv8or wrote:Hey Brian--

Is that canopy flame retardant? :lol: :lol:

Joe
OMG!!! :o :o :o :lol: :lol: :lol: :lmao:
Chad Jensen
Missing my RV-7...
Vertical Power support
920.216.3699
http://verticalpower.com

User avatar
JohnR
Class B
Posts: 1081
Joined: Mon Aug 29, 2005 3:22 pm
Location: Iowa

Post by JohnR »

:lol: :lol: :lol:
JohnR
RV-7A - Fuselage - SOLD, just not supposed to be
Numbers 6:24 - The LORD bless thee, and keep thee

User avatar
Brantel
Class B
Posts: 1030
Joined: Wed Aug 30, 2006 3:23 pm
Location: Newport, TN

Post by Brantel »

:mrgreen:

With my highly flameable cowl, canopy, automotive seats, etc, race car harnesses, experimental EFIS and Engine, and amature built airframe designed by people that obviously had no idea what they were doing, I won't have a chance will I?
rv8or wrote:Hey Brian--

Is that canopy flame retardant? :lol: :lol:

Well handled, BTW.


Joe
Brantel (Brian Chesteen),
RV12-IS, #121606, N912BC - Building Now!
RV10, #41942, N????? - Project Sold
RV-7/TU, #72823, N159SB - SOLD

User avatar
Brantel
Class B
Posts: 1030
Joined: Wed Aug 30, 2006 3:23 pm
Location: Newport, TN

Post by Brantel »

Been working on the front of the canopy. Last week I was out of commision all week for Bible School. This week I have drilled the entire front canopy to the frame.

I did use a standard #40 bit to make the pilot holes, but I would not do this again. Even though I dulled the crap out of that bit, it still chipped the backside when comming thru. Do yourself a favor and get a real plexi bit for that or make one by grinding the tip to a point to remove the edges. I made one for the back half and it works great on the samples I made.

Monday I drilled all the pilot holes out to 1/8" with a plexi bit I borrowed and started countersinking. Yesturday I finished countersinking all the screw holes with a standard countersink cutter and then enlarged the holes to 5/32 with a unibit from the backside. This removed any chips from the pilot holes. I debured the backside of the holes with a 6 flute debur bit.

Then I spent some time edge finishing the front canopy. I went from 60 grit to 320 grit using a jitterbug palm sander and this made everything nice a smooth and I rounded the edge a little bit to ease it. I will save the polishing with higher grits till later when I am sure that I am done with the trimming at the roll bar.

So far no cracks! Hope it stays that way!

In my case before drilling, the canopy fit the front skin perfectly but after drilling I saw a few little spaces 1/32 around the corners and then once the edges were finished, the holes countersunk and the holes enlarged, I had a larger gap. Some of this will go away once I put the screws in to pull the glass back into the same position as when just clecoed with 1/8" holes. The oversize holes with the 1/8" clecos allow the canopy to float up a bit which translates into a gap at the front. I also plan to put a layer of urethane windshield sealant under the front edge when it goes on for good. Several local builders have done this and it seems to work out great to even out the support for the front of the canopy.
Brantel (Brian Chesteen),
RV12-IS, #121606, N912BC - Building Now!
RV10, #41942, N????? - Project Sold
RV-7/TU, #72823, N159SB - SOLD

User avatar
RV7Factory
Beanpolt
Posts: 522
Joined: Fri May 20, 2005 2:28 pm
Location: Livermore, CA

Post by RV7Factory »

Looks Great Brian! Thanks for the super pics!
Brad Oliver
RV-7 | Livermore, CA
RV7Factory.com
Image

User avatar
Brantel
Class B
Posts: 1030
Joined: Wed Aug 30, 2006 3:23 pm
Location: Newport, TN

Post by Brantel »

This week I have been painting and final riveting the canopy frame together.

Image

Image

I painted the deck above the instrument panel with flat paint.

Image

Installed this edge gripping 3/8 OD bulb seal to the sides of the canopy side rails per Dan Checkoway but I the size and number recommended by him does not work well. He recommended one (mcmaster #1120A712) with a 1/32 grip width with the gripper tit on the same side as the bulb. That did not fit very well so I trashed it and purchased one (mcmaster # 1120A111) with a 1/16 grip width and with the gripper tit on the opposite side of the bulb. This fits like a dream....

Image

But with the seal in place along with the struts and the jam bolts to prevent the canopy from being pushed forward, and without the rear latches in place, I have a gap all along the front side and side rails and the bubble is 1/4" above the roll bar at the back top center. I can push this down with some effort so maybe the seal will relax and once the latches are on, it might pull down in the rear but the front sides really concern me. Their is some major gaps here and the corners are way higher than the front skin!

I have no idea how to fix this because the center of the canopy skin is as low as it can go, the curves of the canopy frame do not match the curves of the front skin and the sides are too high. There is allot of flex in this frame allowing the side fronts to come up.

Keep in mind that before riveting the side skirts were sitting nicely on the longerons/canopy decks and the front sides had a gap of about 1/16". Now everything has gone to pot.

Image

Image

The front corners of the canopy skin stick up at least a 1/8" above the front skin at the 10 & 2 o'clock positions. There is no way that that little seal that goes on the seal support is going to touch the canopy skin at those positions inside. I am thinking that this thing is going to leak air and water like a sieve!

I have heard of people that glass some sort of extentions to the canopy skin/skirts to cover these gaps. Any pics or details out there?
Brantel (Brian Chesteen),
RV12-IS, #121606, N912BC - Building Now!
RV10, #41942, N????? - Project Sold
RV-7/TU, #72823, N159SB - SOLD

Post Reply